5 Calibration
20
4. Press the button corresponding to the item to be set. The setting screen appears.
For the detailed information on each setting screen, refer to page 20 to page 21.
5. Change the setting in each setting screen, and press the [SET] key.
The setting is changed and the screen returns to the CALIBRATION SET screen.
Tip
To cancel the changes, press the [CANCEL] key.
The changes are canceled and the screen returns to the CALIBRATION SET screen.
6. Press the [EXIT] key in the CALIBRATION SET screen.
The screen returns to the MENU 3/5 (SETTING menu) screen.
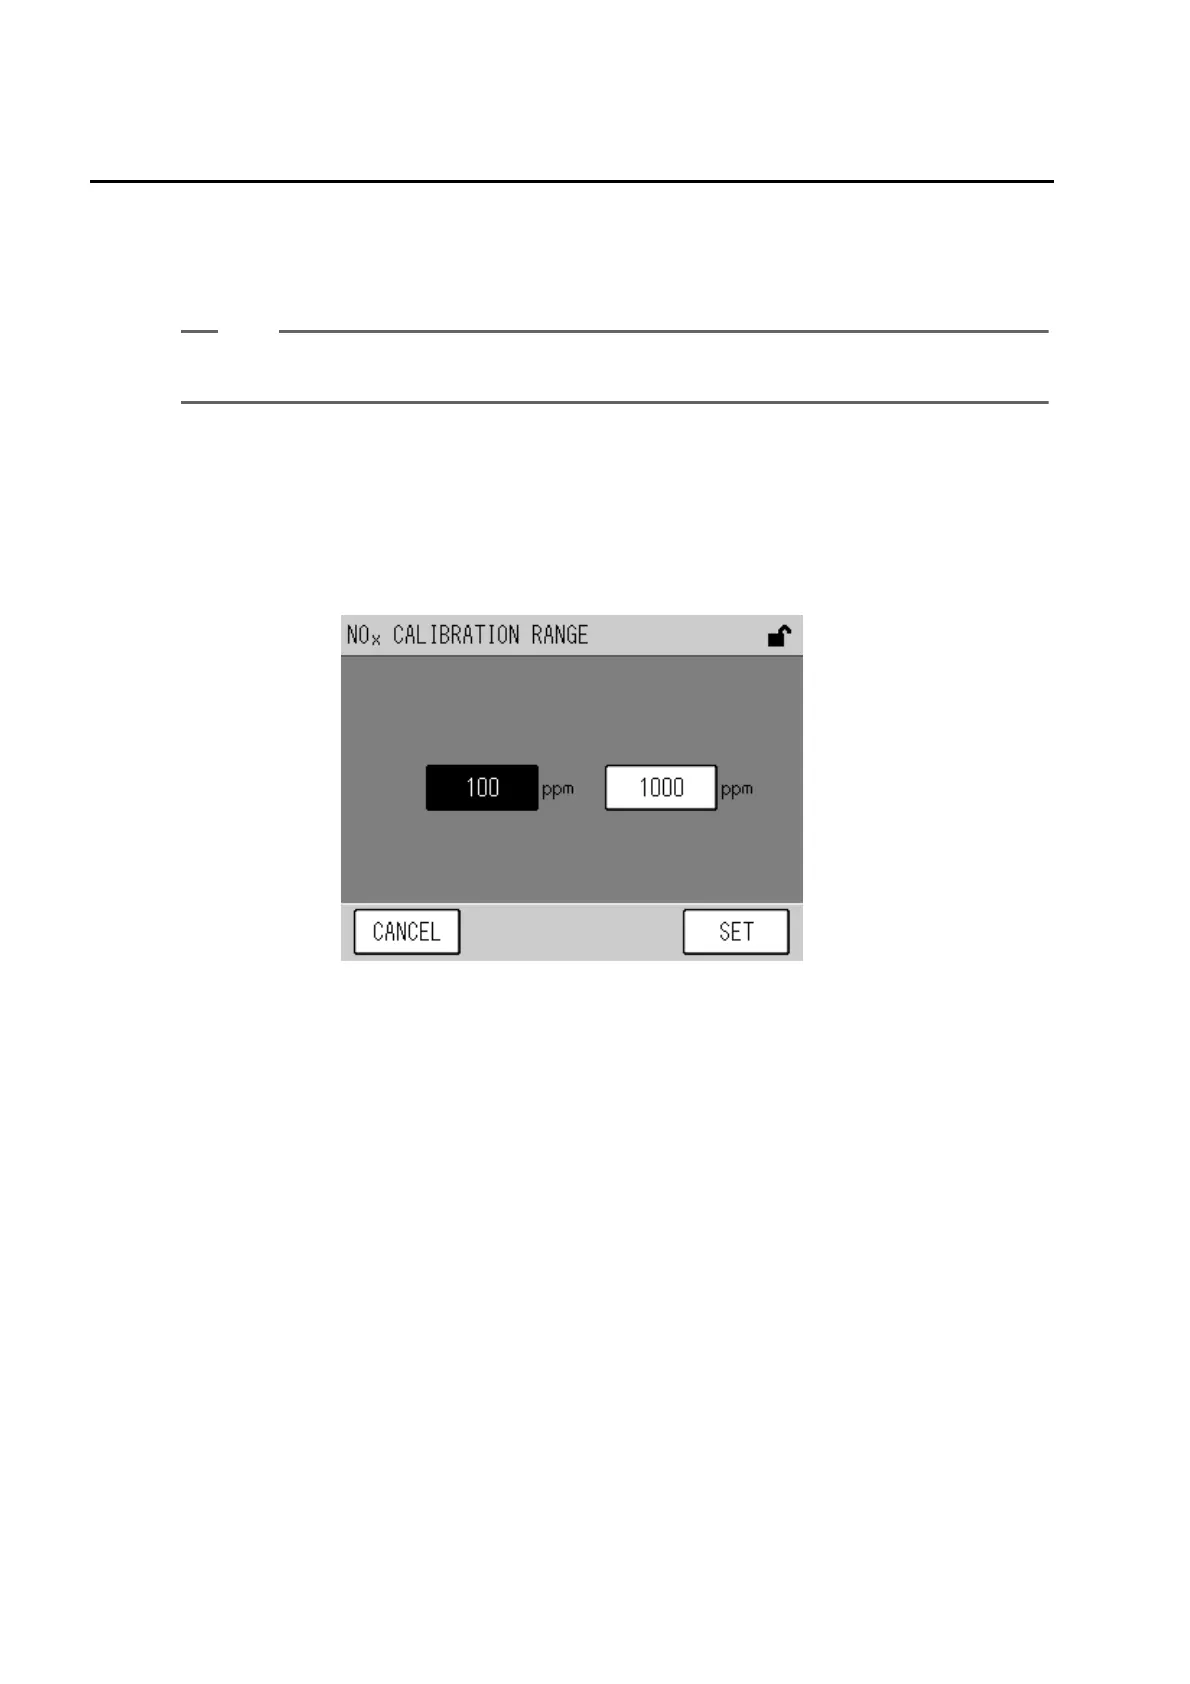
Q Calibration range setting
Press the calibration range button for the component to be set.
The CALIBRATION RANGE screen appears.
Fig. 14 CALIBRATION RANGE screen
Select the calibration range and press the [SET] key.
The setting is changed and the screen returns to the CALIBRATION SET screen.
 Loading...


