Commissioning
5.3 Procedure for commissioning via STARTER
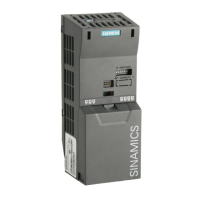
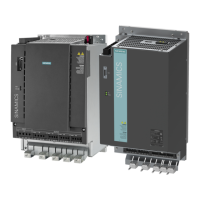
Inverter chassis units
Operating Instructions, 07/2016, A5E00331449A
129
In this area, you can access frequently used functions via the icons.
2: Project navigator The elements and projects available in the project are displayed here.
In this area, you can change the settings for the drive units.
4: Detail view Detailed information about faults and alarms, for example, is displayed this area.
Procedure for commissioning via STARTER
Basic procedure using STARTER
STARTER uses a sequence of dialog screens for entering the required drive unit data.
Note
Default settings in dialog screens
These dialog screens contain default settings, which you may have to change according to
your application and configuration.
Objective: By taking time to consider what configuration data you enter, you can prevent
inconsistencies between the project data and drive unit data (identifiable in online mode).
Click the STARTER icon on the desktop, or (e.g. for Windows 7) select the menu command
Start > All programs > STARTER > STARTER in the Windows Start menu to start the
STARTER commissioning tool.
The first time you run the software, the main screen (shown below) appears with the
following windows:
● STARTER Getting Started
● STARTER project wizard
The commissioning steps are listed below as a numbered step sequence.
 Loading...