Touchscreen Calibration Manual Tip Calibration
Page 141
© Copyright 2020 Stratasys. All rights reserved.
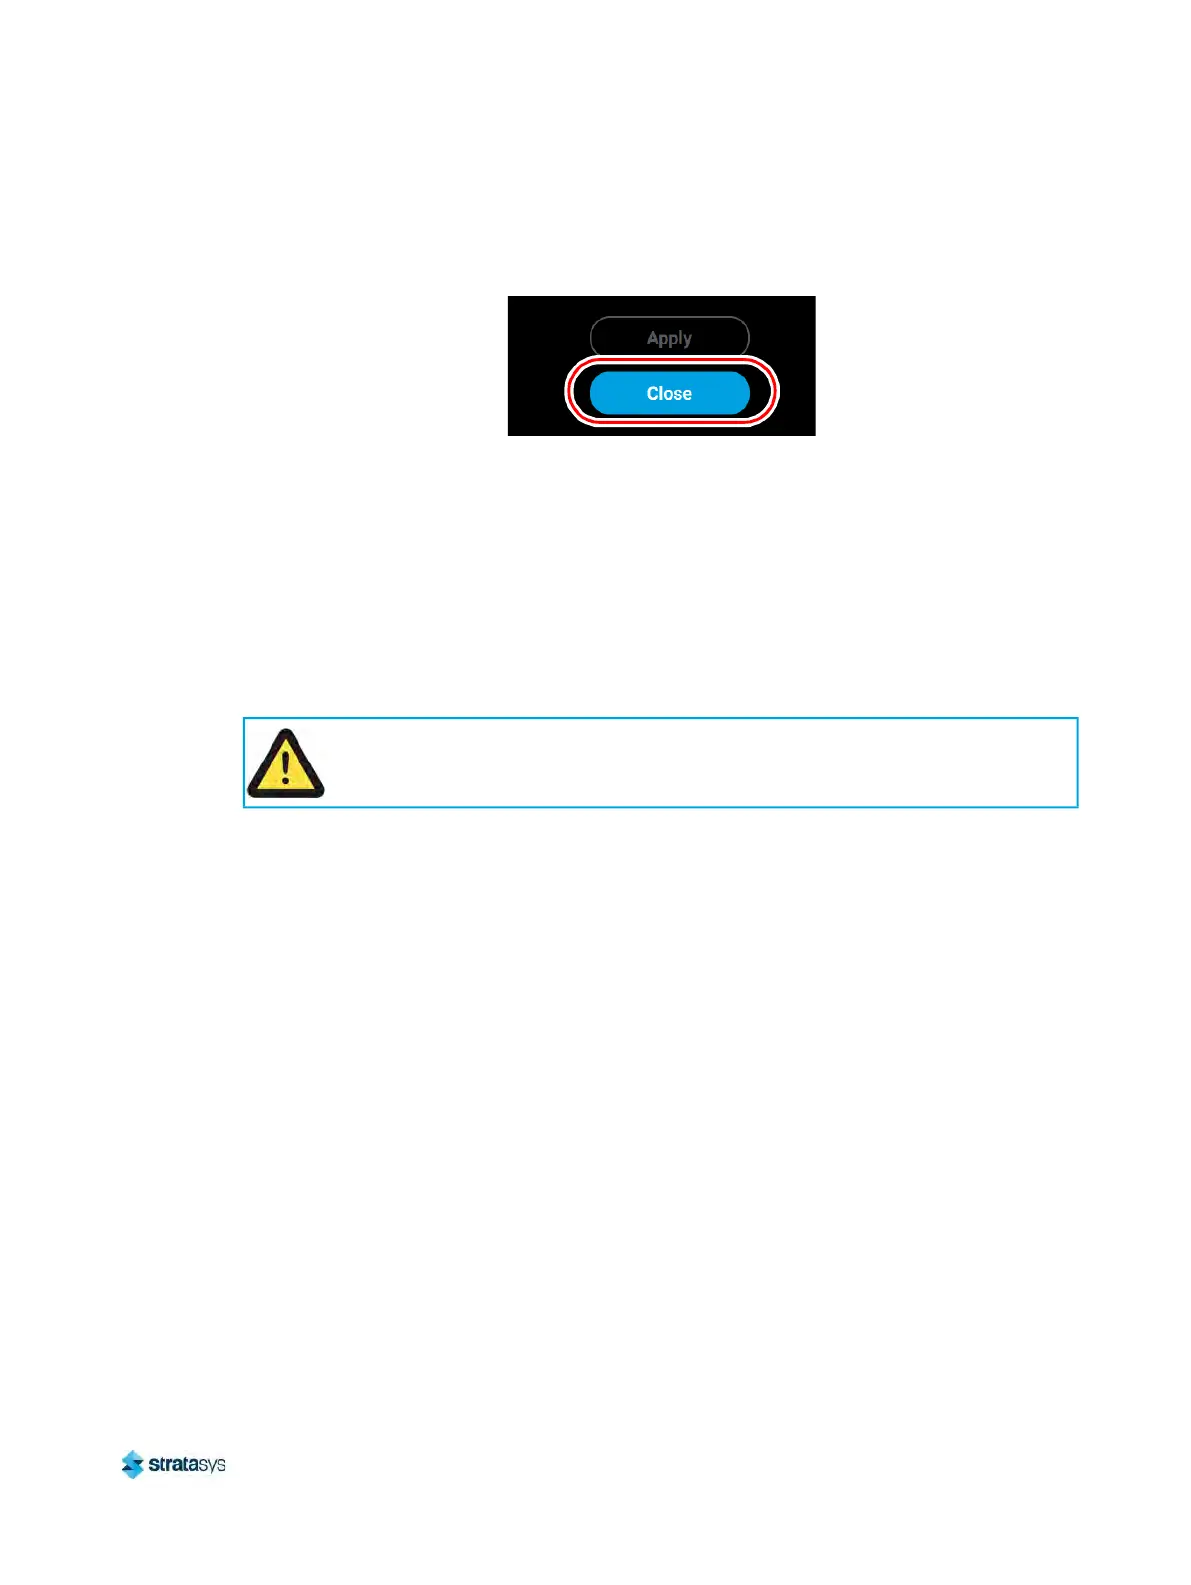
• After pressing the Apply button, the Close button will appear. Press the Close
button to return to the initial Tip Calibration page.
Figure 19: Close Button Location
• Repeat s
tep 1 above to build a calibration part.
• Repeat the instructions in s
tep 3 above. Continue to check and adjust for Z offset
until the support layer matches the model tip slice height ±0.0005 in. (0.01 mm).
4. Once you’re finished adjusting for XY and Z, press the A
pply button within the Manual Tip
Calibration page and your calibration adjustment(s) will be saved. Press the Close button
to exit the page.
Touchscreen Calibration
You have the option of recalibrating the printer’s touchscreen display. Extreme care must be
taken when performing this calibration as an improperly calibrated touchscreen can lead to
button accuracy issues.
A stylus pen should be used when performing this calibration to ensure precise
calibration. Do not use your fingertip to perform this calibration. If a stylus pen is not
available, a pencil eraser may be used.