Tip Calibration Manual Tip Calibration
Page 140
© Copyright 2020 Stratasys. All rights reserved.
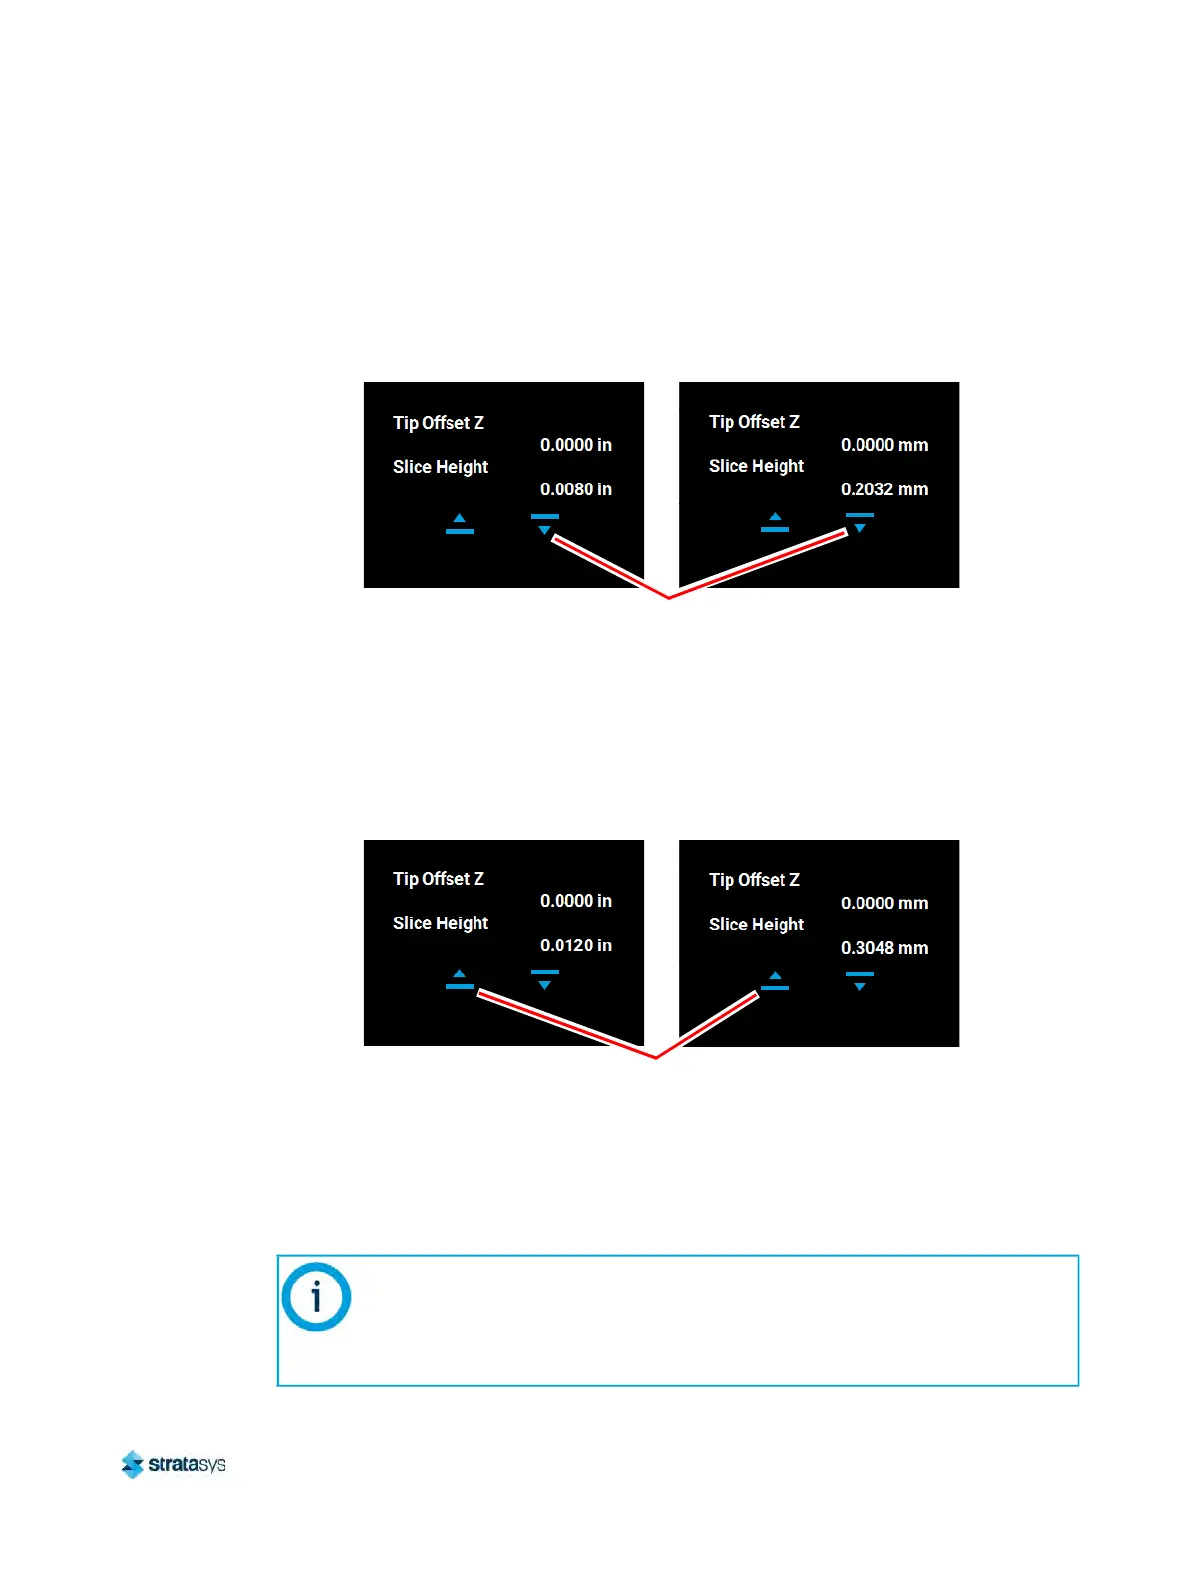
• Use the Down button to enter the value obtained in step c above if this value is less
than the tip’s slice height. For example, if you measured an average of 0.0080 in.
(0
.2032 mm) for a tip with a slice height of 0.010 in. (0.254 mm), press the Down
button until 0.0080 (0.2032) is displayed within the Slice Height field.
Figure 17: Z Offset Adjustment
• U
se the U
p button to enter the value obtained in step c above if this value is greater
than the tip’s slice height. For example, if you measured an average of 0.0120 in.
(0
.3048 mm) for a tip with a slice height of 0.010 in. (0.254 mm), press the Up
button until 0.0120 (0.3048) is displayed within the Slice Height field.
Figure 18: Z Offset Adjustment
f. If a Z offset adjustment is required you will need to rebuild the calibration part. To do so:
•
After entering your Z offset adjustment press the A
pply button within the Manual
Tip Calibration page (see Figure 9 (page 134) for button location). Your calibration
adjustment(s) will be saved. If you continue to change the adjustment values, you
mu
st press the Apply button again to save the changes.
The Cancel button can be used to reset an adjustment value entered prior to
pressing the Apply button. Once the Apply button is pressed, values will be
saved and the printer’s calibration settings will reflect the adjustment value
entered. Use caution when entering an adjustment value to ensure it is correct
prior to pressing the Apply button.
Imperial units
Metric units
Down button for
adjusting Z offset
Imperial units
Metric units
Up button for
adjusting Z offset