2.2. Basic Operation
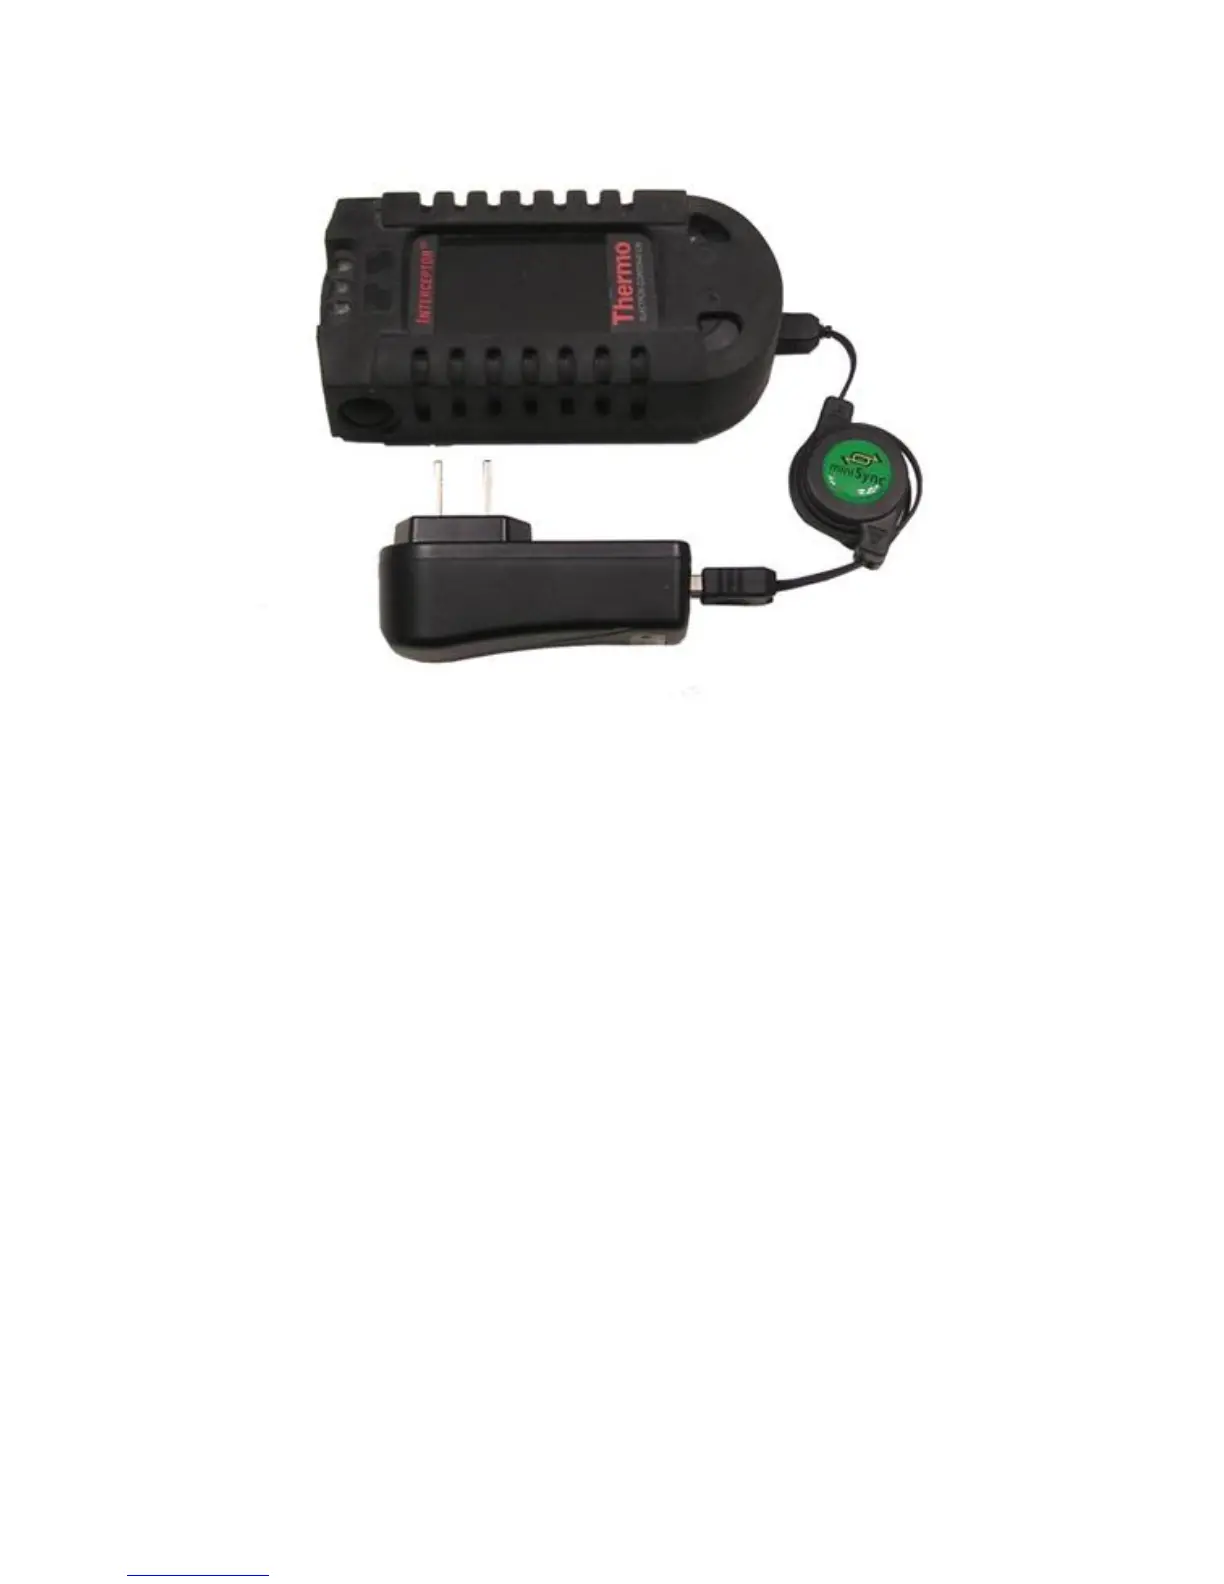
Figure 2-4. Charging - AC-DC Wall Mount Adapter
Option 3: Desktop and Laptop Computers
Insert the larger USB Type A connector of the computer USB cable into an
available USB port of a desktop computer or laptop as shown in Figure 2-6,
p. 11. Make sure that your USB bus provides enough current (USB 2.0 spec-
ifications are 500 mA) and that your computer is turned on. Refer to your
computer manual for details. Refer also to chapter 4.3, p. 57 before connect-
ing your I™ to a PC for the first time.
After choosing one of the above charging options, insert the smaller USB
Type mini-B connector of either the retractable USB or computer USB cable
into the USB port on the bottom of the I™.
As soon as the I™ is connected to the power supply of your
choice, the device will power up. After booting, the battery capacity will be
shown in the lower right corner of the I™ display.
You can power off your I™ to reduce the charging time but you
Thermo Fisher Scientific Interceptor™/en/5.1(4956)/Feb2010 9