7 Maintenance
188 July 29, 2013, 715003794 Rev. B
• Plastic tweezers or can of compressed air
Plunger seal replacement
To replace the plunger seal:
1. Remove the head (see “Remove the head, seal-wash assembly, and
plunger” on page 185).
2. Use the plastic end of the seal removal tool to remove the plunger seal
from the head.
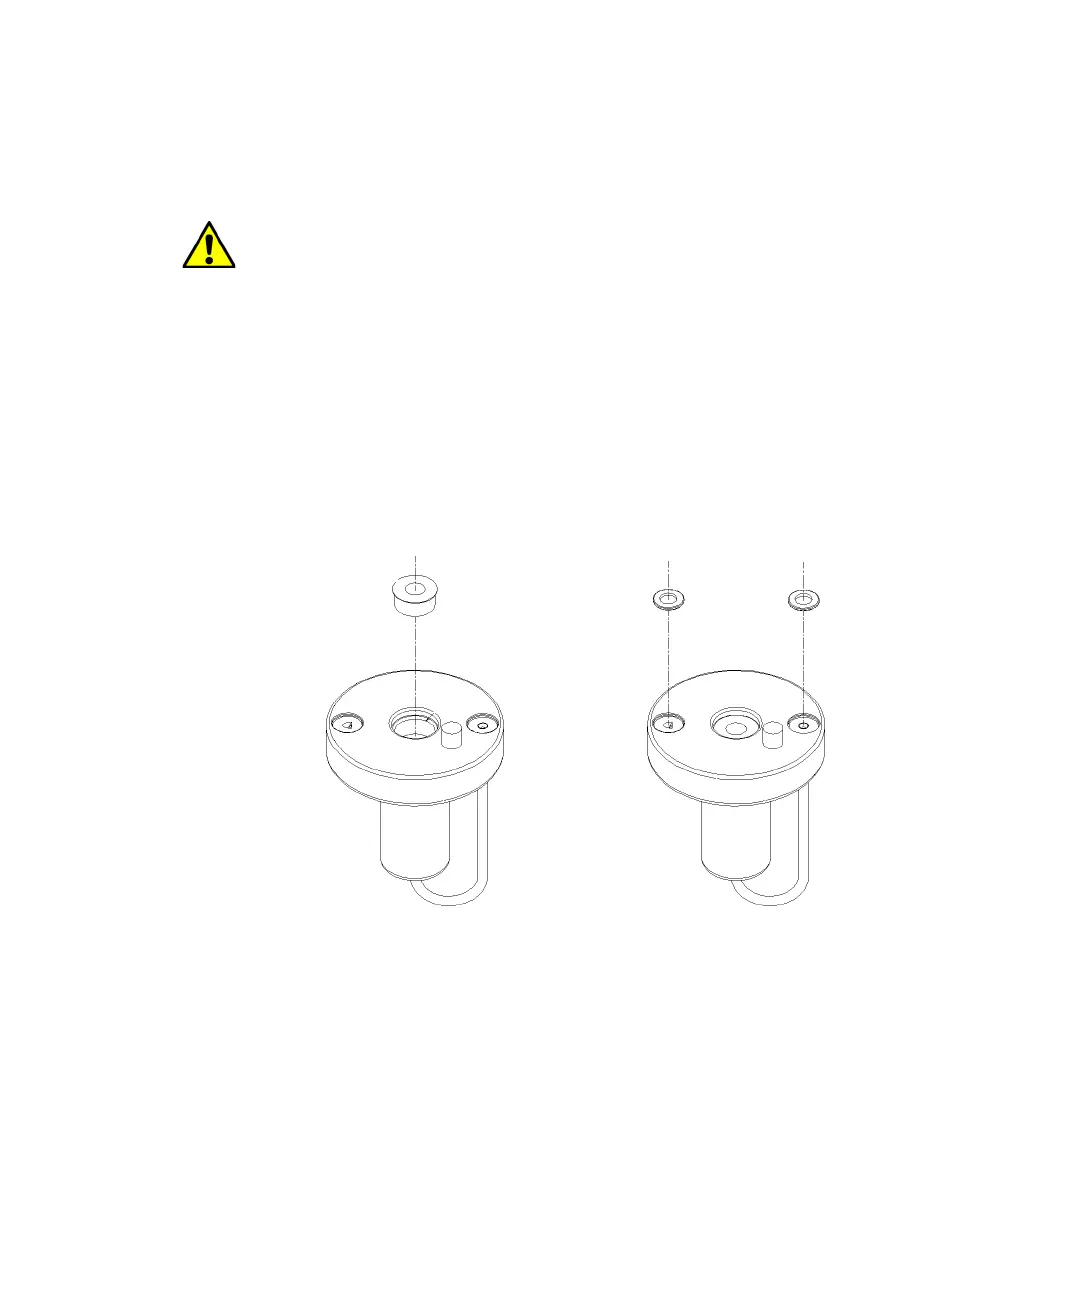
Plunger and face seal orientation:
3. Wet the insertion tool, seal opening, and new plunger seal with 100%
alcohol before you install the seal.
4. Place the new plunger seal on the seal insertion tool with the spring side
facing away from the tool. Insert the tip of the tool into the plunger seal
opening in the head (see the figure “Plunger and face seal orientation:”
on page 188), and then push firmly to install the seal.
Caution: To avoid damaging the sealing surfaces, use the seal removal
tool. Do not use a sharp tool to remove or install seals.
Plunger seal
(spring side faces
head)
Head
J tube
Inlet face
seal
Outlet face
seal