7 Maintenance
206 July 29, 2013, 715003794 Rev. B
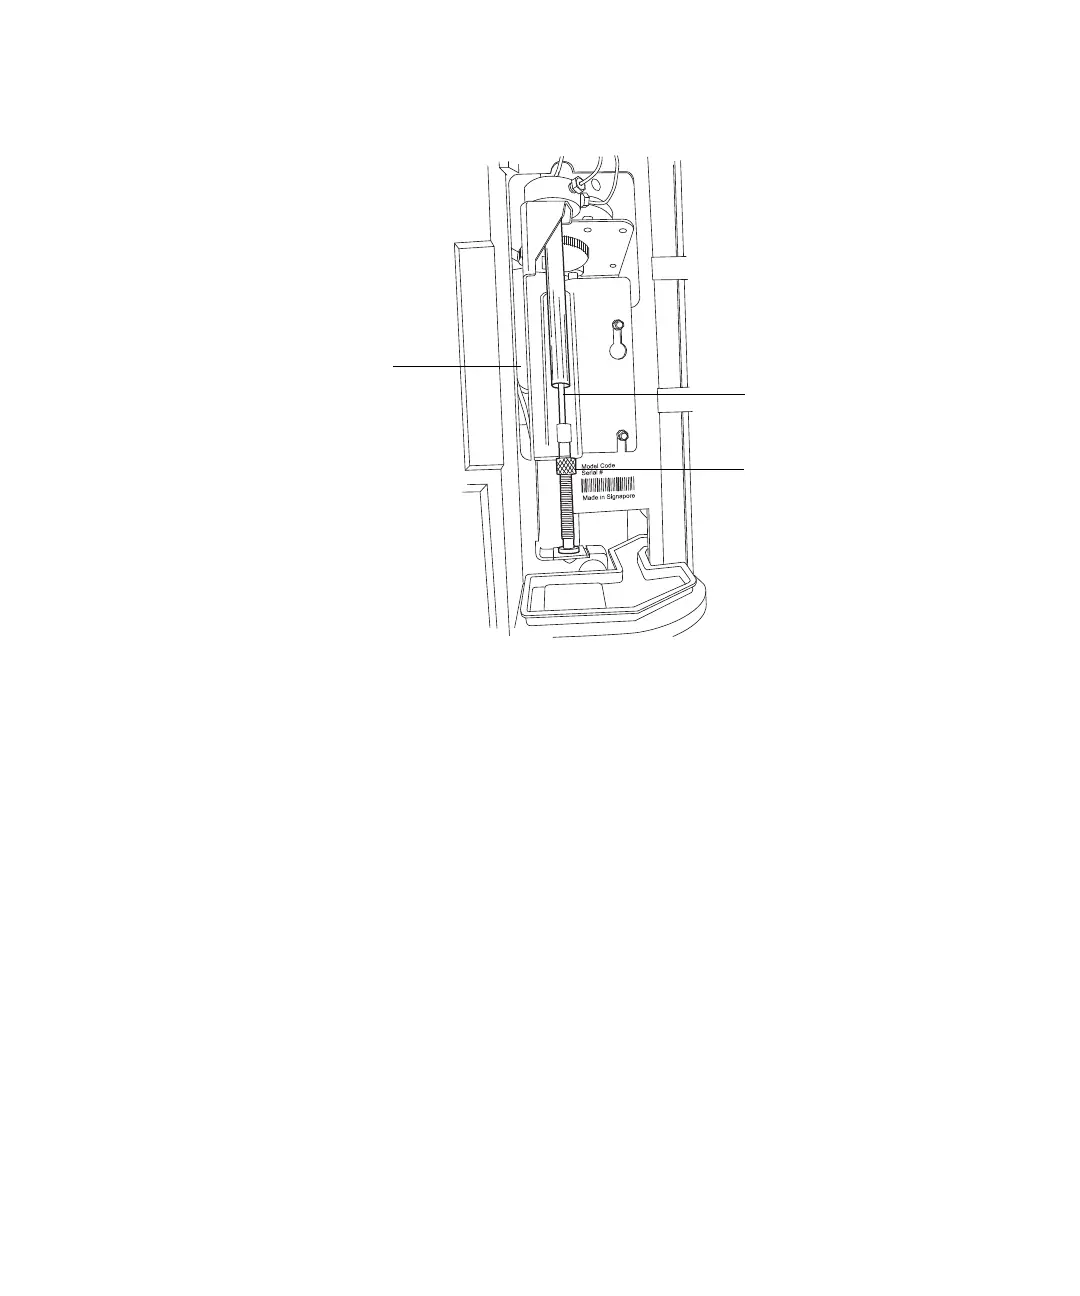
Syringe assembly components:
4. On the Main screen, press the Diag screen key.
5. On the Diagnostics screen, press the Other Tests screen key.
6. In the Other Tests screen, select Motors and Valves.
7. In the Motors and valves screen, verify valve V3 is open.
Tip: If V3 is closed, select the V3 valve and enter any number on the
keypad to toggle the valve to the open position.
8. Press Enter to save the change.
9. Select the Syringe Position field.
a. Press Enter to display the drop-down list.
b. Select the Full field.
Result: With the knurled nut removed, the plunger tip remains
pointed upward as the mounting bracket is lowered.
10. When the mounting bracket is fully lowered, unscrew the syringe
assembly from the mounting bracket as follows:
Syringe
Knurled nut
Syringe mounting
bracket