Connect tubing and attachments
July 29, 2013, 715003794 Rev. B 63
To connect the column:
1. Pass the red outlet tubing through the opening in the middle of the
right-hand side panel.
2. Connect the red outlet tubing to the column inlet, and tighten the
fitting.
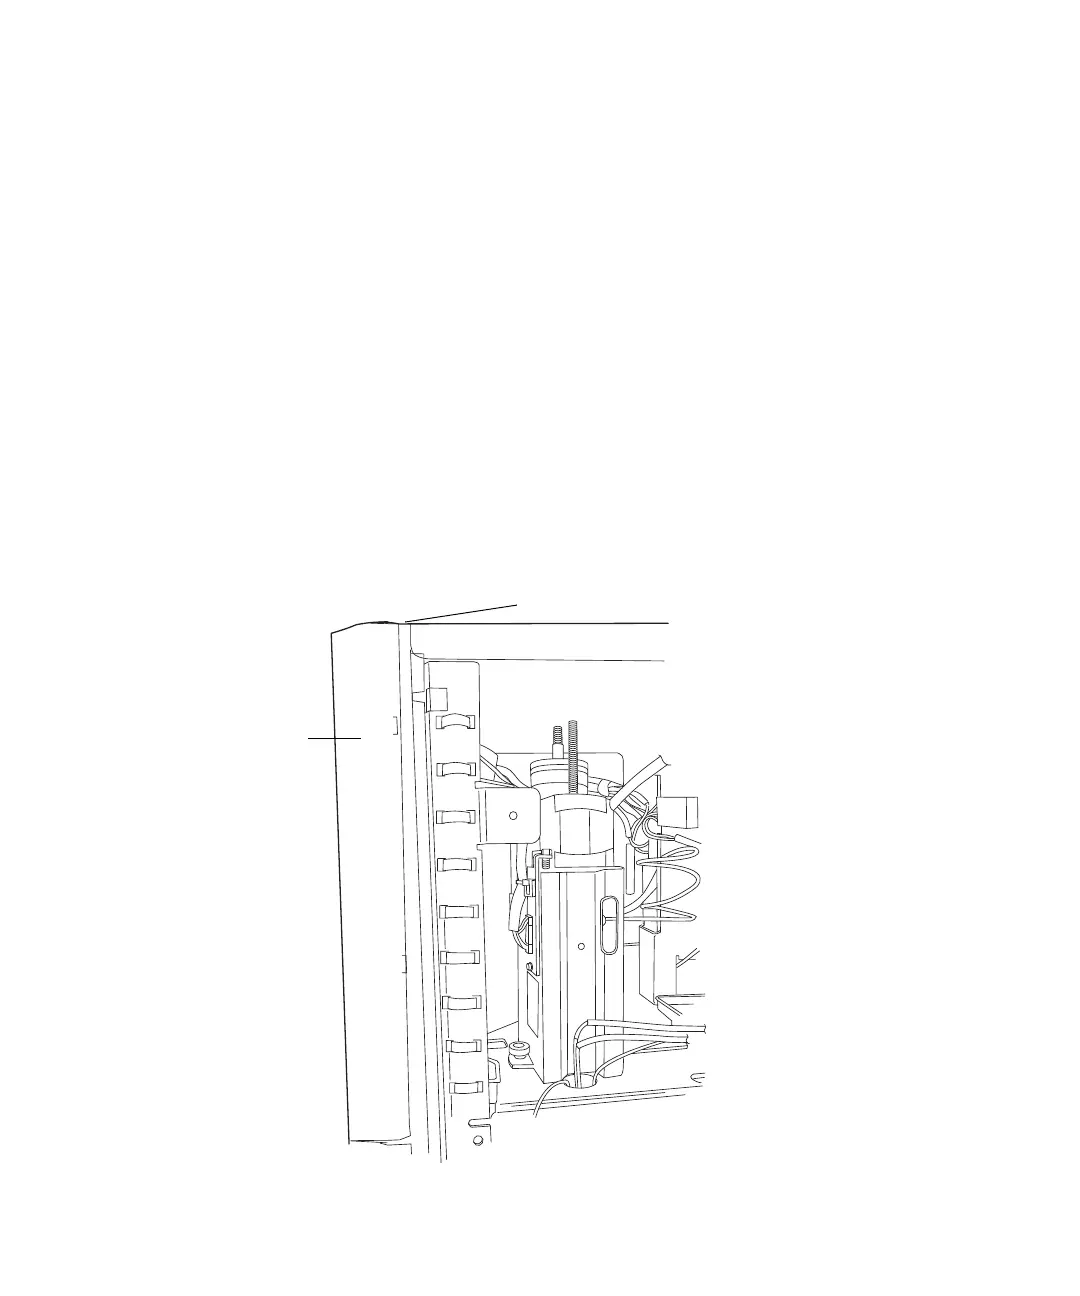
Two sets of column clips and M4 × 10 screws are included in the startup kit.
Using the shorter clips, you can mount columns of 7.9 mm OD or less and 15
cm long in the compartment behind the syringe door. For longer columns,
mount the longer column clips so that they protrude from the side of the
separations module, through the slots shown in the figure on page 63.
If the optional column heater (or column heater/cooler) is installed, see
“Install the column heater and column heater/cooler” on page 81 for the
procedure to connect the outlet tubing to the column heater (or column
heater/cooler).
Side view of frame openings for tubing connections (side panel removed):
Syringe access
door
Hole for detector drip tray waste line