Ordering Controls
AEROSET
®
Customer Training Guide 7-9
94858-103 — July 2003
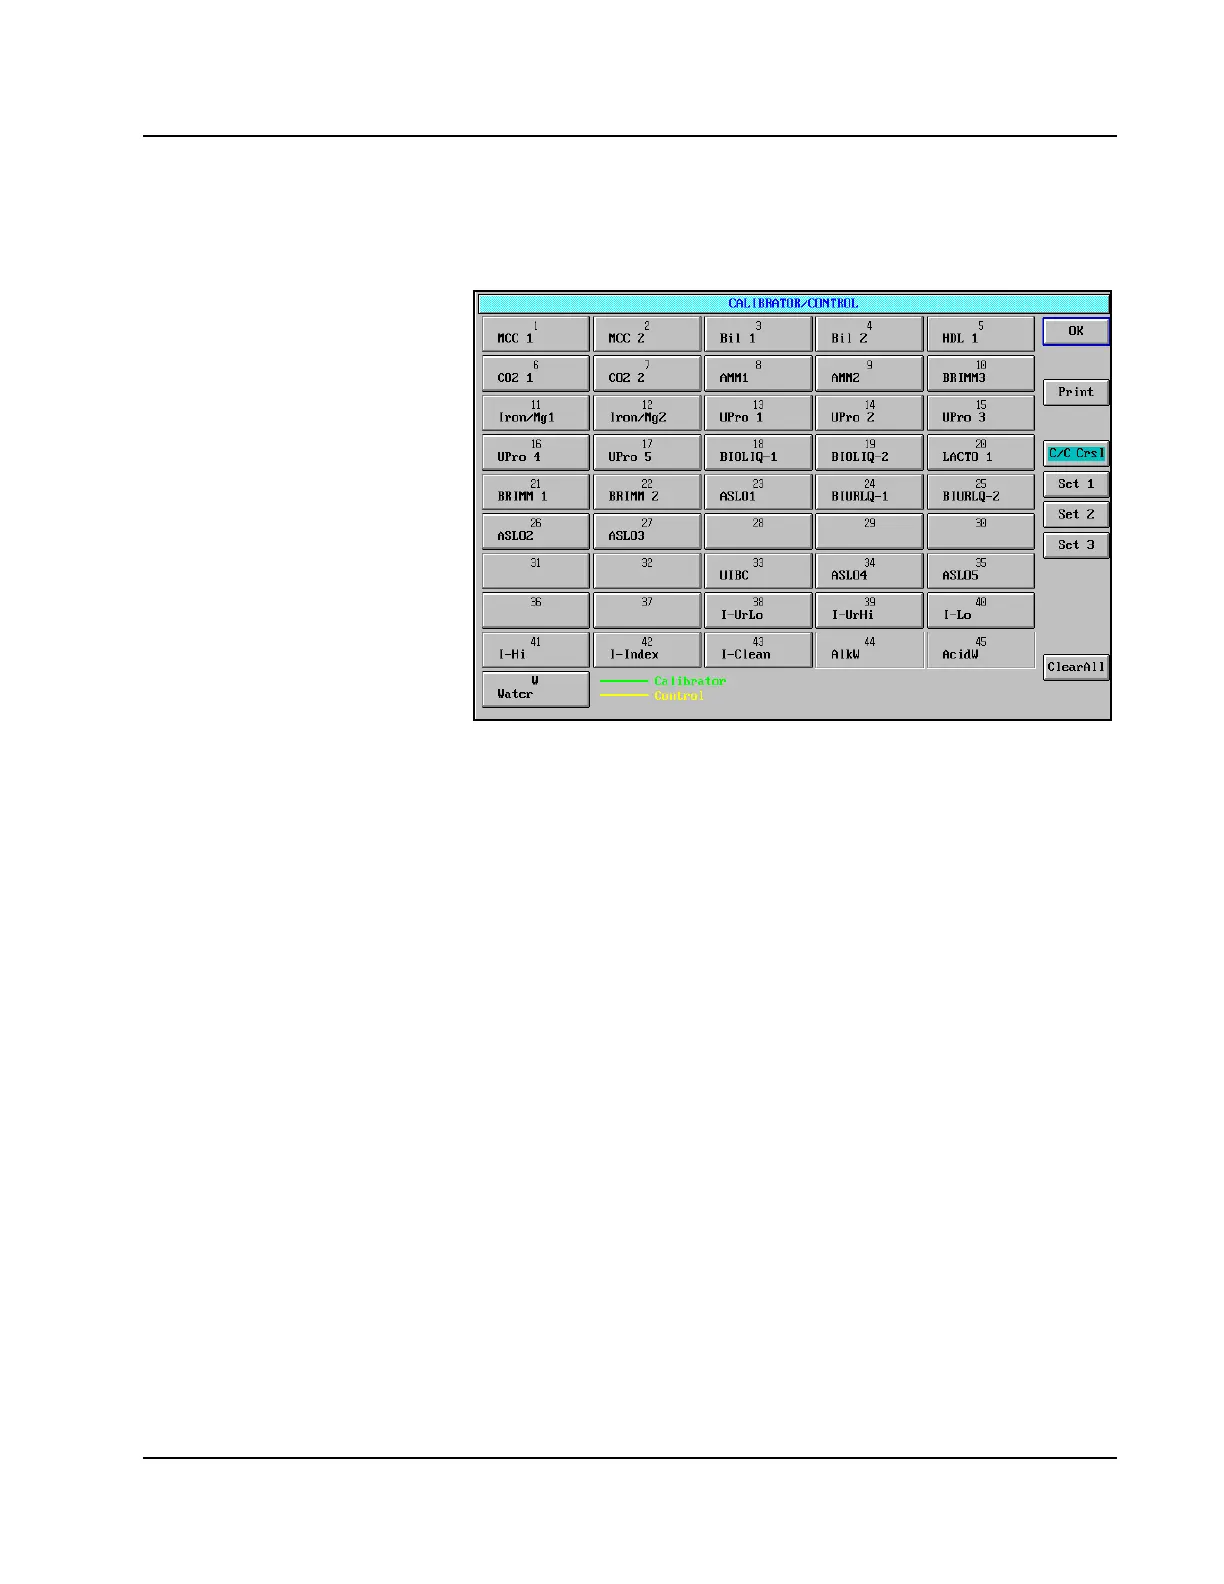
5. The controls required to perform the selected assays are highlighted
with a yellow line under the control name on each button.
Figure 7.3: CALIBRATOR/CONTROL Screen
6. Remove the Calibrator/Control Carousel cover.
7. Pipet the highlighted controls into sample cups and load into the
positions indicated on the CALIBRATOR/CONTROL screen.
8. Replace the Calibrator Control Carousel cover. Align the hole in the
cover with the track that indicates the area of movement for the
Sample Arm. The cover, when seated properly, does not rotate.
9. Select <OK> to exit the CALIBRATOR/CONTROL screen.
10. Select <RUN> in the Action Area. The RUN OPTIONS screen is
displayed.
11. Confirm that the QC option is still selected.
12. Select <START> to initiate the run.