MODULE 1: SYSTEM TOUR
1-32 AEROSET
®
Customer Training Guide
94858-103 — July 2003
Information Access Area
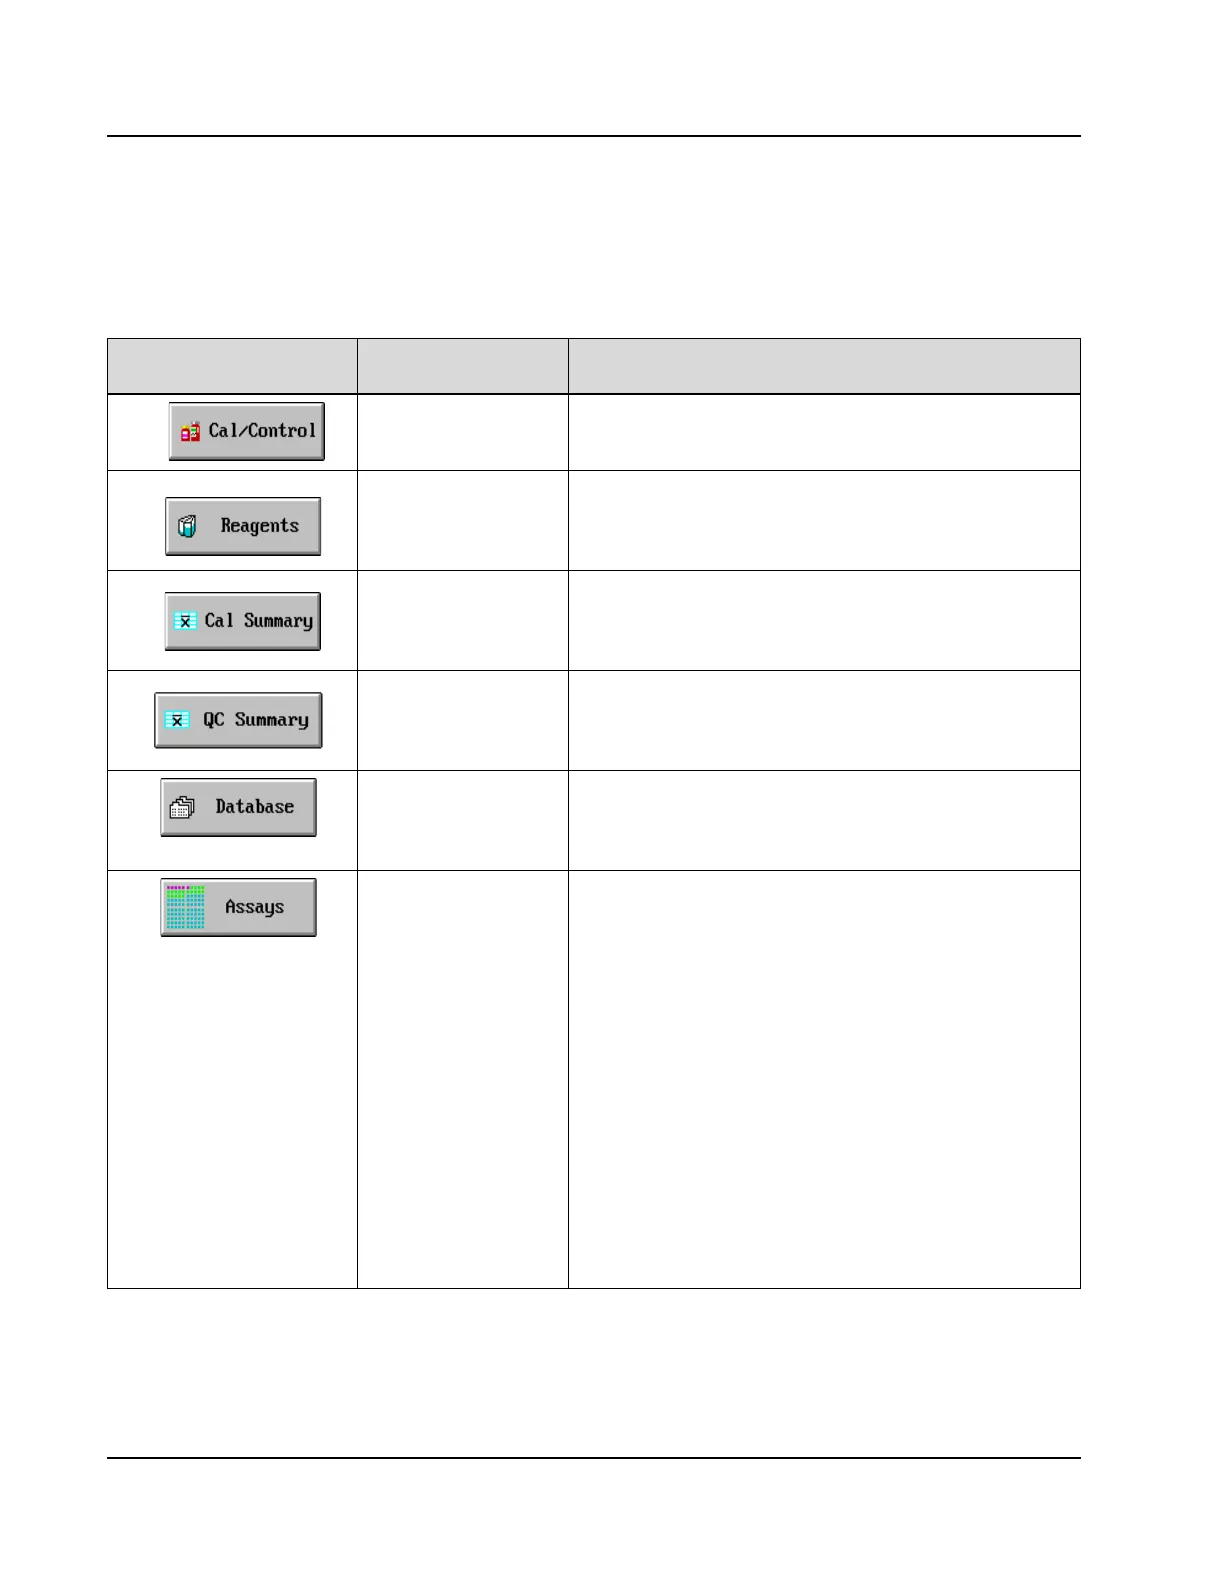
The following table describes the buttons located in the Information
Access Area.
Press this Button…
To Access this
Information
Description
Calibrator/Control
Carousel Display and
Configuration
When selected, displays the configuration of the Calibrator/
Control Carousel (expected values can be entered). Positions
38 - 45 are predefined.
Reagent Supply Display
and Configuration
When selected, displays the Reagent Supply Center
inventory. The Operator can view the position in which the
reagent is located and the remaining reagent volume, both by
number of tests remaining and by % volume remaining.
Calibration Summary When selected, displays the current calibration absorbance
values and factors for all assays. The data can be saved so that
the averages for a month can be displayed. It also allows for
the deletion of previous calibration curves.
Quality Control
Summary
When selected, accesses the QC SUMMARY screen in
which the Operator can view a summary of the QC statistics
for all assays and levels. The Operator can also access the
Levey-Jennings Graphs and QC Details from this screen.
Database When selected, displays the DATABASE screens. These
screens are used to create patient sample orders, view
completed results, view Result Error Codes, and access result
handling functions.
Assays Display When selected, displays the ASSAYS screen to enable access
to the ASSAY STATUS screens for each assay. Displayed on
the ASSAY STATUS screen are the current calibration curve,
reagent status, and a summary of the QC statistics. The Assay
Configuration, Levey-Jennings Graph, and Calibration
Details are also accessed from this screen. The assay-specific
button in the ASSAYS screen displays different colors to
indicate assay status:
• Pink - The reagent is expired or empty or the calibration is
expired / unusable.
• Yellow - The reagent is below the alert level or a calibration
error has occurred.
• Black - An assay parameter is defined incorrectly.
• Green - The assay is OK.
Select <Status> on the ASSAY STATUS screen for an
explanation of the cause of the color change to the button.