AT-SBx908 Gen2 Switch Installation Guide
123
Installing AT-SP10TW Direct Connect Twinax Cables in the AT-
XEM2-12XS Switch
The AT-XEM2-12XS Line Card supports AT-SP10TW direct connect
twinax cables in its twelve transceiver slots. The cables are an economical
way to add 10GBase connections over short distances. They have SFP+
transceivers on both ends and come in lengths of 1, 3, and 7 meters.
To install AT-SP10TW cables in the AT-XEM2-12XS Line Card, perform
the following procedure:
1. Remove the transceiver from its shipping container and store the
packaging material in a safe location.
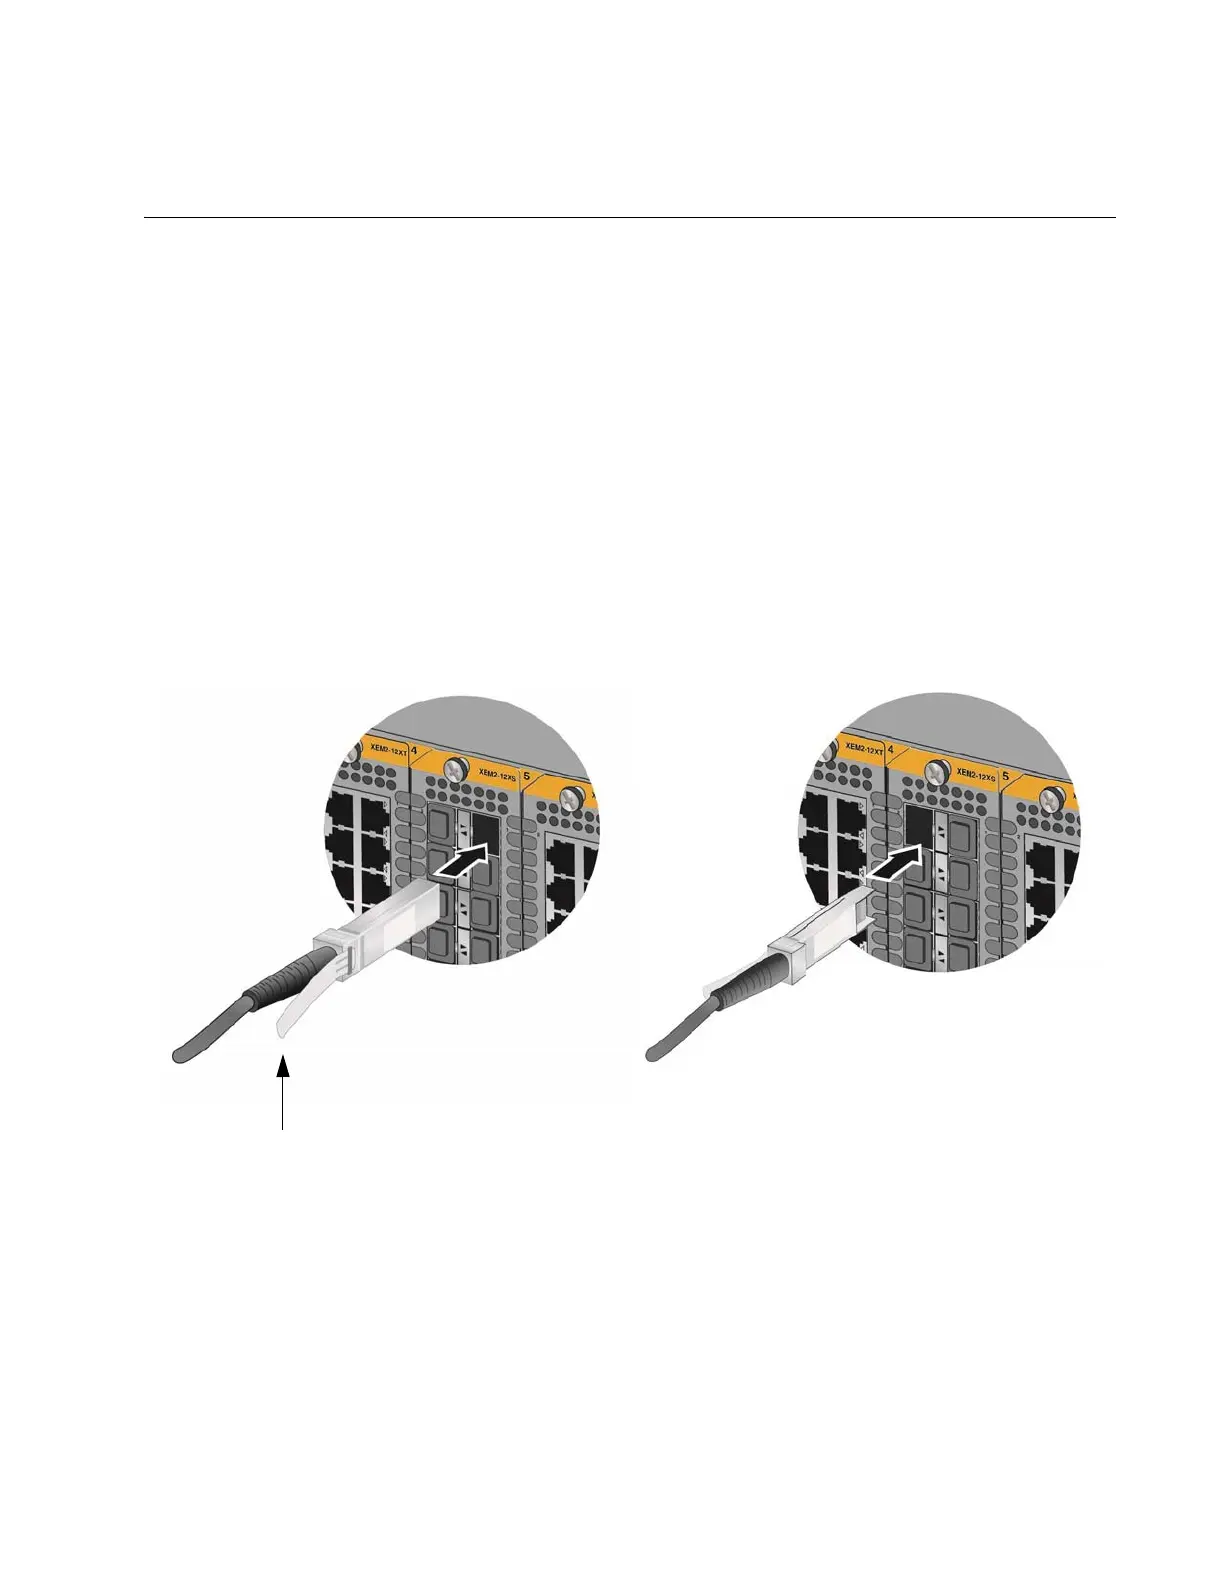
2. To install the transceiver in odd numbered slots, position the
transceiver with the release tab on the right. To install the transceiver
in even numbered slots, position the release tab on the left. Refer to
Figure 89.
Figure 89. Installing AT-SP10TW Cables in the AT-XEM2-12XS Line Card
3. Slide the transceiver into the slot until it clicks into place.
4. Connect the other end of the cable into an SFP+ slot on another
network device.
5. Repeat this procedure to install additional transceivers.
 Loading...


