Chapter 3: Installing the Chassis
72
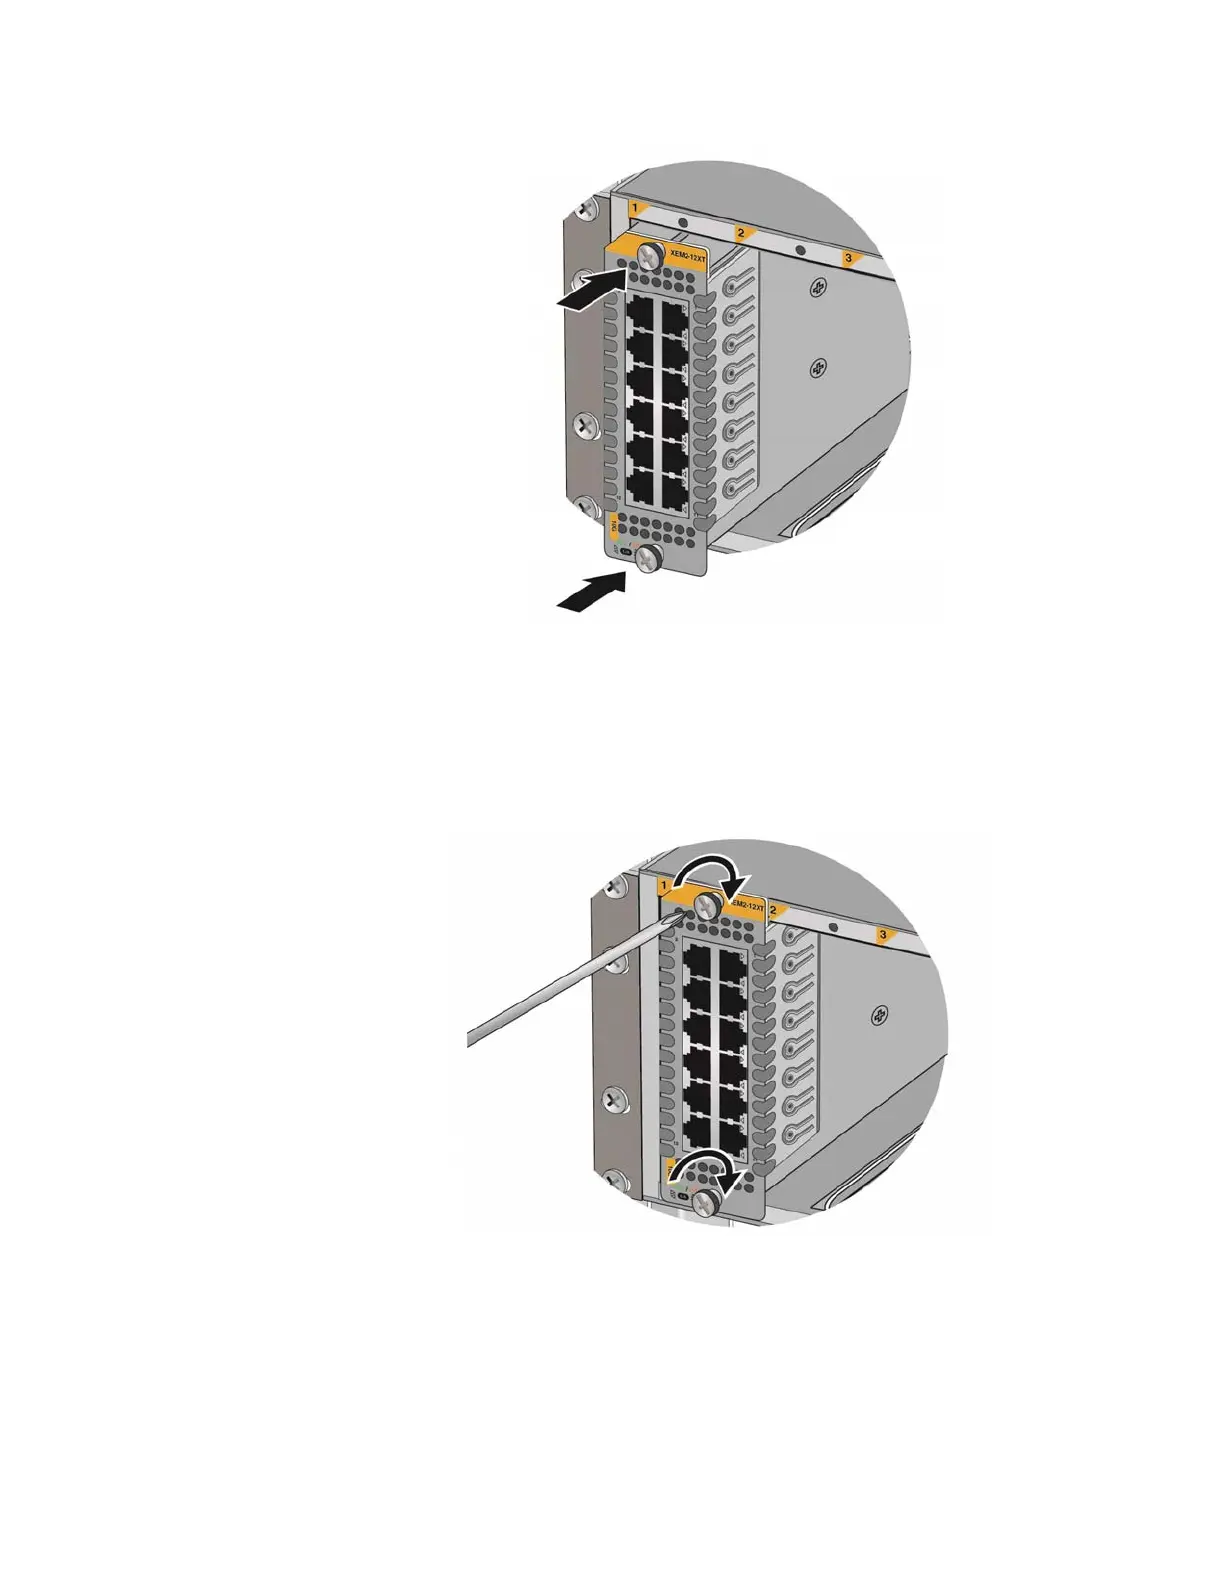
Figure 39. Seating an Ethernet Line Card in the Chassis
6. Visually inspect the line card to verify that its faceplate is flush against
the front panel of the chassis.
7. Tighten the two captive screws on the card to secure it in the chassis.
Refer to Figure 40.
Figure 40. Tightening the Two Captive Screws on the Ethernet Line Card
8. Repeat this procedure to install additional cards.
9. After installing the line cards, go to “Installing Blank Line Card Slot
Covers” on page 73.
 Loading...


