Chapter 3: Installing the Chassis
62
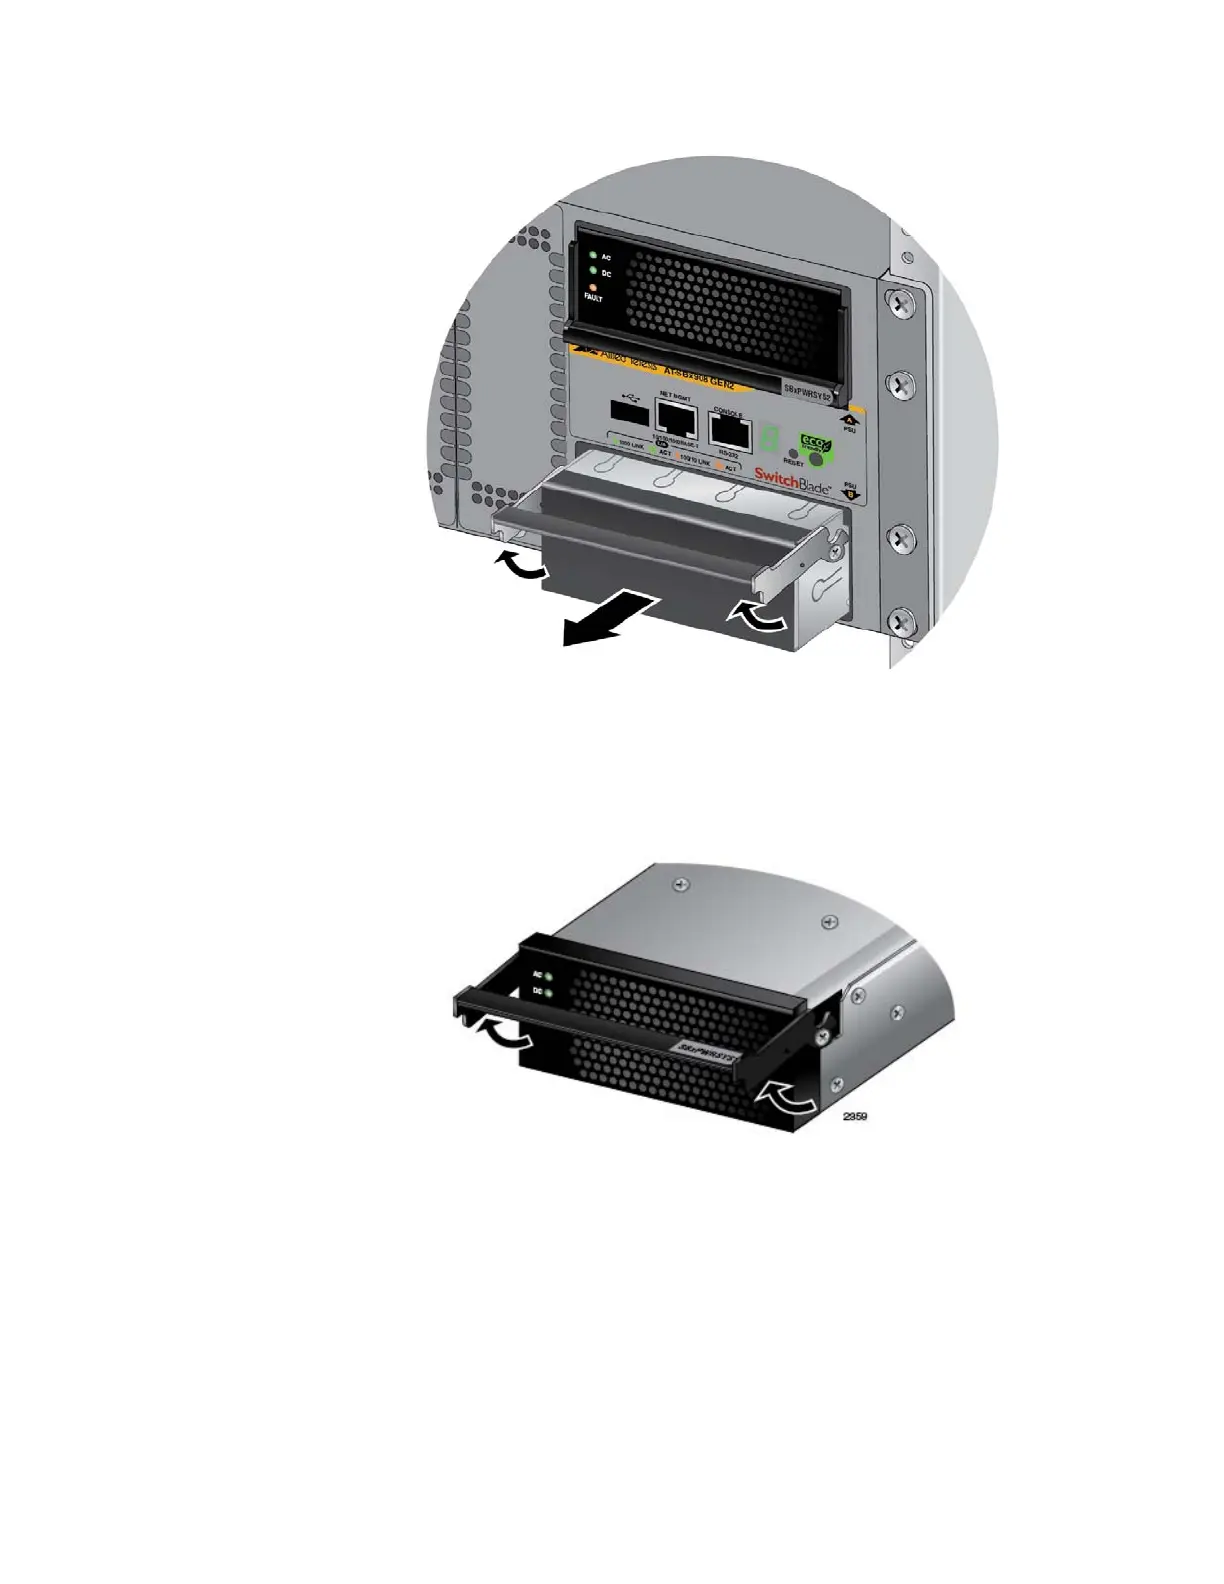
Figure 27. Removing the Blank Power Supply Panel from Power Supply
Slot B
3. Lift the handle on the AT-SBxPWRSYS2 AC Power Supply. Refer to
Figure 28.
Figure 28. Lifting the Locking Handle on the AT-SBxPWRSYS2 Power
Supply
4. Carefully align the power supply in the slot and slide it into the slot until
it makes contact with the connector inside the chassis. Refer to Figure
29 on page 63.
 Loading...


