Chapter 4: Powering On the Chassis
94
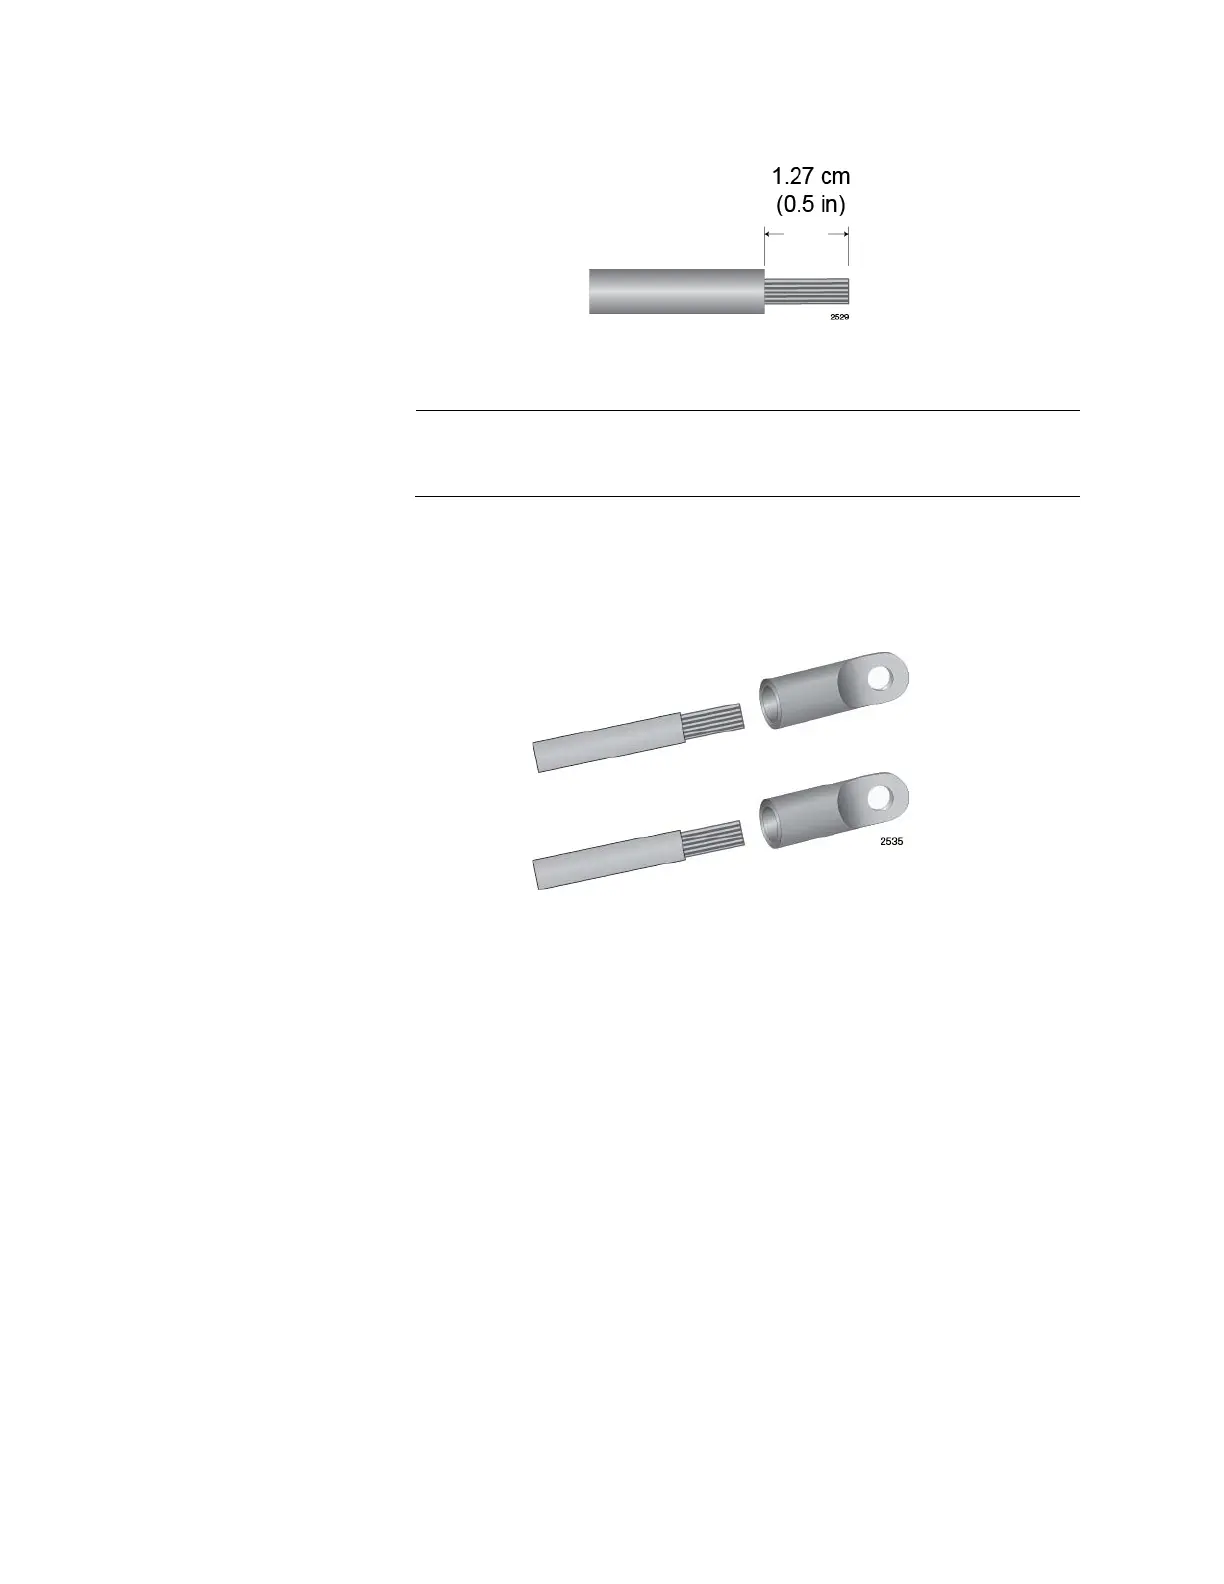
Figure 62. Stripping the Power Wires
You must use stranded wires with the terminal lugs. You may not
use solid wires.
2. Insert the power wires into the terminals included with the power
supply and use a crimping tool to secure the wires to the terminals.
See Figure 63.
Figure 63. Attaching the Power Wires to the Straight Terminal Lugs
3. Verify that the On/Off switch on AT-SBxPWRSYS1-80 Power Supply
is in the Off position. Refer to Figure 54 on page 87.
4. Use a #1 Phillips-head screwdriver to loosen the two screws on the
plastic cover over the positive and negative terminals on the power
supply and slide the cover to the right, as shown in Figure 64 on page
95. You may need to lift the locking handle slightly to access the
bottom screw.
 Loading...


