This section describes the hierarchy of the menu system starting with the [Main menu] screen, and
lists the lower-layer menu screens and the options accessible from these screens.
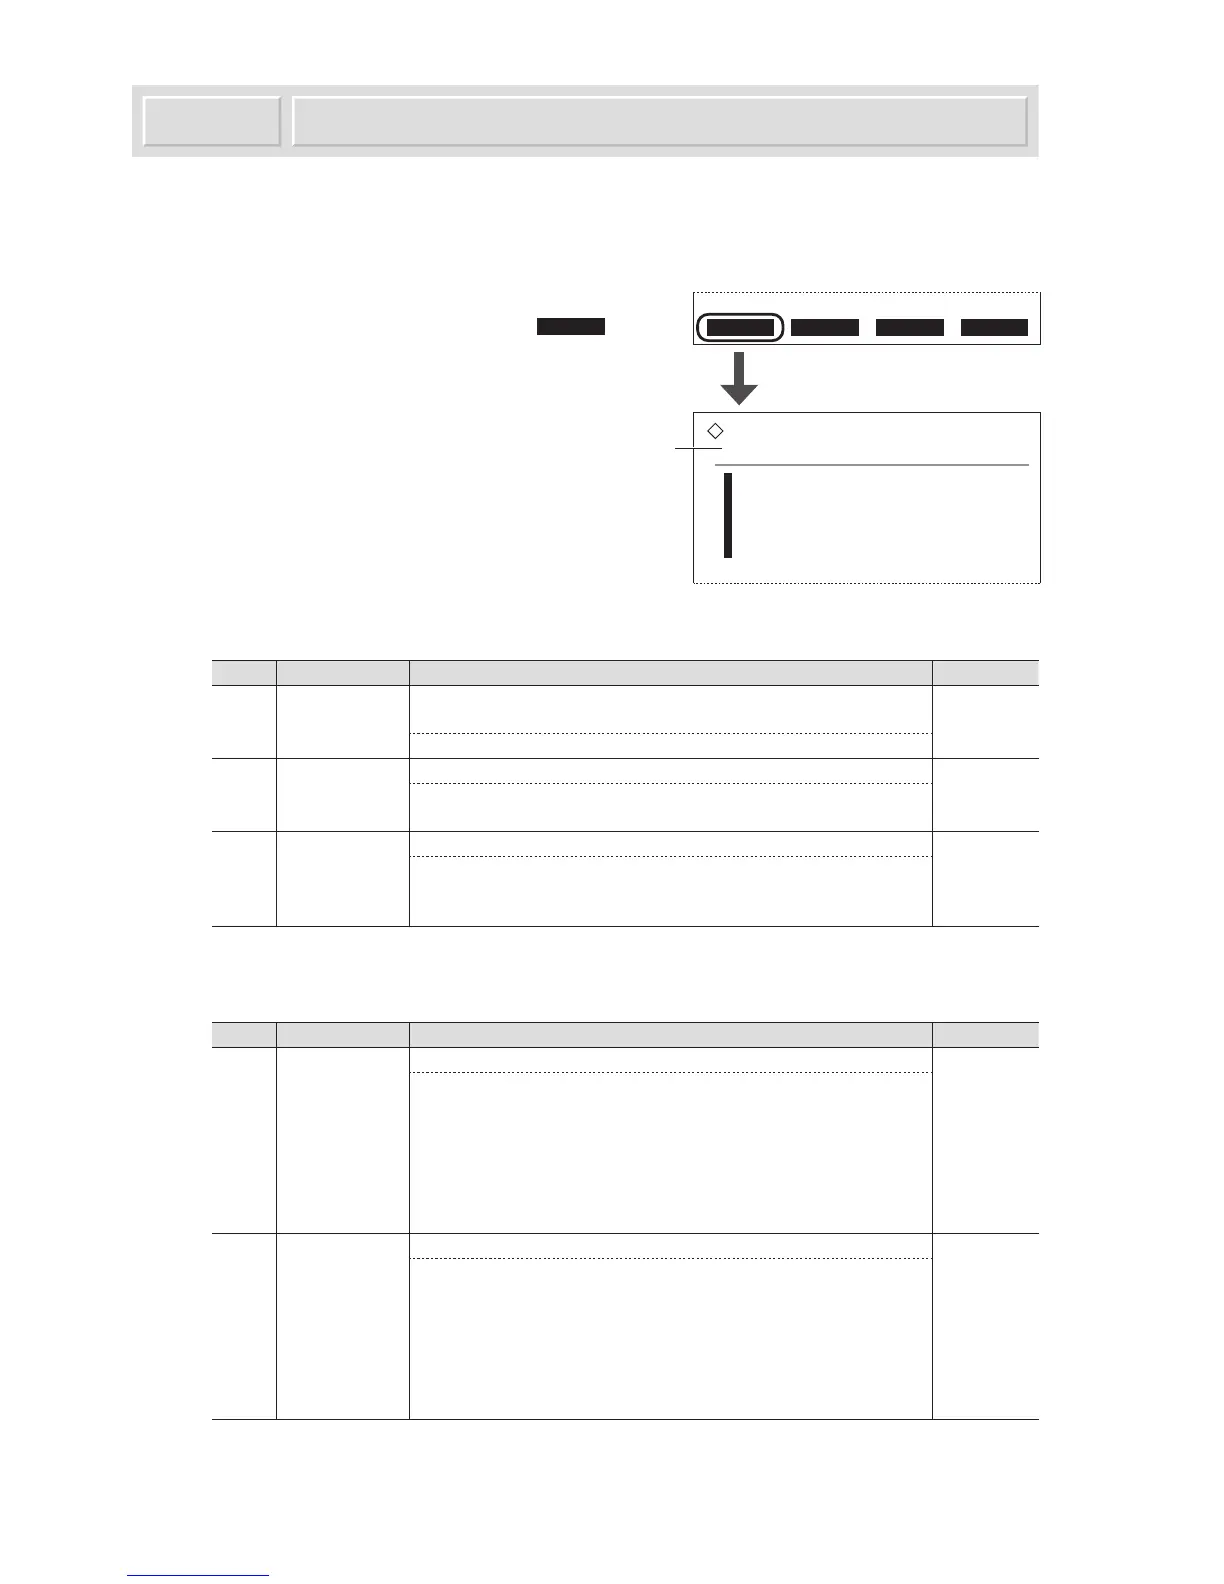
■ [Main menu] screen (No. 0000)
To go to the [Main menu] screen, press Menu on the
standby screen. The [Main menu] screen lists 5 options
for accessing the lower-layer menu screens listed
below.
■ [Parameter settings] screen (No. 1000)
No. Options Description (default bolded)
See page(s)
1100 Rack
assignment for
test strip
Assigns a feeder (type of test strips in it) to each item rack (#01
- #10).
2-19
#01 to #10 : ×
(main feeder), 1 (feeder 1), 2 (feeder 2)
1200 Results
display format
Selects the result format for patient samples and controls.
3-4
Normal measurement:
Semiquantitative, Reflectivity
Control measurement:
Semiquantitative, Reflectivity
1300 Measurement
No. setup
Configures the measurement numbering system.
3-6
Measurement start No.:
Continue from previous batch,
Initialize for every batch
Measurement No.:
Assign to samples, Assign to ports
■ [Results] screen (No. 2000)
No. Options Description (default bolded)
See page(s)
2100 Print Reprints the results stored in memory. 3-8
Date: Specify a range of days.
(today)
Measurement: Normal & STAT measurements,
Normal measurement, STAT measurement,
Control measurement, Check measurement
Results:
All, Normal results only,
Include abnormal results, Barcode misread
Range of results:
All, Measurement No., Port No., ID
2200 Transmit Transmits the results stored in memory to an external device. 3-8
Date: Specify a range of days.
(today)
Measurement: Normal & STAT measurements,
Normal measurement, STAT measurement,
Control measurement, Check measurement
Results:
All, Normal results only,
Include abnormal results, Barcode misread
Range of results:
All, Measurement No., Port No., ID
Menu Configuration3.1

 Loading...


