8/5
Chapter 8: Troubleshooting
Operators & Maintenance Manual GENIUS Compact Version UK 0.1 © BESTnv
BESTnv Industrial Research BV, Marinus van Meelweg 20, 5657 EN, EINDHOVEN, THE NETHERLANDS
General tel. +31 (40) 292 2622 - Service tel. +31 (40) 292 2620 - Fax. +31 (40) 292 2633 - Email: service.BESTnv@bestnv.com
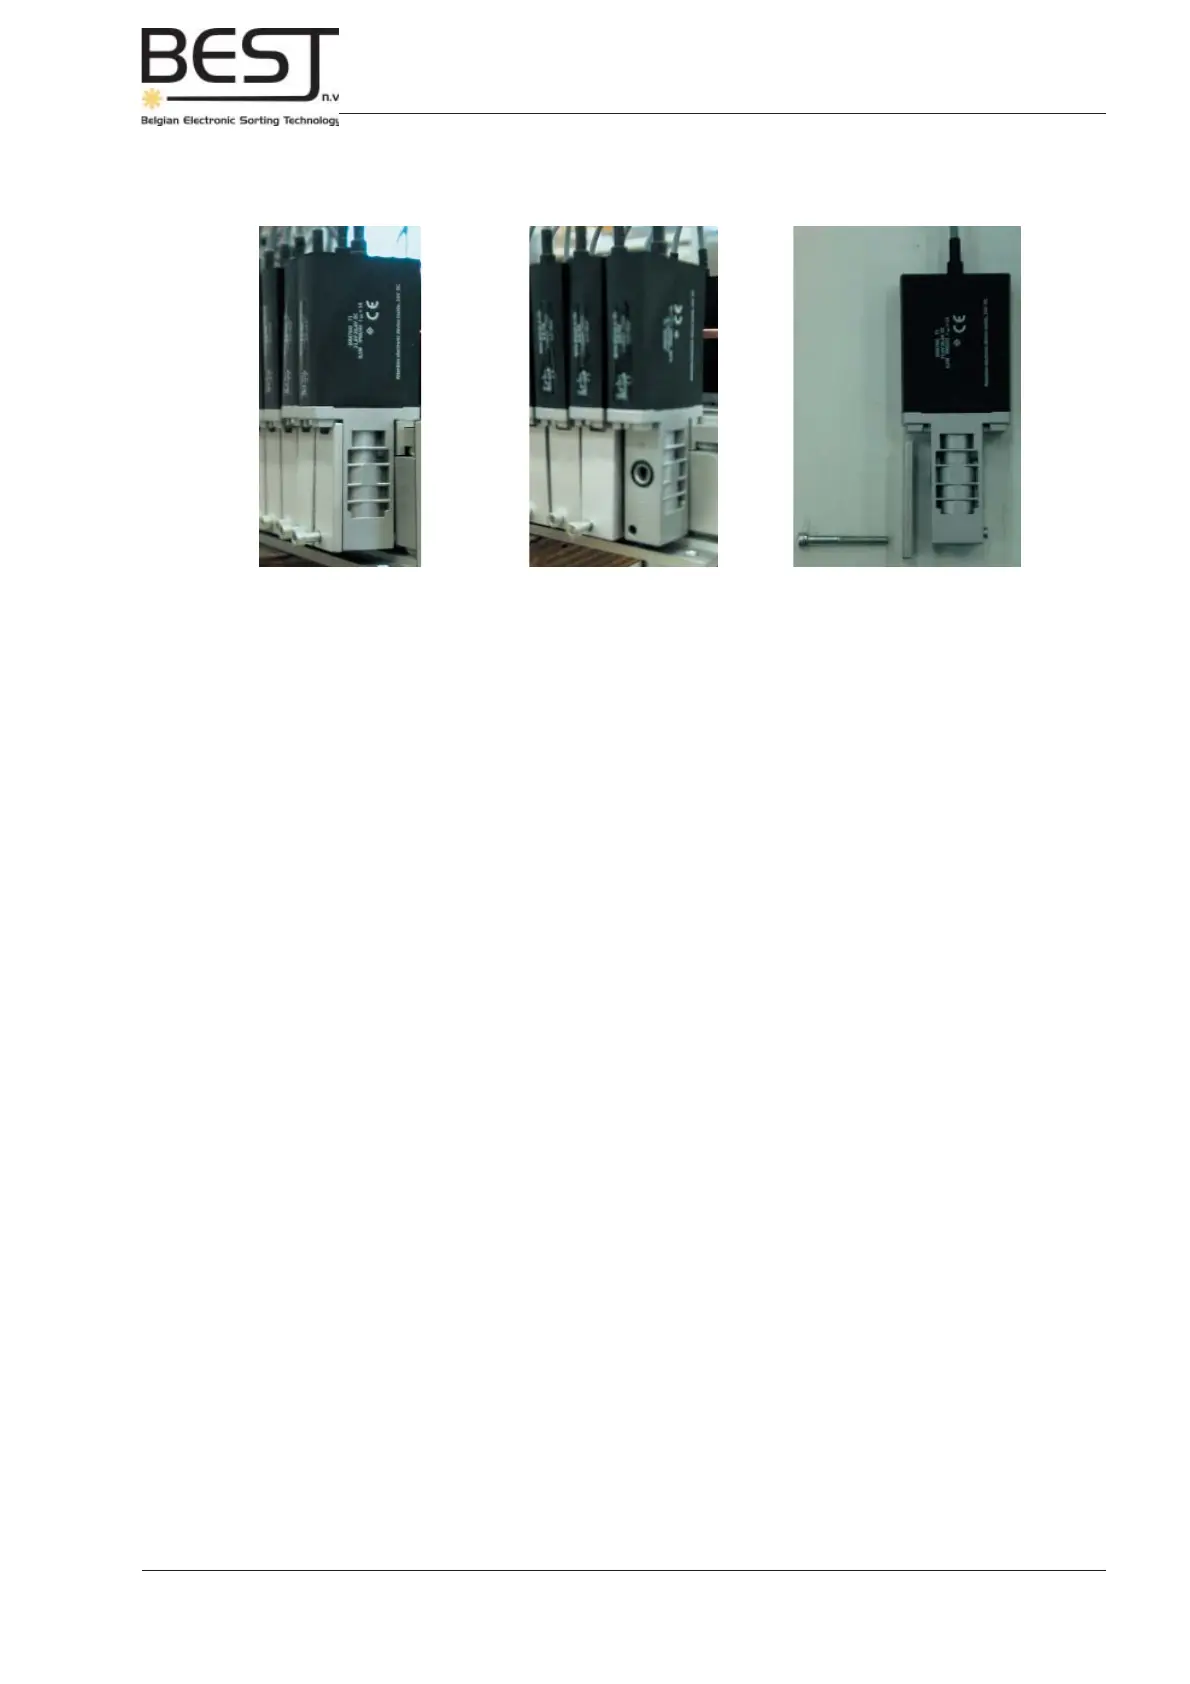
F
P
F
P
1
2
3
5. Replace the defect air gun with a new one (make sure to mark the new valve with the same number as
the old valve), put in the screw (with protection plate, see picture 3 above) and reconnect the electrical
connections.
6. When the necessary air guns have been replaced, the cover must be mounted again
7. Next the air pressure valve should be opened again. It is advisable to check whether the air pressure
gauge indicates the correct air pressure. If not, use the air pressure button to regulate the pressure (see
picture procedure 8.3.1).
8. Switch the main power to the machine back on (see procedure in chapter 5).
9. Start the laser sorter and test all air guns (Valve Test menu touchscreen).
b. Unscrew the fastening screw (F) (use allen key). Make sure to catch the little protection plate (P)
which is fi xed to the air gun with the fastening screw (F) (see pictures 1, 2 & 3 below).