Libraries Widget
Overview
The Libraries widget contains all Trackables, Fixtures, and Zones that can be applied to Chapters in the
Editing View. The widget is separated into three tabs, one each for Trackables, Fixtures, and Zones. Each
type of assignable item can be dragged from the Libraries widget into its respective pane in the Edit
view. The top pane for trackables, bottom pane for fixtures being assigned to trackables, and into the
Fixture Settings widget for Zones.
Trackables Tab
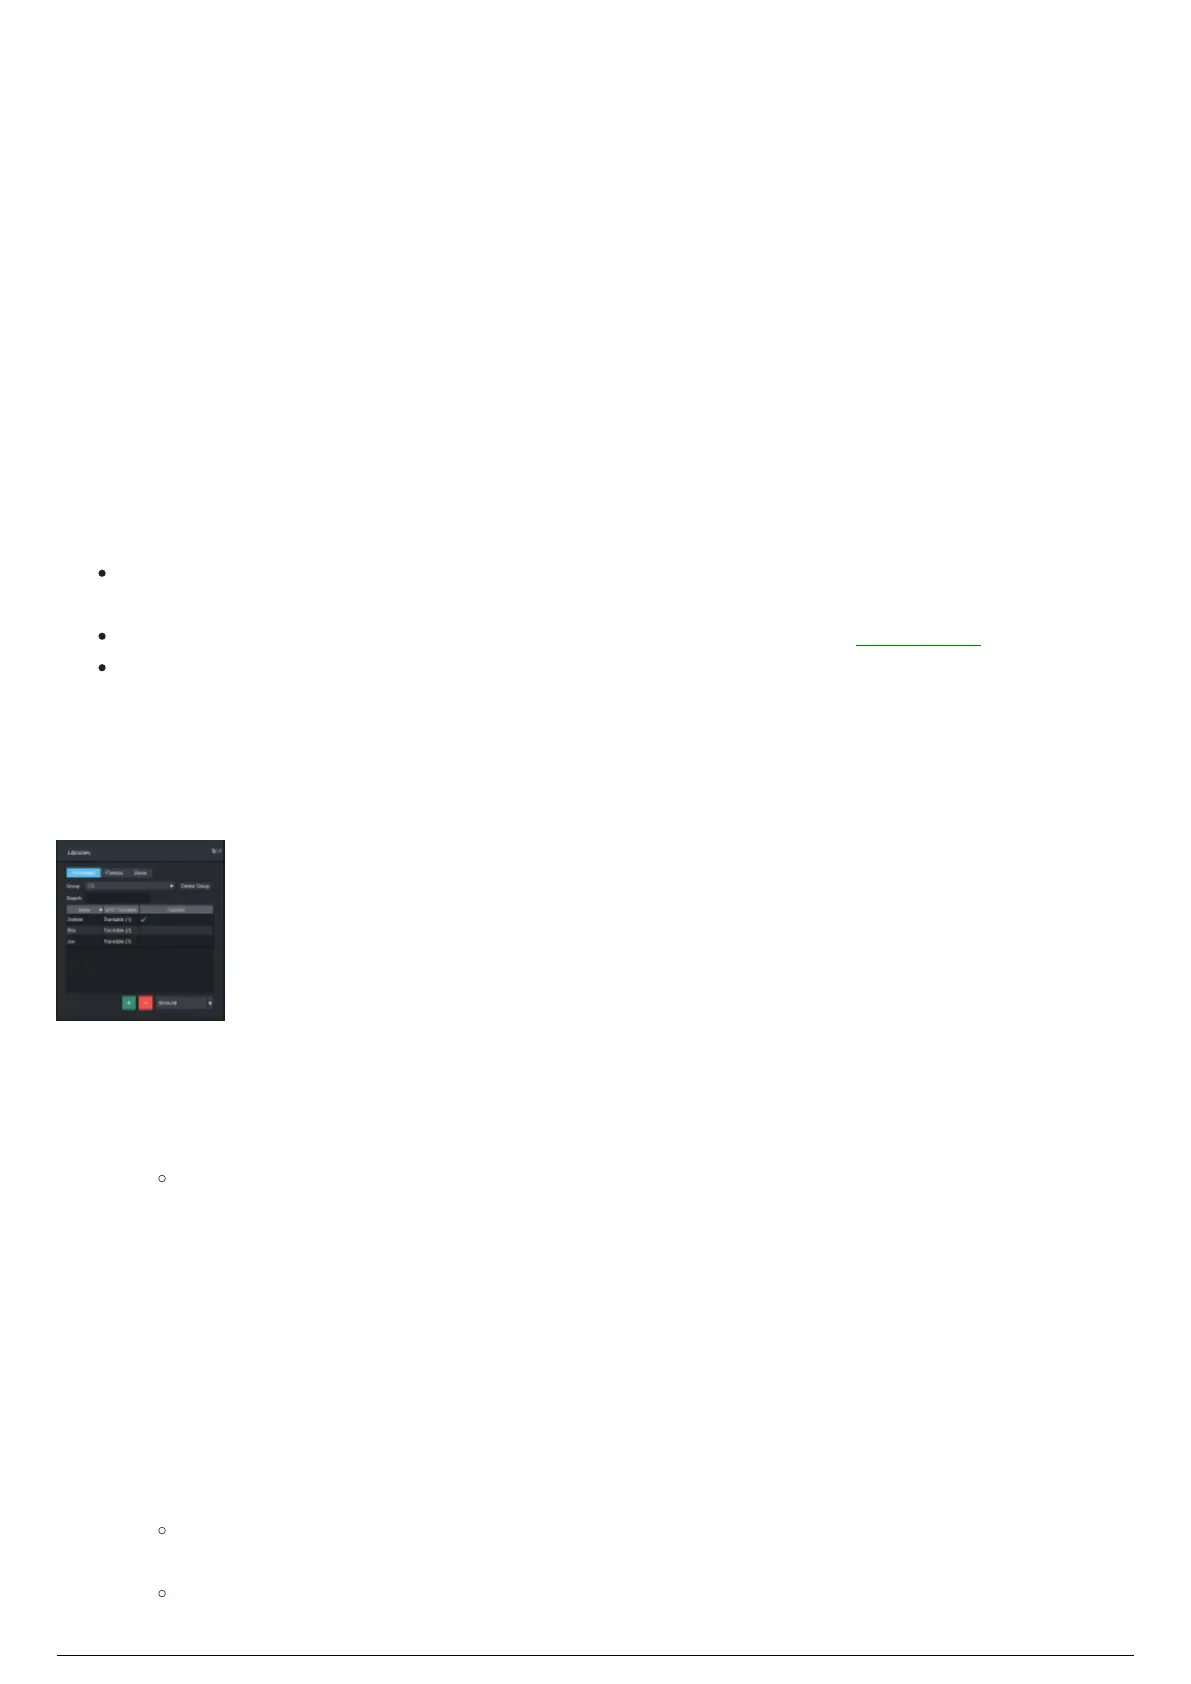
The Trackables tab is organized in a table format with three columns: Name, WYG Trackable, and
Patch status.
Name: The name of the trackable in BlackTrax, which can be changed by double-clicking the name
field on the widget.
WYG Trackable: The name of the trackable when it was exported from BTWYSIWYG.
Patched: The patch status indicates whether or not the trackable has been assigned to a chapter
or chapters. A blue checkmark is displayed to indicate that the Trackable has been assigned to a
chapter or chapters.
Depending on your BlackTrax project, you may have a large amount of Trackables to keep track of. The
Search Trackables function helps you to sort and locate the exact Trackables you need.
Libraries Widget viewing the Trackables Tab
To search for a trackable
The only way to search for a Trackable is by searching for the Trackable Name assigned in BlackTrax.
In the Search field of the Trackables tab , enter the name of the Trackable(s) you are looking for.1.
Result: The Trackables List in the Trackables tab will display only Trackables that meet your
search criteria.
Grouping Trackables
The Group feature in this widget can be used to group selected trackables and display together in Live
mode.
To group trackables
From the list in the table, select the Trackables you would like to group together.1.
Click the Group drop-down menu and select New Group From Selected.2.
Result: The New Trackable Group dialog box appears.
Enter the group name in the Group Name field on the New Trackable Group dialog box.3.
Result: The group of Trackables is created and appears in the Group drop-down menu.