Common Functions of the Device
Manager
To set preset Beacons
The use of Preset Beacon numbers acts as an easy and convenient way to configure all perimeters of
Beacons without manually entering all settings.
Connect the Charging Station to the BlackTrax System.1.
Open the Device Manager.2.
Note: All devices that are connected to the Charging Station are displayed in the Device
Manager automatically showing the connection status and preset settings.
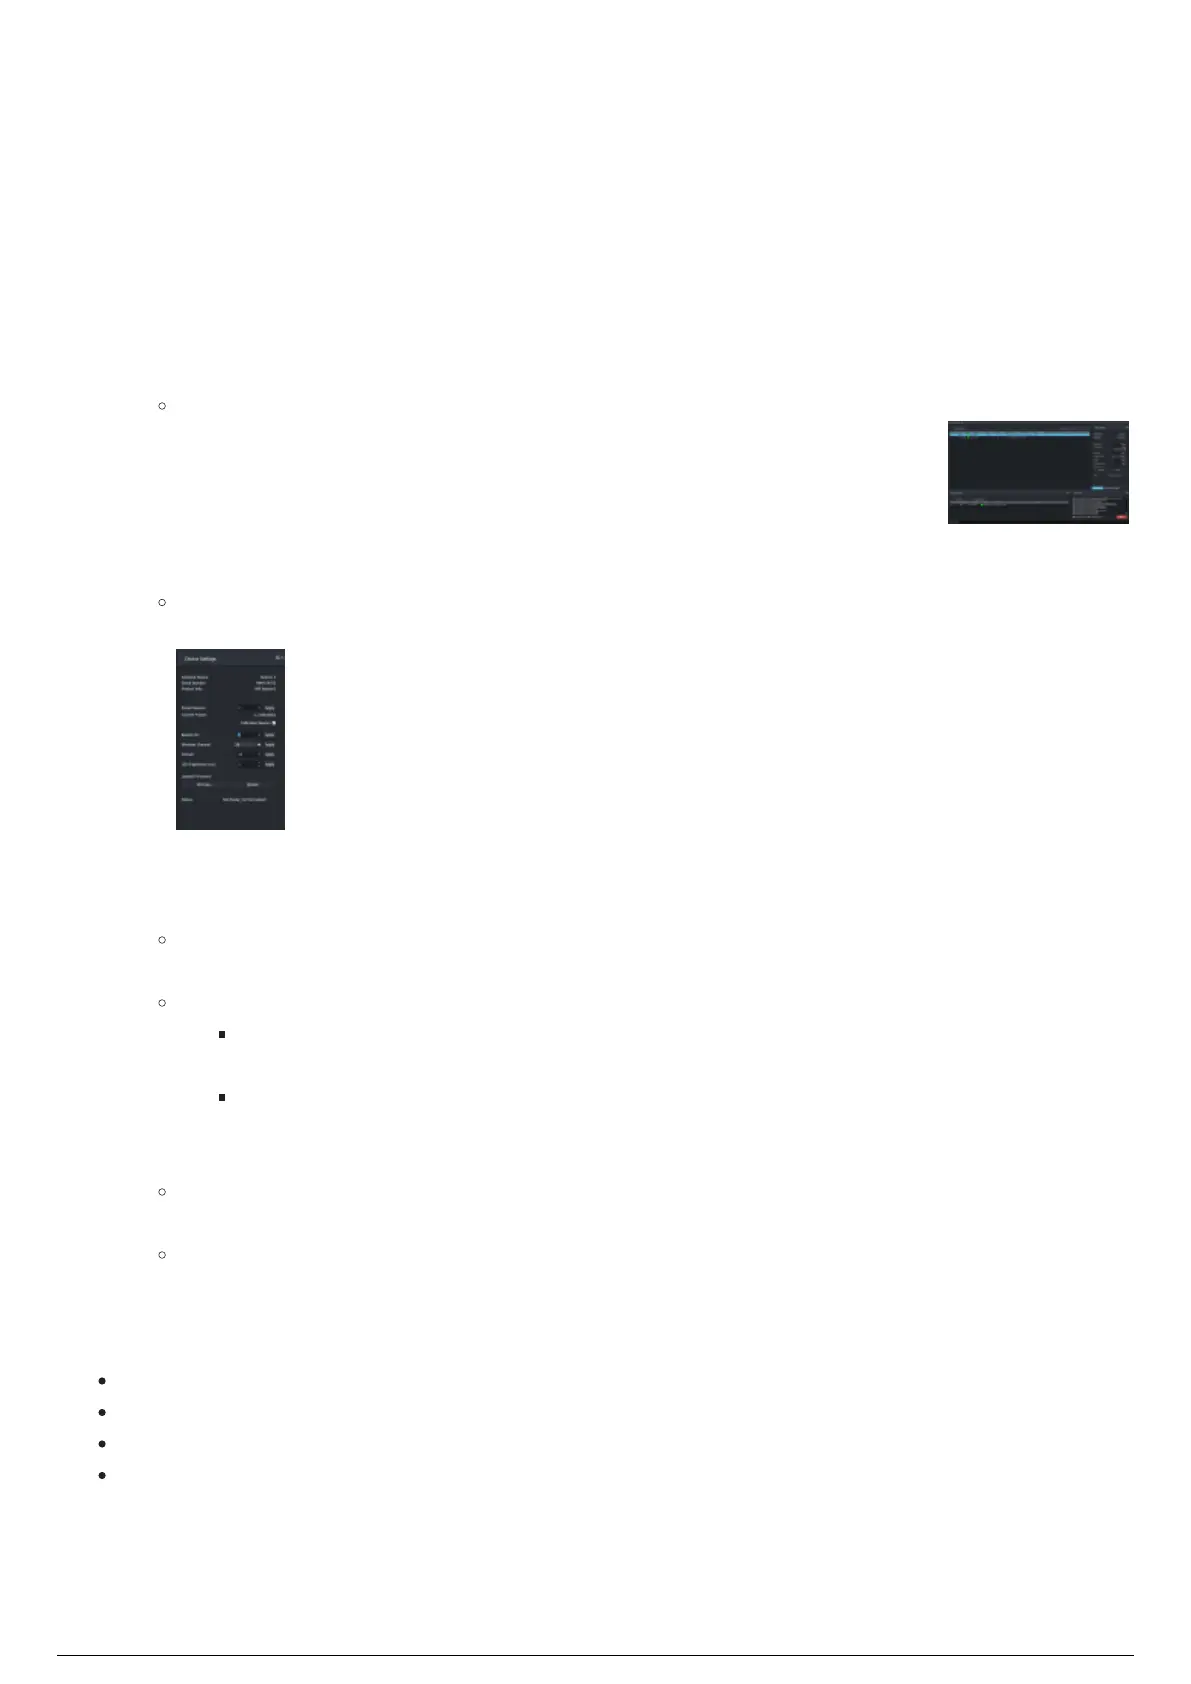
From the table in the Main panel of the Device Manager, select a Beacon.3.
Result: The Device Settings widget displays the settings (default preset or previously set
custom settings) of the selected Beacon.
On the Preset Beacon scroll box of the Device Settings widget, scroll and select the Preset Beacon4.
number.
Click Apply.5.
Result: All the pre-programmed settings associated with Preset Beacon number is applied to
the selected Beacon.
Note:
Current Preset displays the current preset settings under a preset Beacon ID (i.e. 3,
Calibration).
You may select several Beacons which assigns all Beacons with a different preset
number, incrementing by 1.
Select the Calibration Beacon checkbox if you want to set the Beacon as a calibration unit.6.
Result: The Calibration Beacon is set at Time Slot 1 and IMU is enabled. A Calibration Beacon
automatically transmits signal packets faster.
Note: To unassign a Beacon as a Calibration Beacon, you must uncheck the checkbox and
re-apply the Preset Beacon.
Example of the Preset Beacon settings:
Current Preset: 2
Wireless Channel: 26
Subnet: 35
LED Brightness: 3ms
To upload firmware from device settings