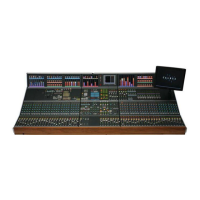
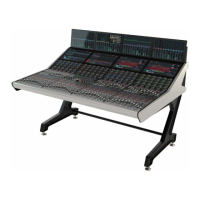
ASSIgNAbLE MONITORINg & METERINg
If your console has the traditional style
monitor selection and LS panels, please
refer to Appendix B at the end of this
manual.
The sources are selected from a
programmable set of selection buttons.
Each monitor output’s button incorporates
a display, on which the currently assigned
source label is shown.
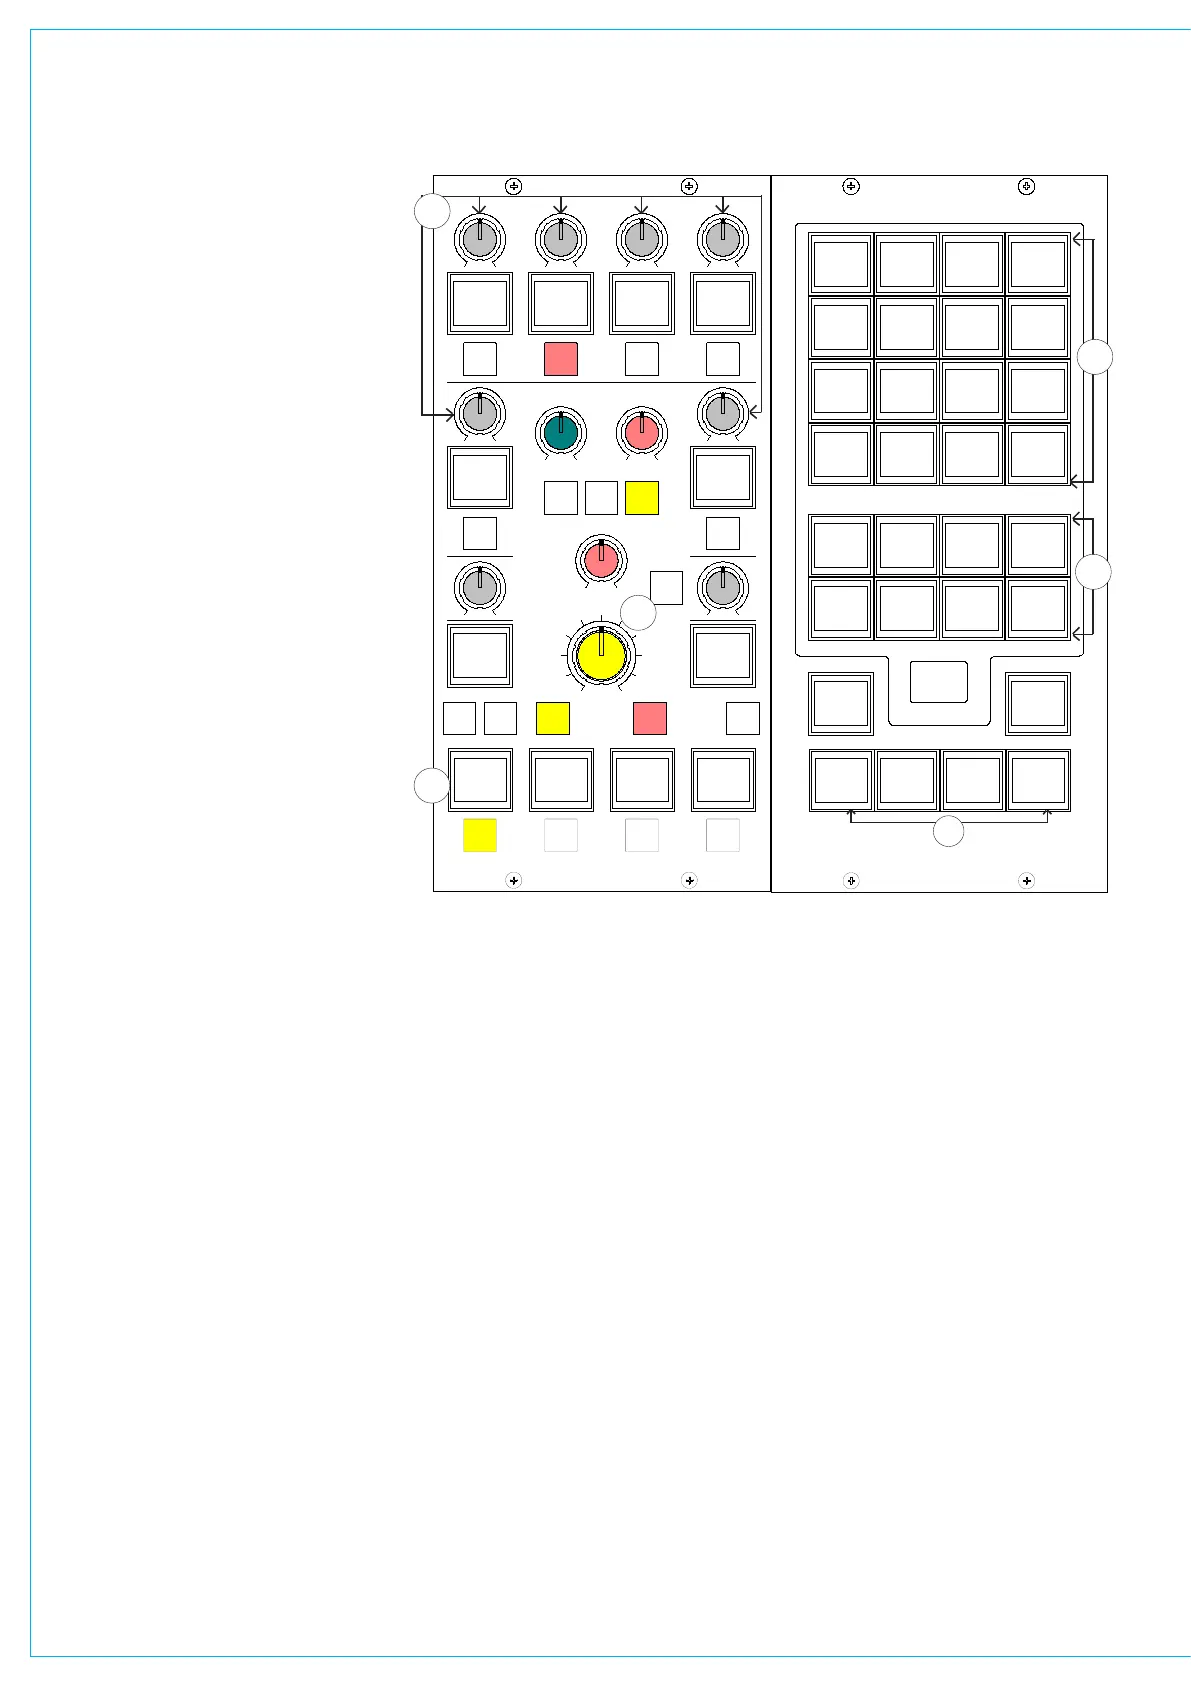
(1) Selection Banks
All of the monitor sources can be grouped
into 7 user-definable banks, with up to
16 sources in each bank. Sources are
allocated to Banks A to G using the
Options-Mon I/P and TB screen.
An eighth bank allows miscellaneous
functions to be applied to the selected
output, and is not editable. Pressing the
bank selection button will change the 16
source selection buttons to display the
sources allocated to that bank.
(2) Monitor Source Selections
The 16 selection buttons display the
available monitor sources or functions
allocated to the selected bank.
(3) Misc Outputs
There are 6 misc outputs to which monitor
sources can be assigned. Misc outputs
1 and 2 can be stereo, 3 stereo, or 5.1
independently. Misc outputs 3, 4, 5 and 6
are stereo only.
Each misc output will have been given
a suitable name during the set up of the
console. This name will then appear on
the button display, and on the front end
screens.
Pressing the button selects the misc
output, and its display will be highlighted
in amber. With the misc output selected,
simply select a monitor source from the
monitor selector panel to assign that
source to the misc output. The currently
assigned monitor source (and its bank)
will also be highlighted in amber on the
Monitor Selector Panel.
When a misc output is selected, the misc
functions bank allows options for the
mute button, CUT, DIM and mono/stereo
monitoring options to be applied.
(4) Control Room Pre-Selects
The 4 Control Room Pre-select buttons,
allow 4 monitor sources to be preset ready
for immediate listening on the main control
room loudspeakers.
An example of their use might be that
two of the buttons are used for A/B
comparison, whilst the main output is
always available on one of the other
buttons.
With a Control Room Pre-select button
selected, press the required monitor
source from the 7 banks of 16 monitor
sources on the Monitor Selector Panel to
assign the source. The source label will be
displayed on the button.
The HEAR button below each Control
Room Pre-select button allows the user
to listen to the assigned source on the
Control Room Monitor. The HEAR button
will illuminate to show which Control Room
Pre-select is currently being monitored.
(5) Control Room Main and Small LS
The SMALL LS level control is in series
with the Main LS level control, allowing
the Main LS level control to be used
irrespective of which LS system is in use.
The Small LS level control is used to adjust
for the difference between the two sets
of LS. The CHANGEOVER button diverts
the monitor output to the small LS for near
field, or domestic check, monitoring.
Both main and small LS can be stereo,
MP5405
SMALL LS
LEVEL
L R
BALANCE
DIM
CLEAR
DIRECT
INPUT
CH ANGE
OVER
STE RE O
MONO
SURR
MAIN 1
MISC OP5
STEREO
MAIN 1
MISC OP6
PFL
MISC OP4
STEREO
MAIN 1
MISC OP1
SURR
MAIN 1
MISC OP2
SURR
MAIN 1
PRE-SEL1
LS RS
LFE OFF
L C R
MISC FUNCTIONS
SURR
MAIN 2
PRE-SEL2
STEREO
VTR1/1
PRE-SEL3
AUX 3
PRE-SEL4
IN
LS MON
INSERT
NO COMP
FULL
DP570
DECODERS
DIM
CUT
MUTE
CR MON
FOLLOW
MISC OP3
MUTE MUTE MUTE
MUTE MUTE
0
PFL/LIST AFL
CONTROL
ROOM
MONITOR
1 2
3 4
5 6
0
1
HEAR
2
HEAR
3
HEAR
4
INPUT
DIRECT
HEAR
MY5403
MONITOR SEL
SURR
MAIN 1
SURR
MAIN 2
SURR
MAIN 3
SURR
MAIN 4
STEREO STEREO STEREO STEREO
1
GROUP
2
GROUP
3
GROUP
4
GROUP
GROUPS
MAINS
BANK A
AUX
BANK B
EXT 1
BANK C
EXT 2
BANK D
EXT 3
BANK E
USER 1
BANK F
USER 2
BANK G
FUNCT
MISC
SURR
MAIN 1
METER 1
CR MON
FOLLOW
METER 2
SURR
MAIN 2
METER 3
MAIN 1 MAIN 2 MAIN 3 MAIN 4
5
GROUP
6
GROUP
7
GROUP
8
GROUP
ASSIGNMENT
SELECTION TYPE
SELECTION
PRE-
CR MON
SEL2
METER 4
SURR
MAIN 3