Chery Automobile Co., Ltd.
48 - EXTERIOR
48–25
48
Fender Assembly
Removal
HINT:
Use the same procedures for the right side and left side.
Procedures listed below are for the left side.
1. Turn off all the electrical equipment and ignition switch.
2. Disconnect the negative battery cable.
3. Remove the front left wheel flare assembly (See page 48-20).
4. Remove the left apron plate cover assembly (See page 48-22).
5. Remove the front bumper assembly (See page 48-11).
6. Remove the front bumper left mounting bracket assembly (See page 48-17).
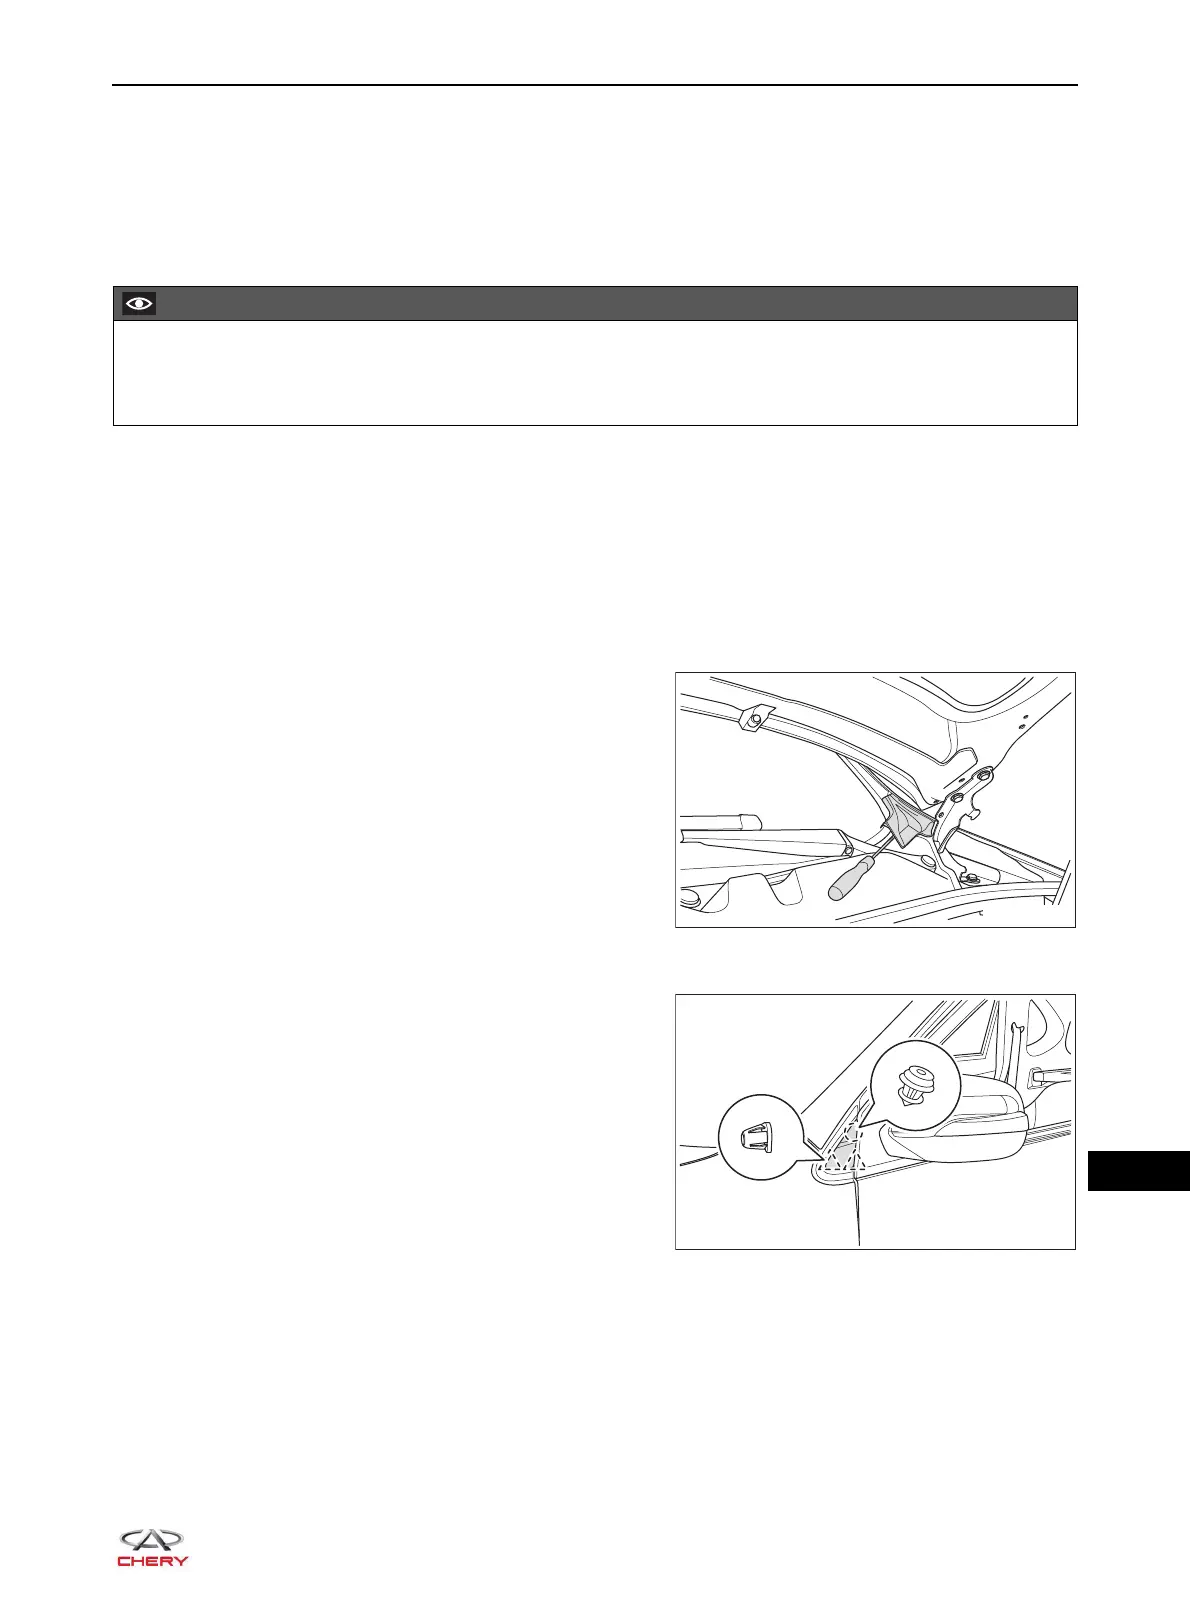
7. Remove the front windshield lower garnish left cover plate.
a. Using a screwdriver wrapped with protective tape, pry
up the claws on front windshield lower garnish left
cover plate.
b. Remove the front windshield lower garnish left cover
plate.
8. Remove the left outer triangular block assembly.
a. Using an interior crow plate, pry off the clips from the
left outer triangular block assembly, and remove the
left outer triangular block assembly.
Be sure to wear safety equipment to prevent accidents when removing fender assembly.
Try to prevent body paint surface from being scratched when removing fender assembly.
 Loading...