Chery Automobile Co., Ltd.
49 - INTERIOR
49–15
49
Rear Door Opening Weatherstrip
Removal
HINT:
Use the same procedures for the right side and left side.
Procedures listed below are for the left side.
1. Remove the rear left doorsill pressure plate assembly (See page 49-12).
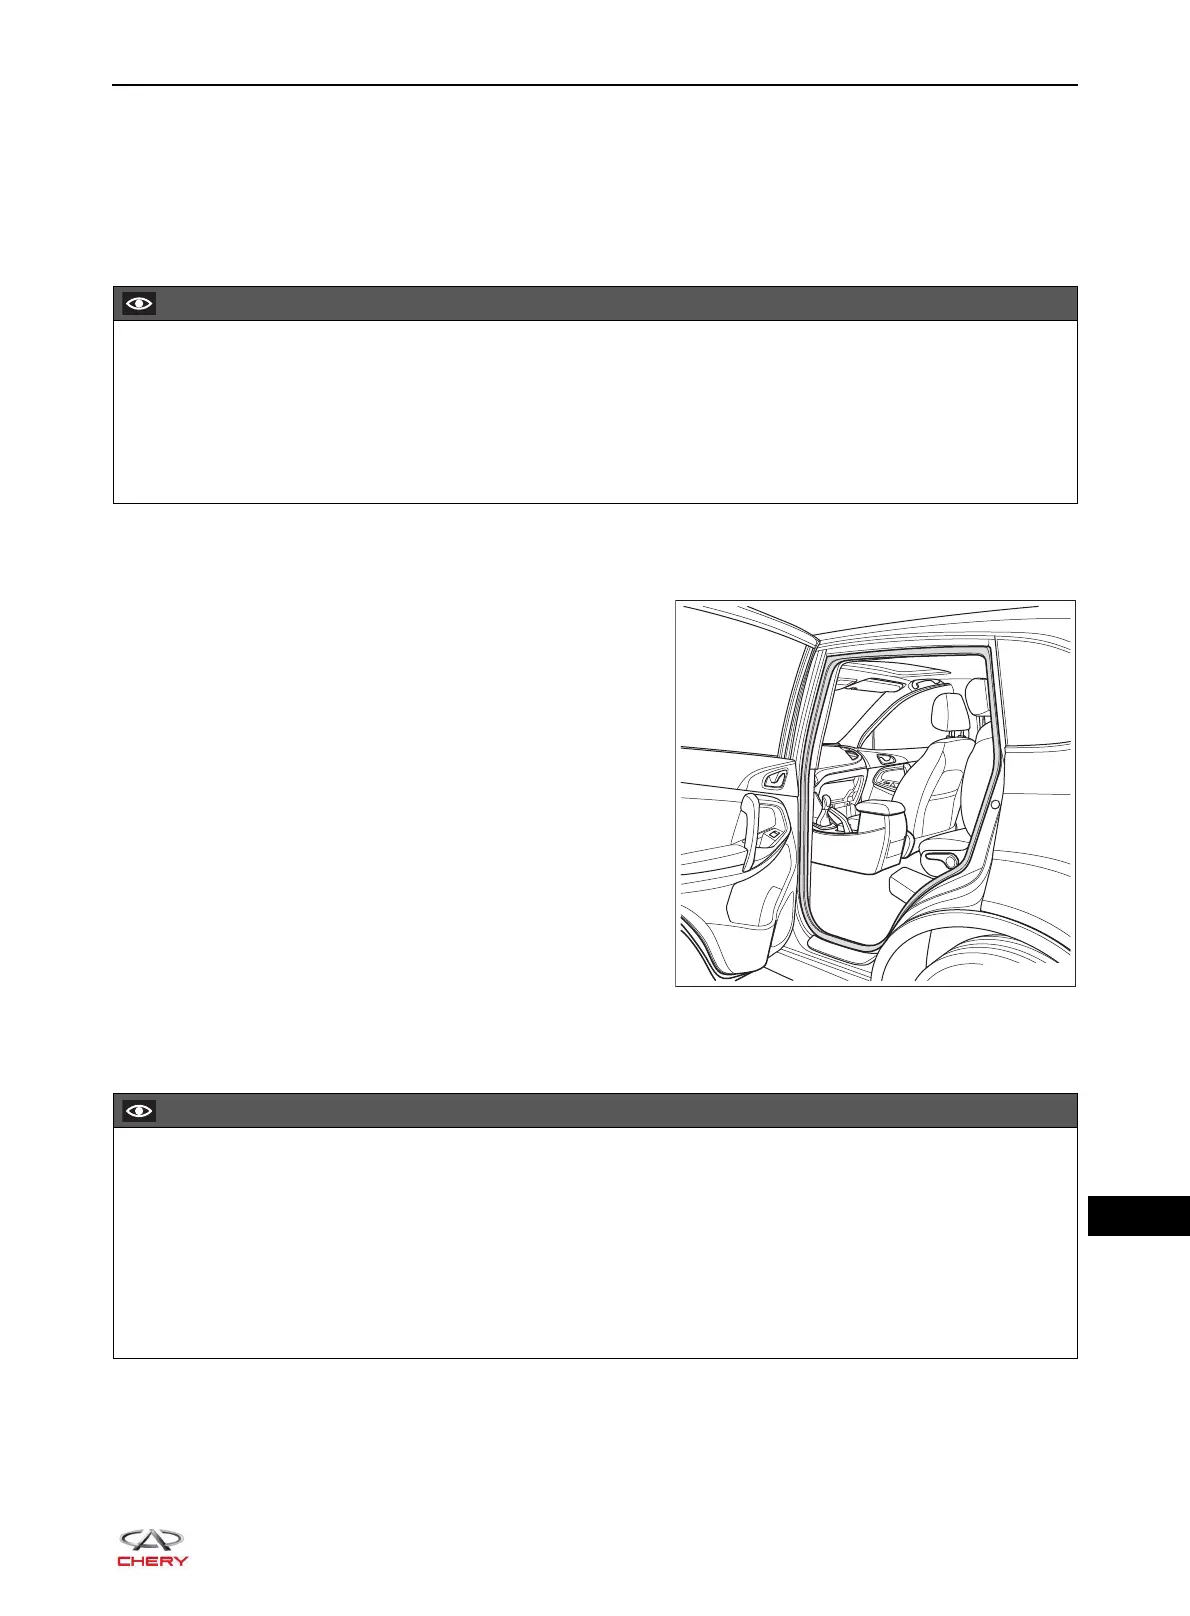
2. Remove the rear left door opening weatherstrip.
a. Remove the rear left door opening weatherstrip by
gently pulling it along edges from one corner of the
rear door opening weatherstrip.
Installation
Installation is in the reverse order of removal.
Make sure to wear safety equipment to prevent accidents when removing the rear door opening
weatherstrip.
Appropriate force should be applied when removing the rear door opening weatherstrip, and avoid
operating roughly.
DO NOT damage the rear door opening weatherstrip when removing it.
The rear door opening weatherstrip and body should be properly fitted with a certain degree of gripping
force and the weatherstrip should not fall off easily when installing the rear door opening weatherstrip.
When installing the rear door opening weatherstrip, tap all around uniformly with a rubber hammer to
install it in place. The surface of weatherstrip should have no defects, such as tapped dents, deformation
and warpage after installation.
After installing the rear door opening weatherstrip, do not remove or install it unless it is necessary; or the
weatherstrip holding force of installation may be reduced.