Chery Automobile Co., Ltd.
46 - SEAT
46–26
46
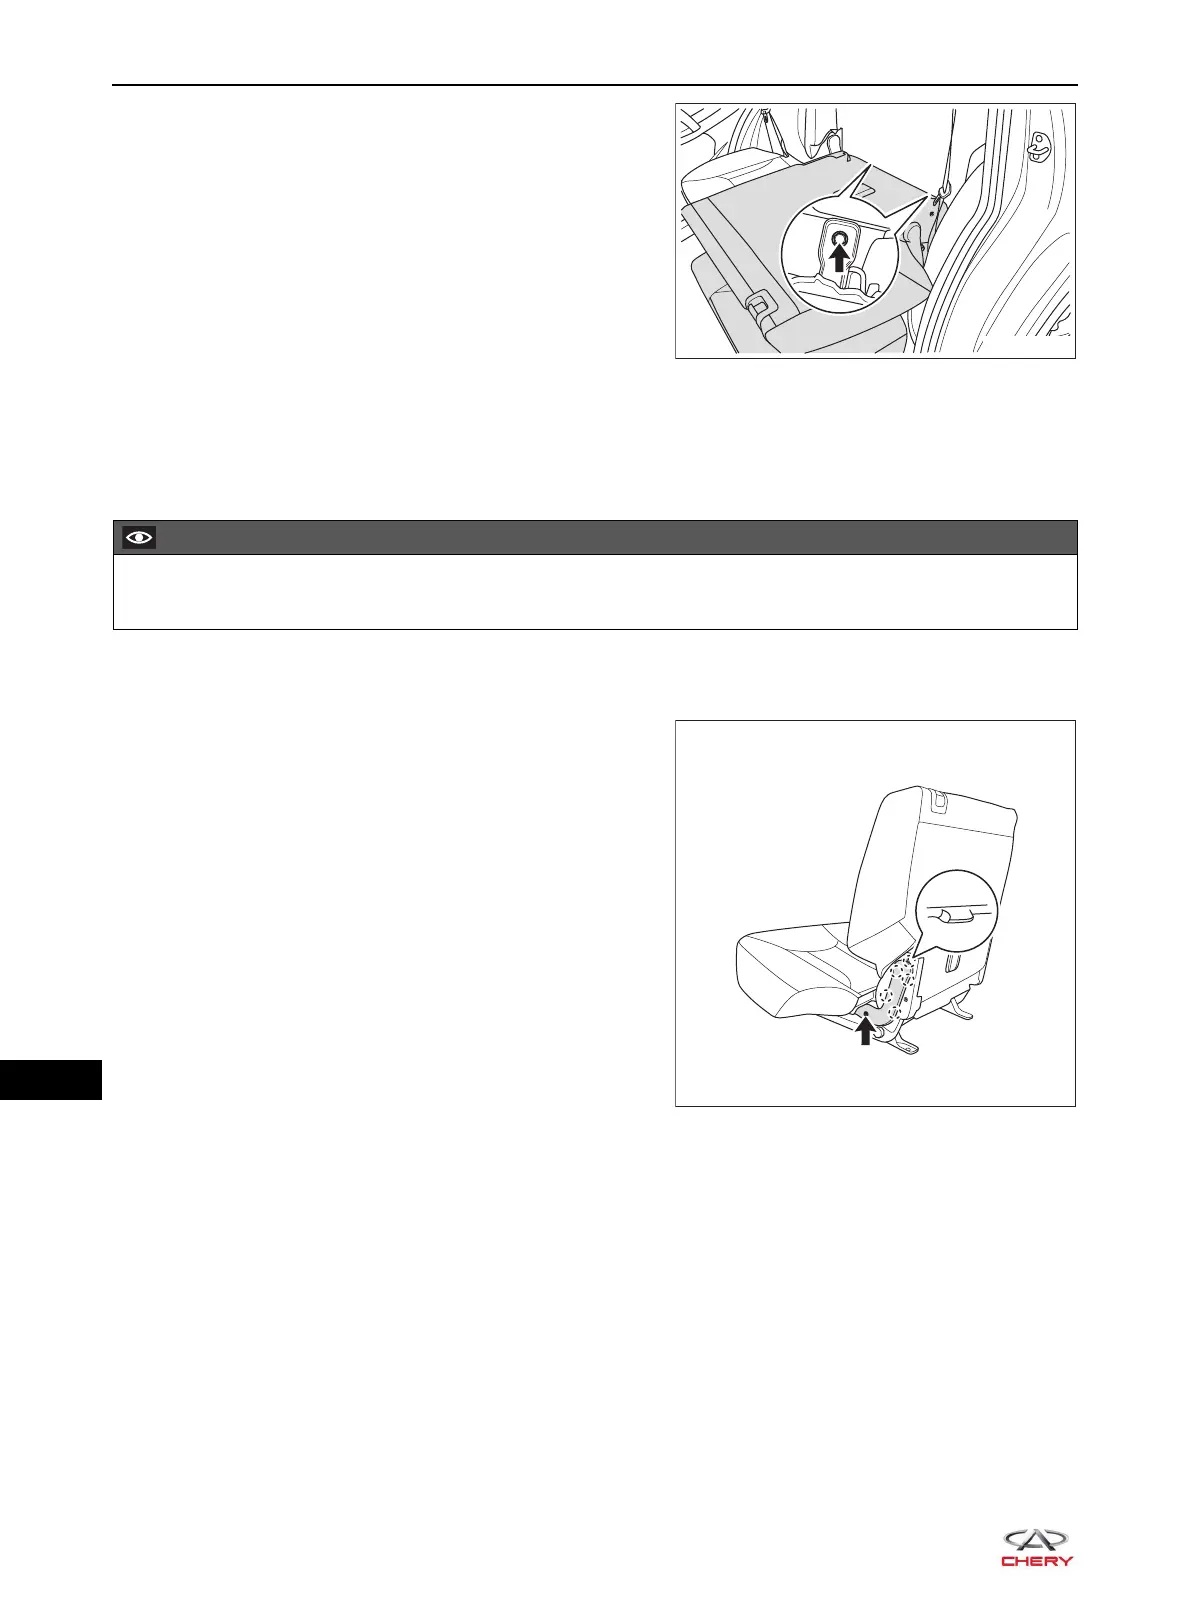
c. Remove 2 fixing bolts (arrow) from the rear part of
rear left seat assembly, and remove the rear left seat
assembly.
(Tightening torque: 50 ± 5 N·m)
Disassembly
HINT:
Use the same procedures for the rear right seat assembly and rear left seat assembly.
Procedures listed below are for the rear left seat assembly.
1. Remove the attachment trim cover between rear left seat cushion and seatback (take left side as an
example).
a. Remove the attachment trim cover fixing screw
(arrow) between rear left seat cushion and seatback.
(Tightening torque: 4.8 ± 0.5 N·m)
b. Using a screwdriver wrapped with protective tape, pry
up the claws on the attachment trim cover between
rear left seat cushion and seatback.
c. Remove the attachment trim cover between rear left
seat cushion and seatback.
Be sure to wear safety equipment to prevent accidents when disassembling rear seat assembly.