471 • DM NAX® Product Manual — Doc. 9045M
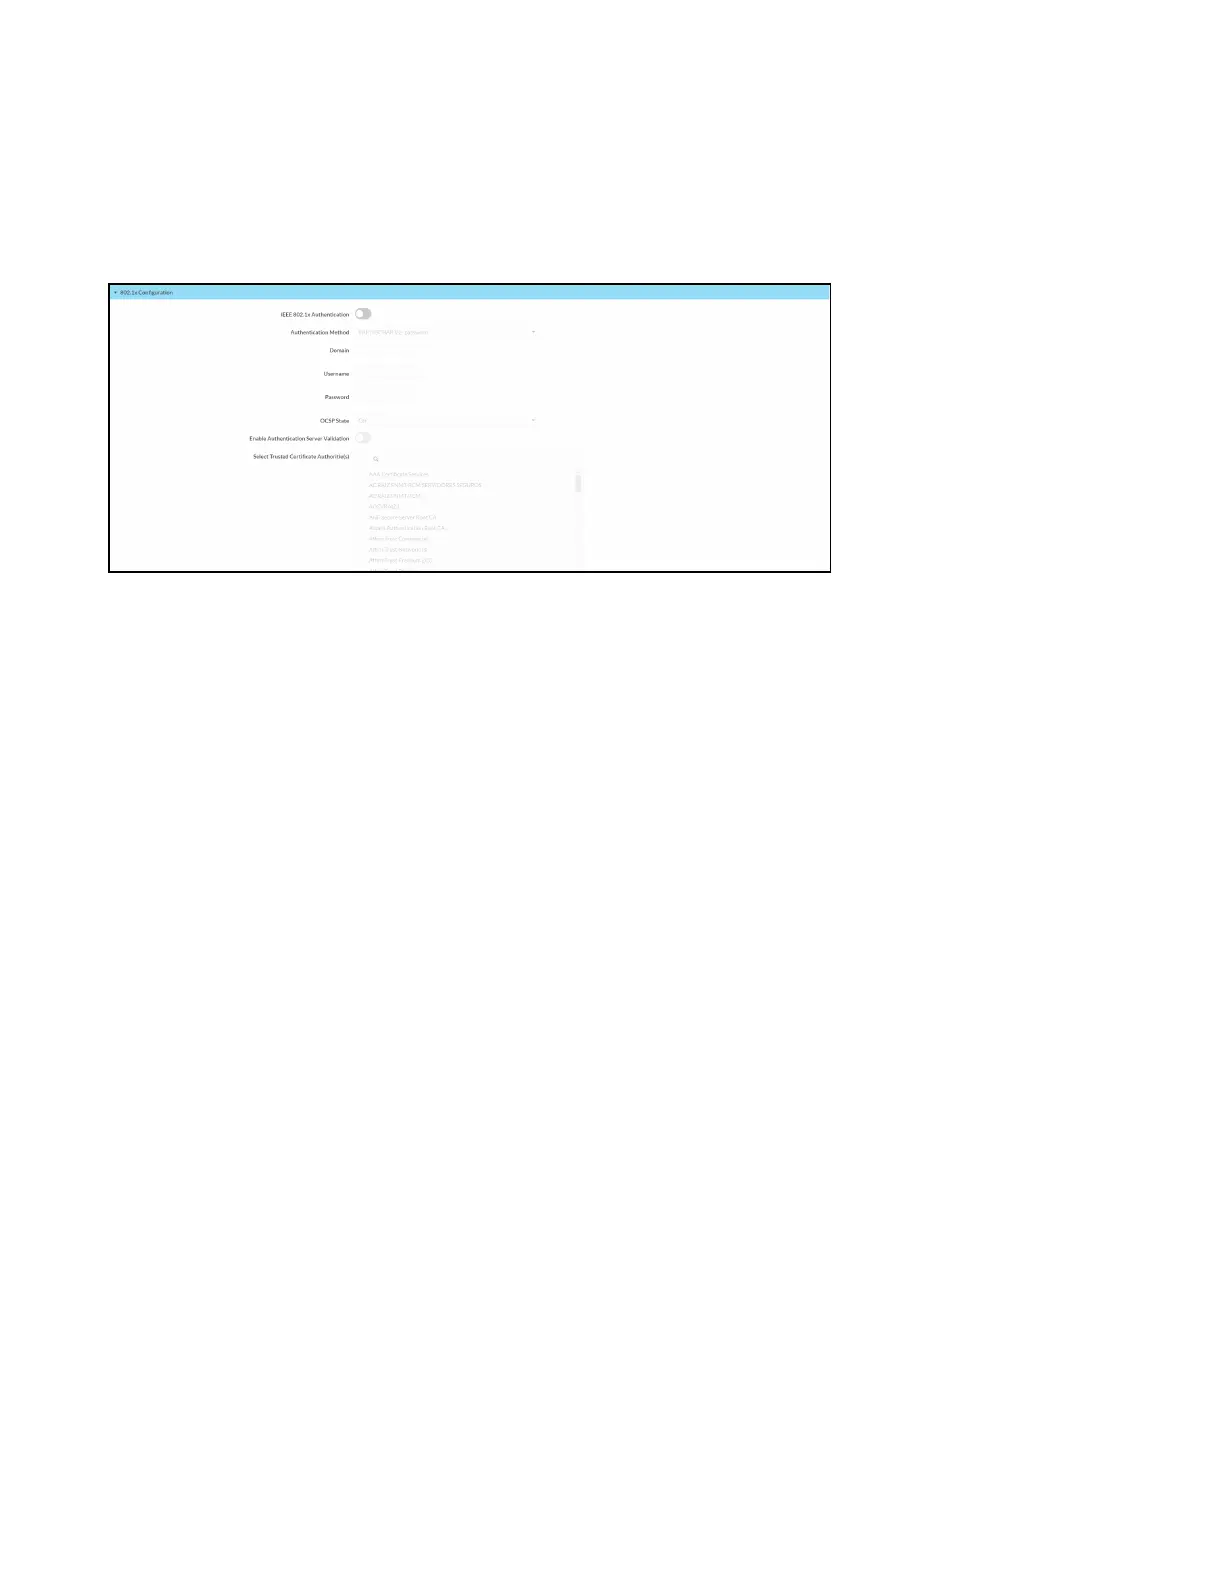
802.1x Configuration
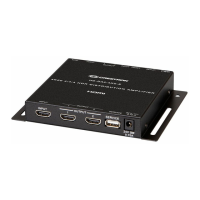
The DM-NAX-AMP-X300 has built-in support for the 802.1X standard (an IEEE network standard
designed to enhance the security of wireless and Ethernet LANs. The standard relies on the exchange of
messages between the device and the network's host, or authentication server), allowing
communication with the authentication server and access to protected corporate networks.
To Configure 802.1X Authentication
1. Set the IEEE 802.1X Authentication toggle to enabled. This will enable all options on the 802.1X
dialog.
2. Select the Authentication method: EAP-TLS Certificate or EAP-MSCHAP V2 Password according
to the network administrator's requirement.
3. Do either one of the following:
l
Select EAP-TLS Certificate: Click Action/Manage Certificates to upload the required
machine certificate. The machine certificate is an encrypted file that will be supplied by the
network administrator, along with the certificate password.
l
Select EAP-MSCHAP V2 Password: Enter the username and password supplied by the
network administrator into the Username and Password fields. This method does not
require the use of a machine certificate, only the user name and password credentials.
4. Select the OCSPState: If using OCSP, select All, Required, or Optional. To disable OCSP, select
Off.
5. If you enabled the Enable Authentication Server Validation option, this will enable the Select
Trusted Certificate Authoritie(s) list box which contains signed Trusted Certificate Authorities
(CAs) preloaded into the DM-NAX-AMP-X300.
Select the check box next to each CA whose certificate can be used for server validation, as
specified by the network administrator.
If the network does not use any of the listed certificates, the network administrator must provide
a certificate, which must be uploaded manually via the Manage Certificates functionality.
6. If required, type the domain name of the network in the Domain field.
7. When the 802.1X settings are configured as desired, click Save Changes to save the changes to
the device and reboot it. Click Revert to cancel any changes.

 Loading...