2.2 Remote Console Management - Telnet
You can manage the Managed Switch via Telnet session. However, you must first assign a unique
IP address to the Switch before doing so. Use the Local Console to login the Managed Switch
and assign the IP address for the first time.
Follow these steps to manage the Managed Switch through Telnet session:
Step 1. Use Local Console to assign an IP address to the Managed Switch
IP address
Subnet Mask
Default gateway IP address, if required
Step 2. Run Telnet
Step 3. Log into the Switch CLI
Limitations: When using Telnet, keep the following in mind:
Only two active Telnet sessions can access the Managed Switch at the same time.
2.3 Navigating CLI
When you successfully access the Managed Switch, you will be asked for a login username. Enter
your authorized username and password, and then you will be directed to User mode. In CLI
management, the User mode only provides users with basic functions to operate the Managed
Switch. If you would like to configure advanced features of the Managed Switch, such as, VLAN,
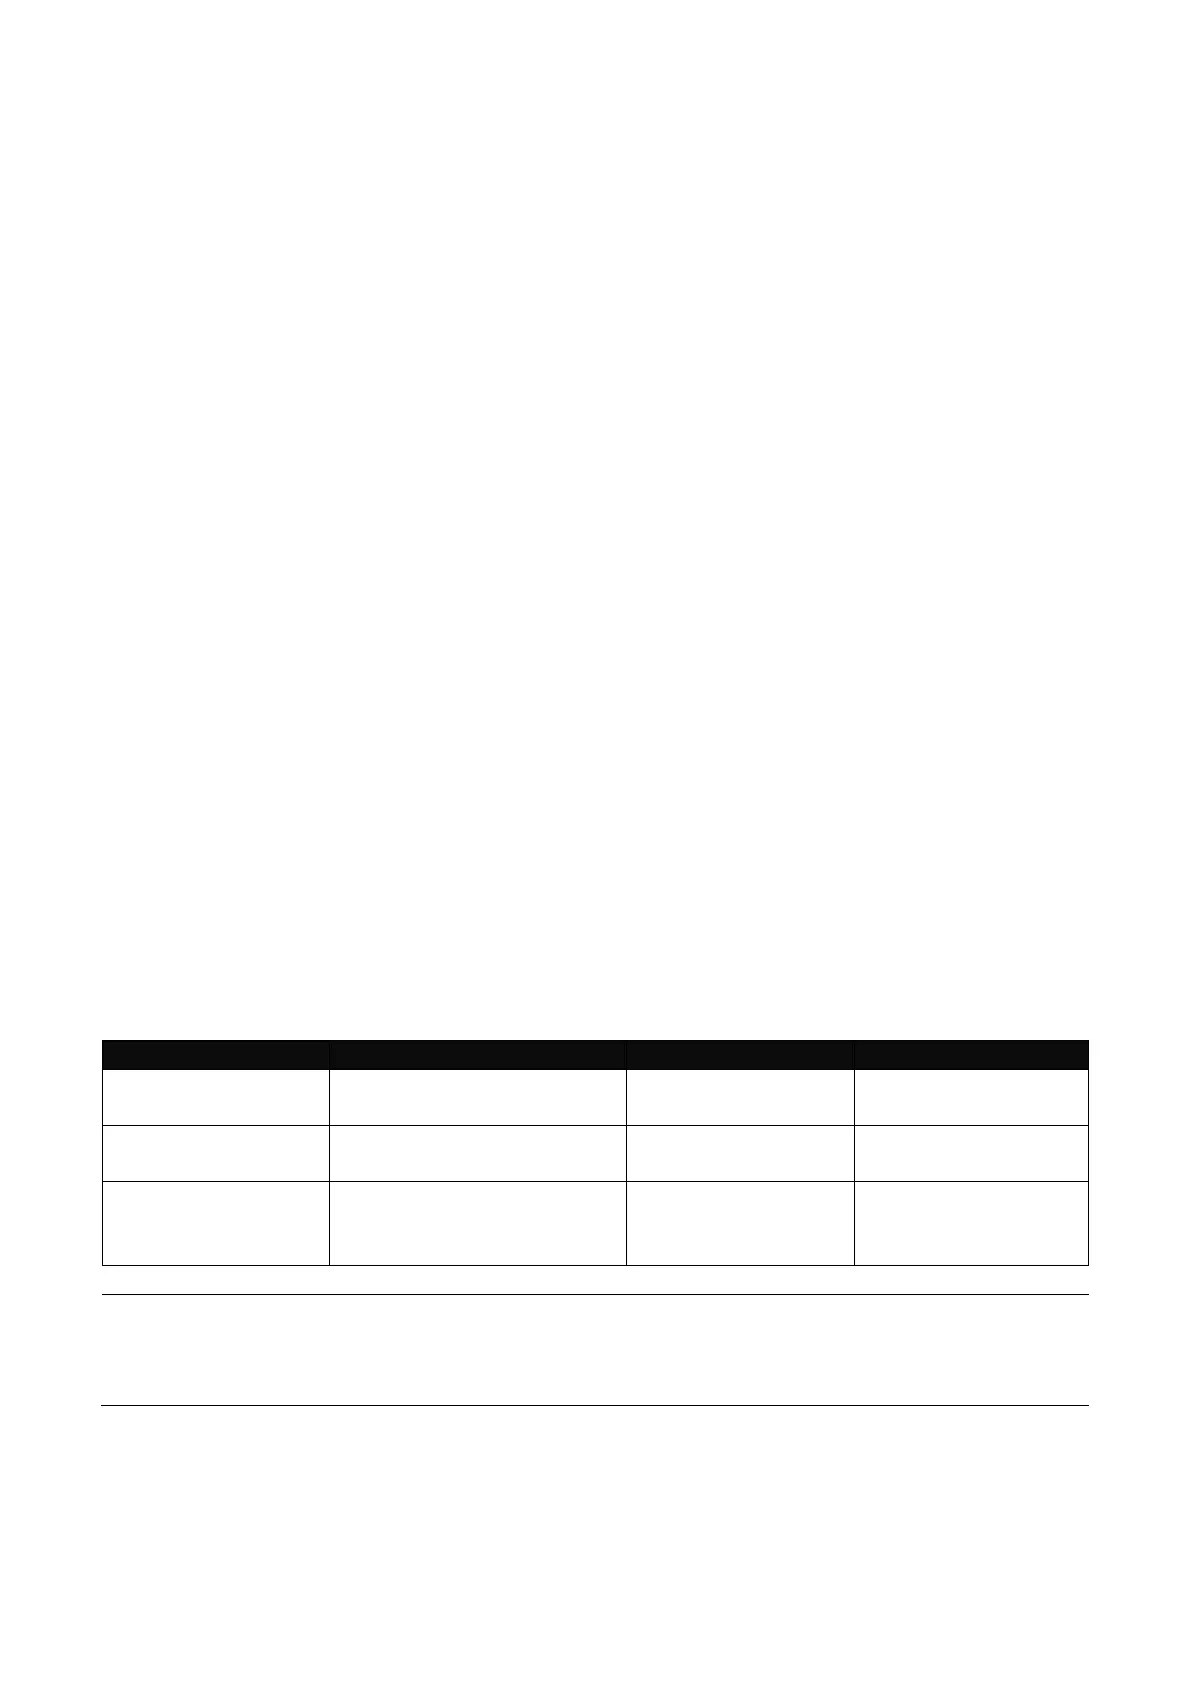
QoS, Rate limit control, you must enter the Configuration mode. The following table provides an
overview of modes available in this Managed Switch.
Login username &
password
From User mode, enter
the enable command
From Privileged mode,
enter the config or
configure command
NOTE: By default, the model name will be used for the prompt display. You can change
the prompt display to the one that is ideal for your network environment using the
hostname command. However, for convenience, the prompt display “Switch” will be used
throughout this user’s manual.
 Loading...