D-Show Profile Guide8
4 Hold the mounting arm face down so that the narrow (top)
end is against the back of the U bracket. Make sure the arm is
facing the correct way, and attach the arm to the U bracket us-
ing the four screws provided.
5 Make sure all screws are tightened securely before attaching
the assembled video mount to the console.
Attaching the Video Monitor Mount to D-Show Profile
To attach the Video Monitor Mount to the console:
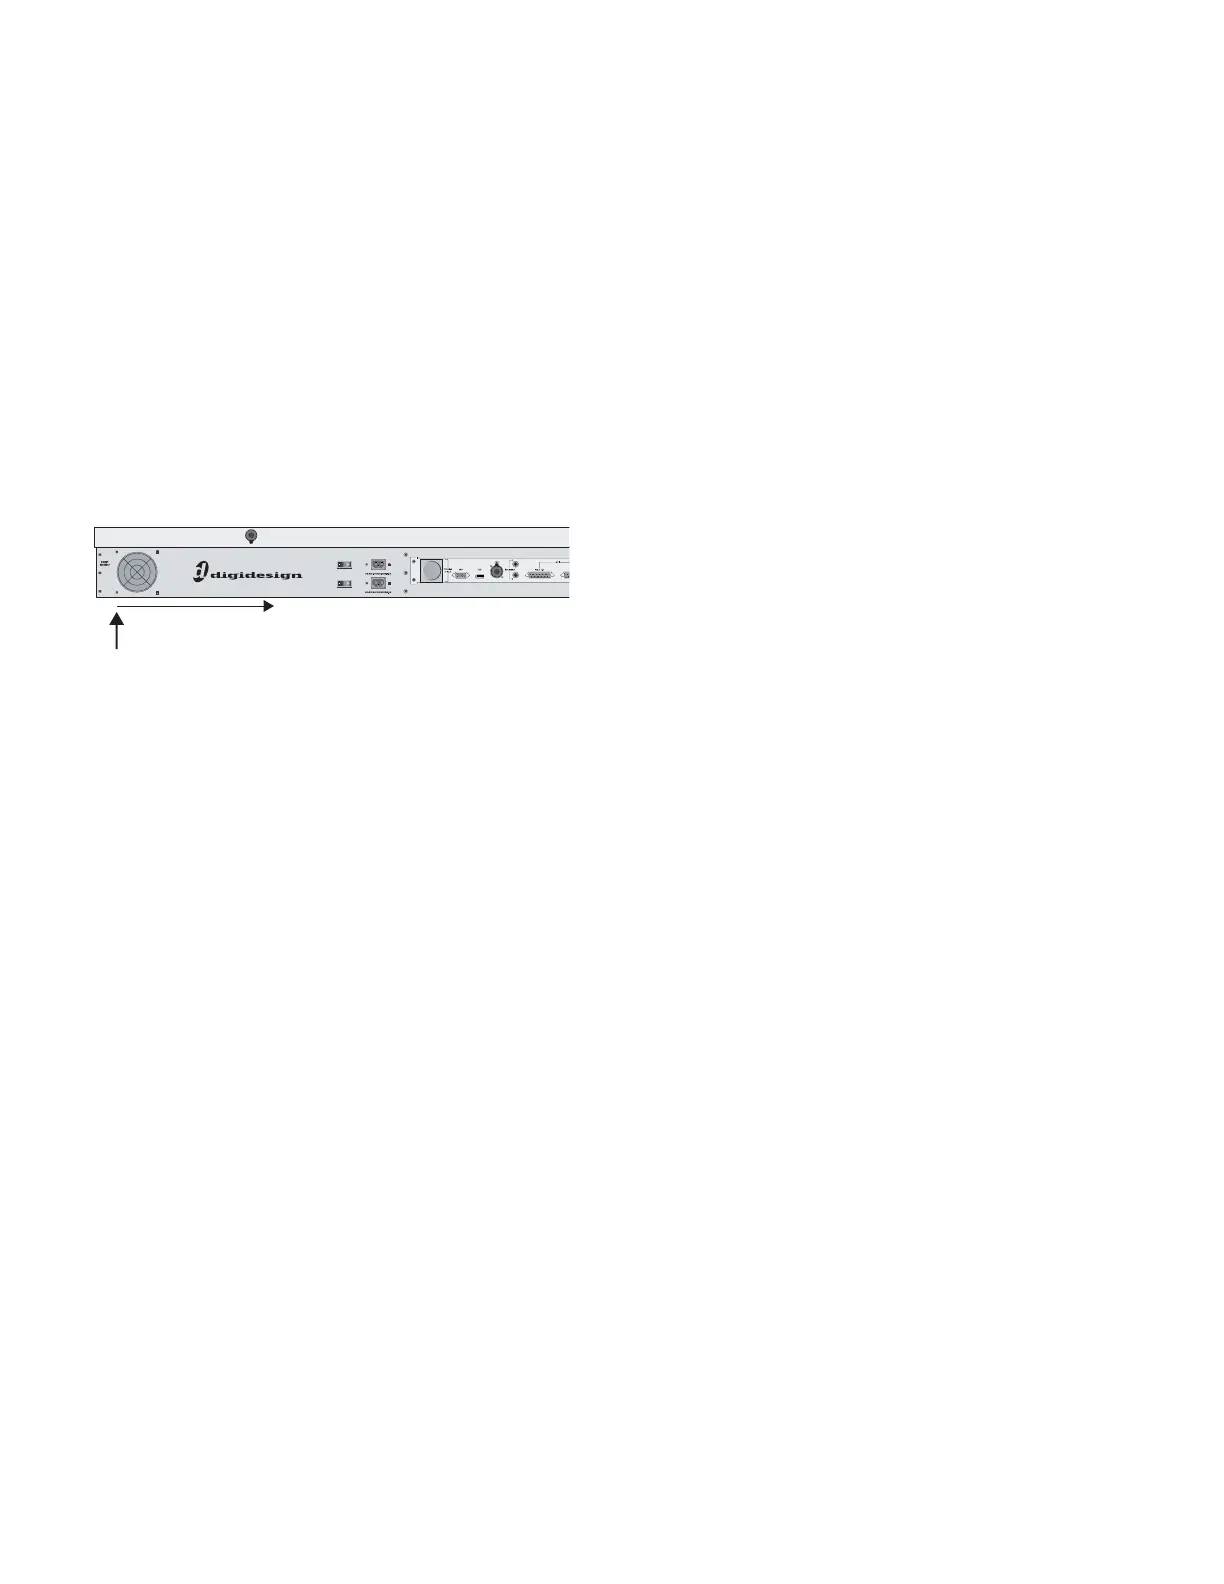
1 From the back of the console, locate the Video Mount slot
below the edge of the outermost back panel extrusion.
2 Take one of the T-bolts included with the Video Mount and
insert it into the wider opening at the far left end of the Video
Mount slot. Slide the T-bolt to the right along the slot until it
stays in the track.
3 Take the second T-bolt, insert it into the opening at the left
and slide it to be a few inches away from the first T-bolt.
4 Take the two silver lock nuts (thumb nuts) and thread them
loosely onto the T-bolts (do not tighten them).
5 Pick up the assembled Video Monitor Mount and hold it at
the bottom of the VGA monitor, so you can balance the unit
with one hand.
6 Position the base of the video mount under the back panel
extrusion and feed the T-bolts through the two slots on the
front edge of the arm assembly. Loosen the lock nuts if neces-
sary.
7 Tighten the lock nuts thumb nuts to secure the Video Mon-
itor Mount in position.
To move the monitor left or right:
1 Loosen the thumb nuts slightly.
2 Slide the Video Monitor Mount to the left or right, being
carefully not to twist it off either of the T-bolts. (If the mount
comes off the T-bolts, simply reattach it and resume).
3 When in the desired position, tighten the lock nuts.
To adjust the height of the monitor:
1 Determine the desired height and mark the location on the
mounting arm.
2 Detach the Video Monitor Mount from the console (see “Re-
moving and Attaching the Video Monitor Mount” on page 8).
3 Loosen the screws holding monitor (or the U bracket) to the
mounting arm, and slide it down or up to the desired height.
4 Tighten all screws to secure the monitor in its new position.
Removing and Attaching the Video Monitor Mount
To remove the Video Monitor Mount:
1 Stand at the back of the console.
2 Holding the VGA screen in one hand, loosen the lock nuts
that secure the Video Monitor Mount to the extrusion on the
back of the console.
3 Slide the Video Monitor Mount straight back off the T-bolts.
4 Tighten the lock nuts to secure the T-bolts and locking nuts
in place.
To attach the assembled Video Monitor Mount to the console:
1 Loosen the two lock nuts securing the T-bolts in place, along
the extrusion at the back of the console.
2 Position the Video Monitor Mount so that its base slots line
up with the T-bolts, and slide the Video Monitor Mount into
position.
3 Tighten the lock nuts to secure the mount into place.
Assembling and Attaching the Trackball Mount to
D-Show Profile
The Trackball Mount can be placed anywhere along the front
edge of the console to provide a tray for your trackball or a
mouse that accommodates left- or right-handed operation. A
small hook underneath the Trackball mount lets you hang a
pair of headphones.
Assembling the Trackball Mount
To attach the Trackball Mount
1 Unpack the Trackball Mount and components from their
packaging.
2 Make sure to unplug any USB or headphone connections at
the front of the console.
3 From the front of the console, locate the slot for the Track-
ball mount (located below the extrusion).
4 Take one of the T-bolts included with the Trackball Mount
and insert it into the opening at the right end of the Trackball
Mount slot. Slide the T-bolt to the left along the slot until it is
just to the left of the front panel USB and headphone ports.
5 Take the second T-bolt, insert it into the opening at the right
and slide it into place a few inches away from the first T-bolt.
6 Take the two silver lock nuts (thumb nuts) and thread them
loosely onto the T-bolts (do not tighten them).
Location of the Video Mount slot
Video Mount slot