OSD Setup Manual
52
<Device Name> and <Active> are read-only. The number in front of the device name
represents the SATA port that the HDD is connected to. If no storage device can be found,
the message “No available items!” will be displayed.
Active
This item indicates if the HDD is added to the database. <Yes> means the HDD
has been added to the database.
Detail
This item enables users to see the S.M.A.R.T. info of all the internal disks. Press
ENTER and select <Yes>, then the S.M.A.R.T. info of the selected internal disk will
be displayed on the screen.
Action
This item allows users to add the HDD to the database or remove it from the
database. The options are <None> (no action), <Add> (add the selected HDD to
the database), <Remove> (remove the selected HDD from the database),
<Format> (format the selected HDD).
NOTE: Before disconnecting an external HDD from the DVR, ALWAYS
remember to remove it from the database first.
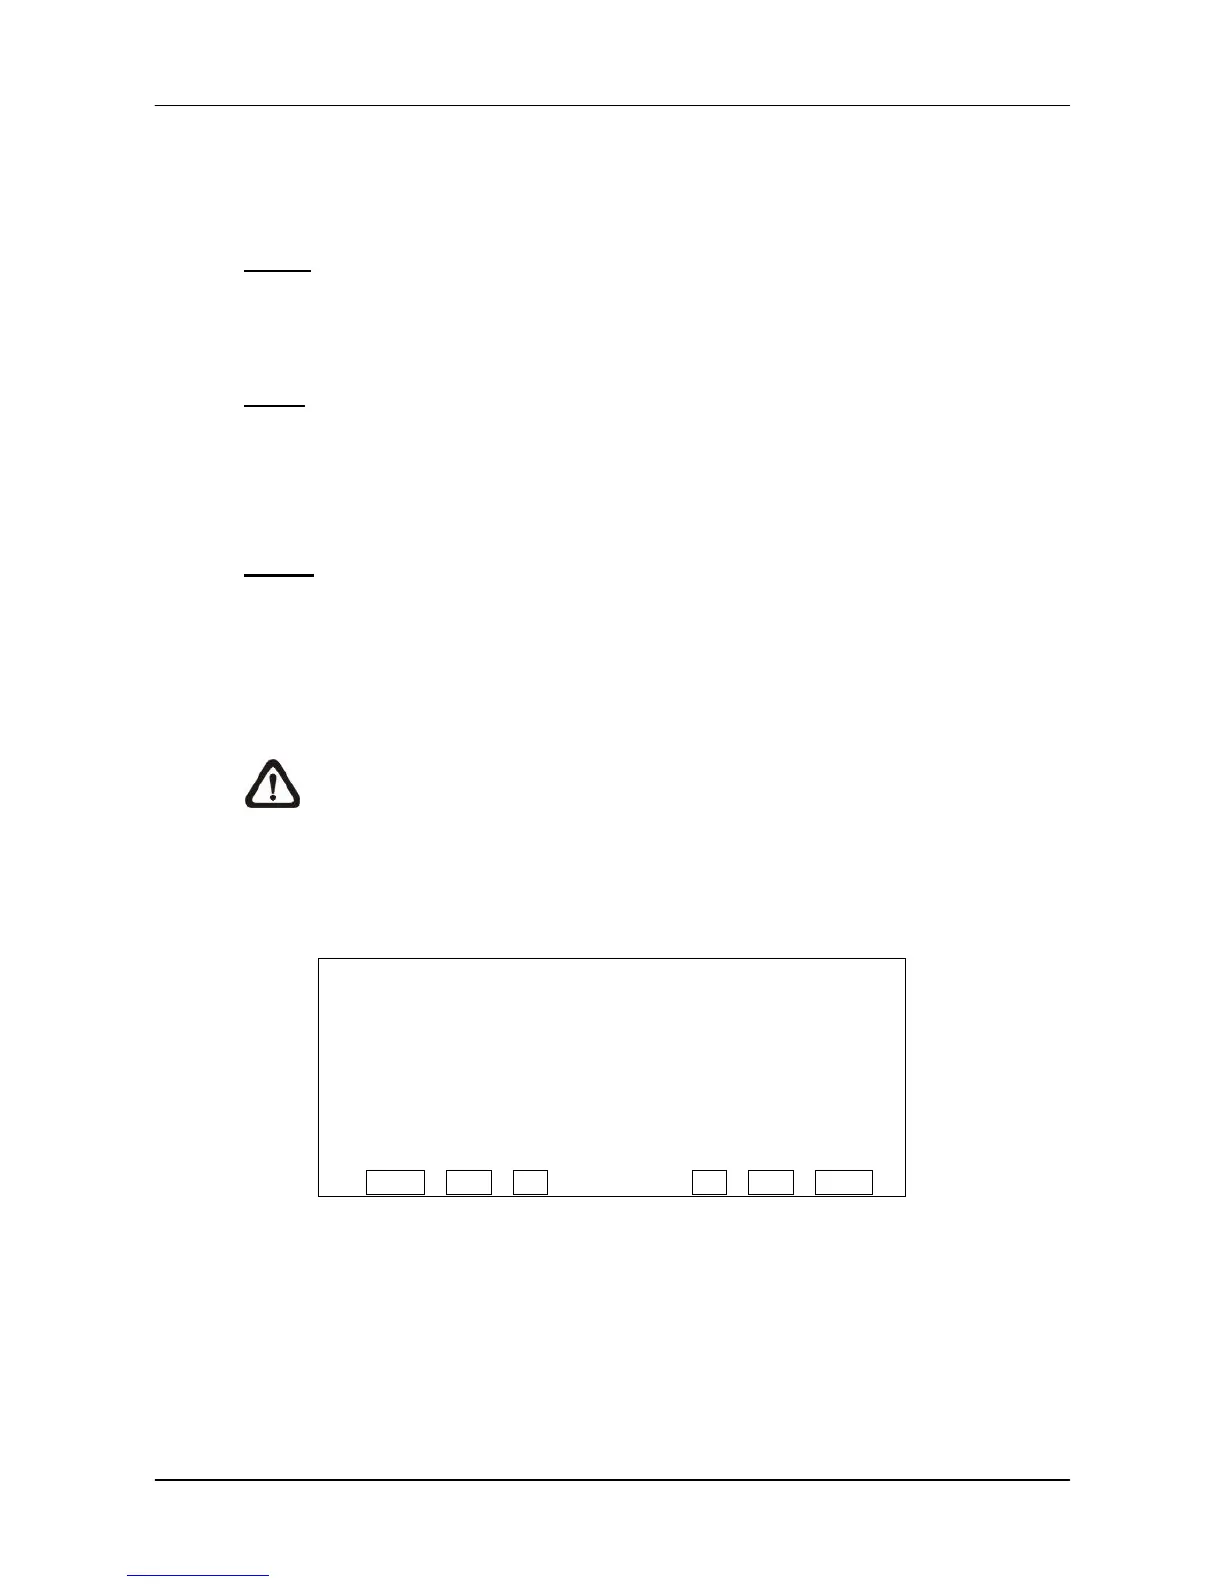
< Data Protection >
Enter this menu to select the data users wish to protect from data purging or overwriting.
Data Protection
Date Time
2010/12/06 PM 01:29:08
2010/12/06 PM 01:42:41
2010/12/07 AM 09:36:02
2010/12/07 PM 12:45:31
2010/12/07 PM 12:55:56
Event
Lock
NO
NO
NO
NO
NO
First Page
<<< << < > >> >>>
The first column shows the date/time information. The second column shows whether the
data contains event videos. The third column shows the location where the data is stored.
From the fourth column, users can change the option to <YES> to protect the selected data.
When the data is no more important, users can change the option back to <NO>.