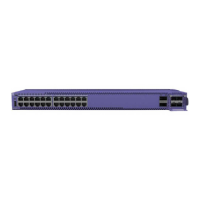
Summit XGM2-2xn Option Card
Extreme Networks Consolidated ExtremeXOS Hardware Installation Guide
299
To install the Summit XGM2-2xn option card:
1 Disconnect the power from the Summit switch by removing the plug from the wall outlet.
2 If a redundant power supply is in use, disconnect the power of the redundant power supply by
removing the plug from the wall outlet.
3 Attach the ESD-preventive wrist strap to your wrist and connect the metal end to the equipment
rack.
4 Remove the screws holding the filler panel over the option slot on the back of the switch
(Figure 206). Remove the filler panel and set it aside. Save the screws for re-use.
Figure 206: Option slot filler panel
5 Align the sheet metal edges on the option card with the card guides in the switch housing. Carefully
slide the Summit XGM2-2xn option card into the switch housing until the connectors engage and the
option card is flush with the back panel of the switch (Figure 207).
Figure 207: Installing the Summit XGM2-2xn option card
6 Using the screws from the filler panel, secure the Summit XGM2-2xn option card to the back panel
of the switch.
7 Refer to “Installing or Removing XENPAK Modules” on page 300 for information on installing or
replacing the XENPAK modules in the Summit XGM2-2xn option card.
If you install only one XENPAK module in the Summit XGM2-2xn option card, attach the supplied cover plate
over the remaining open module slot.

 Loading...
