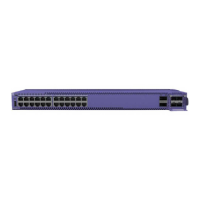
EPS-160 External Power Module (with EPS-T)
Extreme Networks Consolidated ExtremeXOS Hardware Installation Guide
311
Figure 219: Fitting the mounting bracket
5 Repeat steps 3 and 4 for the other side of the EPS-T.
6 Mount the EPS-T into a 19-inch rack.
Installing an EPS-160 into an EPS-T
To install an EPS-160 power supply into the EPS-T:
1 Remove the EPS-160 power supply from the packing material.
2 Remove the cover plate from the empty slot on the EPS-T.
3 Insert the EPS-160 power supply into the front of the EPS-T.
4 Tighten the provided thumbscrews to secure the power supply to the tray.
5 Connect the EPS-160 power supply to the Summit switch by following the procedure in “Connecting
the EPS-160” on page 311.
Connecting the EPS-160
Do not attach the AC power cord to the EPS-160 power supply until the EPS-160 is properly grounded and until
after the redundant power supply cord is connected.
You need the following tools and equipment to install an EPS-160 power supply:
● Electrostatic discharge (ESD)-preventive wrist strap
● # 1 Phillips screwdriver
The EPS-160 power supply and the rack must all be connected to protective earth ground before attaching to
another switch.
To connect the EPS-160 power supply to your switch:
1 Connect the keyed-end of the redundant power supply cord to the EPS-160 power supply (see
Figure 220).
The key is a plastic tab on the cord connector housing that fits into the chassis to ensure correct
alignment of the connector.

 Loading...
