94
Establishing QMaster values for a selected job
General The sequence of screens shown on the "clothesline" depends on the type of job selected.
Purpose of QMas-
ter values
QMaster values can be entered individually for each job. If set QMaster values are exceed-
ed or not reached over a specific period, one of the following reactions takes place:
- Power source switches off immediately
- A warning signal is given
- No reaction
Establishing Q-
Master values for
a job
Call up the "Optimizing & managing jobs" menu item
Whatever screen is showing, select "Group n°" parameter using the down (6) or up (7)
keys
Select desired group (0 - 99) using the adjusting dial (18)
Select "Job n°" parameter using the down (6) or up (7) keys
Select desired job (0 - 999) using the adjusting dial (18)
– If a job is selected from the next group, the group displayed also changes accord-
ingly.
Select "QMaster" screen by pressing the right arrow key (8)
– "QMaster" screen appears
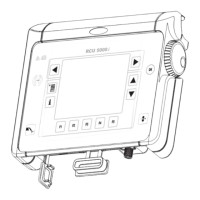
Optimizing and managing jobs: "QMaster" screen
Select the corresponding parameters
using down (6) or up (7) keys
Use the adjusting dial (18) to alter the
parameter value
– A parameter value can only be al-
tered within the defined setting
range. The setting range is high-
lighted.
1
2
3
4
5
6
7
8
NOTE! If the wirefeed speed value in the "Working parameters" screen is
changed, the values for welding current and welding voltage also change accord-
ingly, due to the synergic function.
Changes to welding current and welding voltage must be reflected in the "QMas-
ter" screen in the "current command value" and "voltage command value" param-
eters.
IMPORTANT! If the "Max. duration of voltage-deviation" and "Max. duration of current-de-
viation" parameter values are entered as "Off" in a selected job, the Q-Master function for
this job is deactivated.
 Loading...