Assembly and Commissioning Instructions Servo amplifier D1-N 15.10.2015
Before and during all assembly, disassembly and repair work, the drive am-
plifier must be de-energised. Ensure that no-one can re-establish the mains
connection. Otherwise there is a serious risk of injury or death.
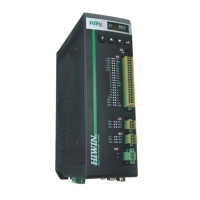
Assembling the drive amplifier
This drive amplifier has to be mounted on a hard surface and is only mounted us-
ing the mounting holes provided. These are designed for size M4 screws. Refer to
chapter 4.2 page 22 onwards for the precise dimensions.
• Produce appropriate mounting holes on the assembly surface if not al-
ready present.
• Clean assembly surface and position drive amplifiers on it.
• Screw in retaining bolts and tighten to a maximum torque of 3 Nm (when
using type 8.8 screws).
The screws must be secured with retaining rings to prevent them coming
loose.
 Loading...