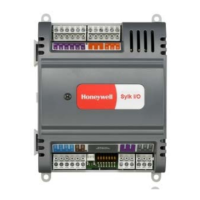
11. Series 8 I/O Maintenance
11.2. Replacing a Series 8 IOTA
264 Series 8 I/O User's Guide R500
Honeywell April 2017
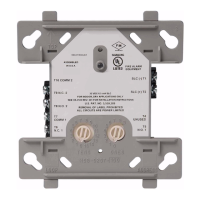
11.2 Replacing a Series 8 IOTA
ATTENTION
Replacing the Series 8 IOTA, requires that the IOM is in an inactive
offprocess state.
To replace a Series 8 IOTA, perform the following steps.
To remove the I/O module, refer to the following procedure To replace an I/O
module.
Label and disconnect all cables from the IOTA board connectors.
To remove the IOTA board, perform the following:
Recommended sequence:
1. Remove the IOTA from the panel by loosening the
IOTA's mounting screws only half-way one by one.
2. Completely remove the IOTA's mounting screws
3. Place screws, washers, and spacers in a secure place
for potential reuse.
Mount the new I/O IOTA board on the carrier, and refer to the following
procedure Mounting the IOTA.
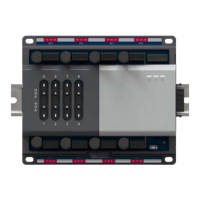
Insert the I/O module onto IOTA board making sure that the I/O circuit board
mates properly with the IOTA board connector.
Refer to the following procedure, Mounting the module.
The I/O module boots-up into IDLE state.
In Control Builder, perform a 'Load with Contents'.
11.3 Replacing an I/O module
CAUTION
We recommend that you proceed with extreme caution whenever replacing
any component in a control system. Ensure the system is offline or in a safe
operating mode.
 Loading...