3. Series 8 I/O Installation and Upgrades
3.2. Installation Declarations
40 Series 8 I/O User's Guide R500
Honeywell April 2017
Introduction
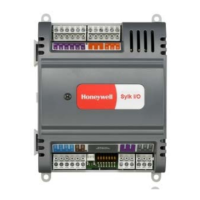
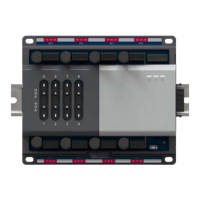
The following figure illustrates the main cabling of the C300 controller and I/O IOTA
boards.
C300 Controller
Digital Output
Digital Output
40 modules max
40 modules max
Figure 5 Series 8 board connections
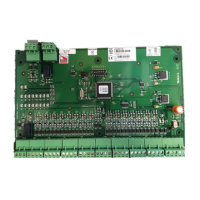
I/O Link Number and IOM Number DIP switch
There is a DIP switch on most of the IOTAs that is used to assign the I/O link number and
IOM number.
Each DIP switch has 8 jumpers for customer to use. From left to right is 1-2-3-4-5-6-7-8.
The user should use a pin to set the DIP switch and make sure that each jumper is on its
position. All of the default positions are “OFF”.
I/O Link Number
The I/O Link Address is configured using a DIP switch on each IOTA.
I/O link number uses jumper 7 and jumper 8 to define. The rule is:
 Loading...