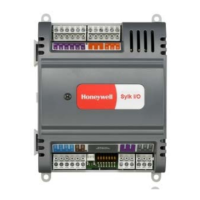
11. Series 8 I/O Maintenance
11.3. Replacing an I/O module
R500 Series 8 I/O User's Guide 265
April 2017 Honeywell
Component replacements may also require corresponding changes in the
control strategy configuration through Control Builder, as well as downloading
appropriate data to the replaced component.
Prerequisites
You have logged onto Control Builder with sufficient security level to make control
strategy changes.
You can remove and install the Series 8 IOM under power.
Ensure you take ESD hazard precautions when handling the module and IOTA.
To replace an I/O module, perform the following steps.
Remove the I/O module from the IOTA board and connector.
Insert the new I/O module onto IOTA board making sure that the I/O circuit
board mates properly with the IOTA board connector.
Secure the module to the:
IOTA board
using the two metal screws at the plastic cover
Carrier - with the long screw that is inserted into the hole on the face of the
module's plastic cover.
The new I/O module boots-up to the IDLE state.
Load firmware which is the same version as was running in the old controller.
In Control Builder, perform a 'Load with Contents".
 Loading...