EasyManuals Logo

HP Integrity rx2620 User Manual

HP Integrity rx2620
216 pages
To Next Page IconTo Next Page
To Previous Page IconTo Previous Page
Page #96 background imageLoading...
Page #96 background image
Removing and Replacing Components
Removing and Replacing Internal Components
Chapter 4
96
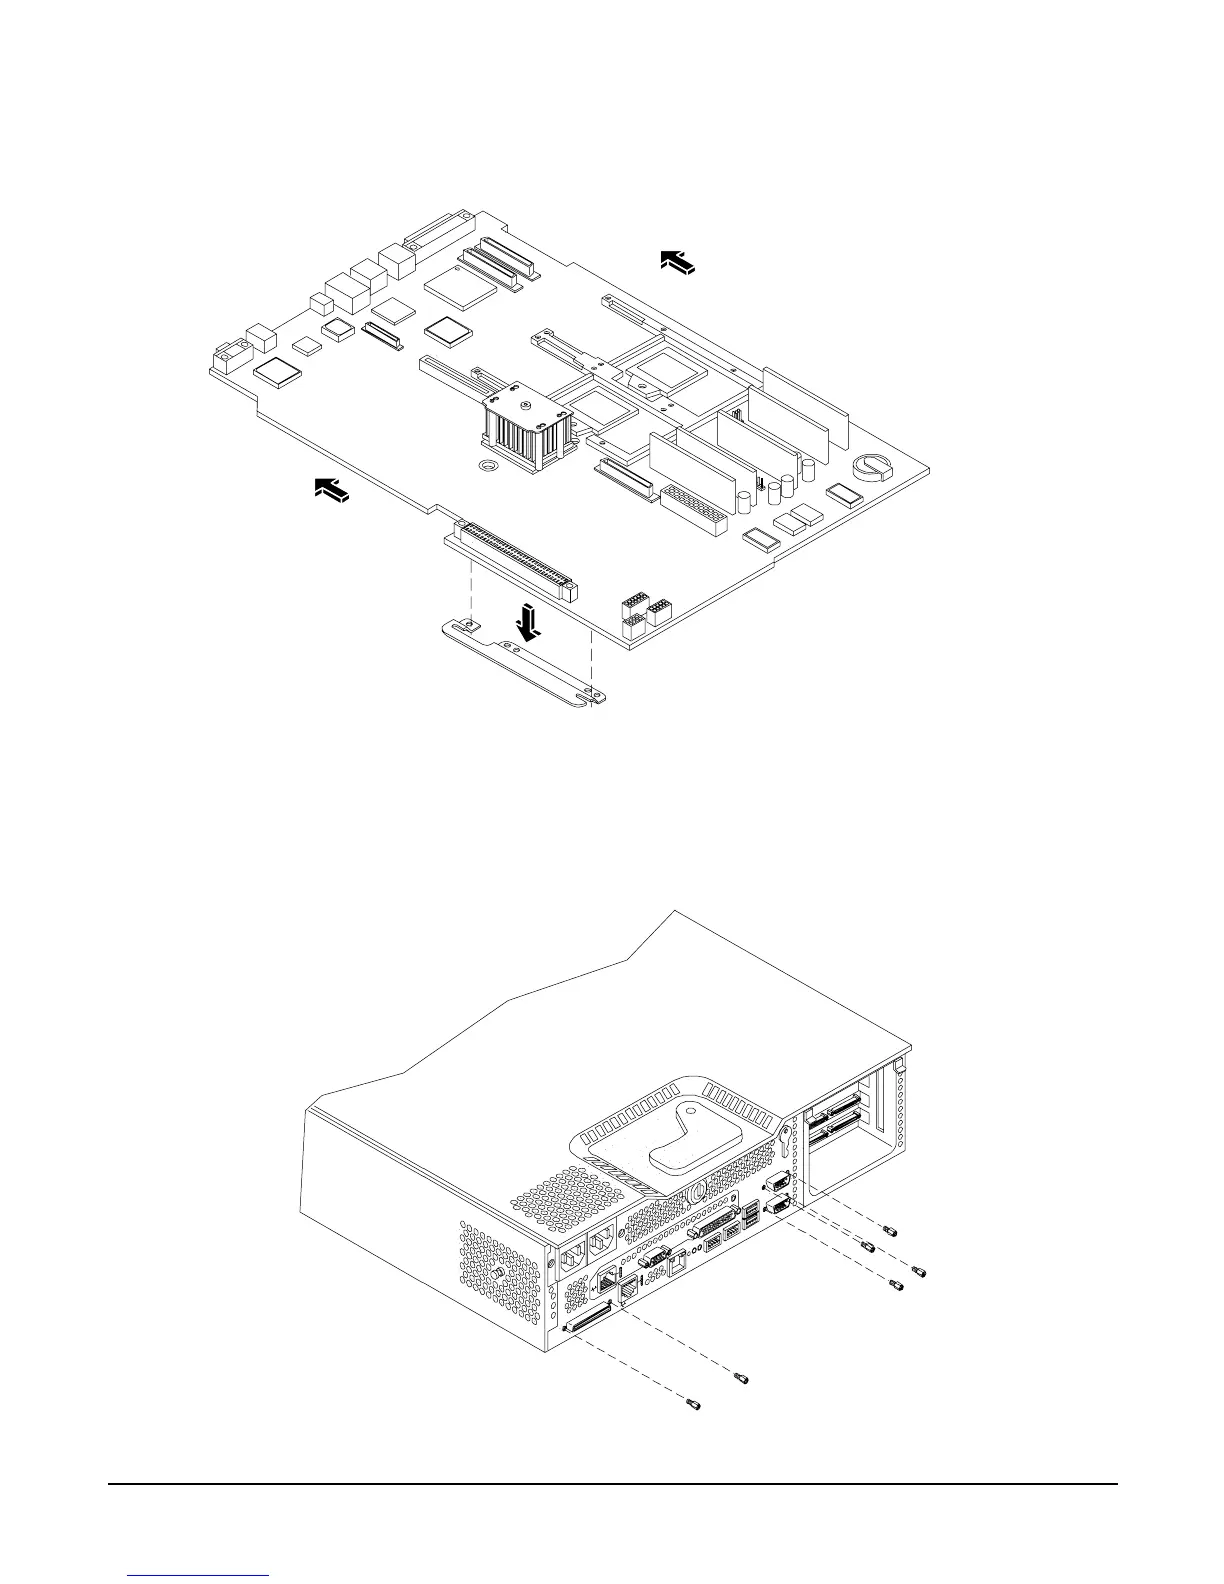
Figure 4-55 Slide System Board in Chassis
Step 4. Screw in the system board mounting screw. See Figure 4-56 for more information.
Step 5. Connect all cables to their appropriate connectors on the system board.
Step 6. Screw in the six rear backplane system board mounting screws.
Figure 4-56 Install the Rear Panel Mounting Screws
Front of server
Rear of server

Table of Contents

Other manuals for HP Integrity rx2620

Questions and Answers:

Question and Answer IconNeed help?

Do you have a question about the HP Integrity rx2620 and is the answer not in the manual?

HP Integrity rx2620 Specifications

General IconGeneral
BrandHP
ModelIntegrity rx2620
CategoryServer
LanguageEnglish

Related product manuals