13-16 Probes and Biopsy
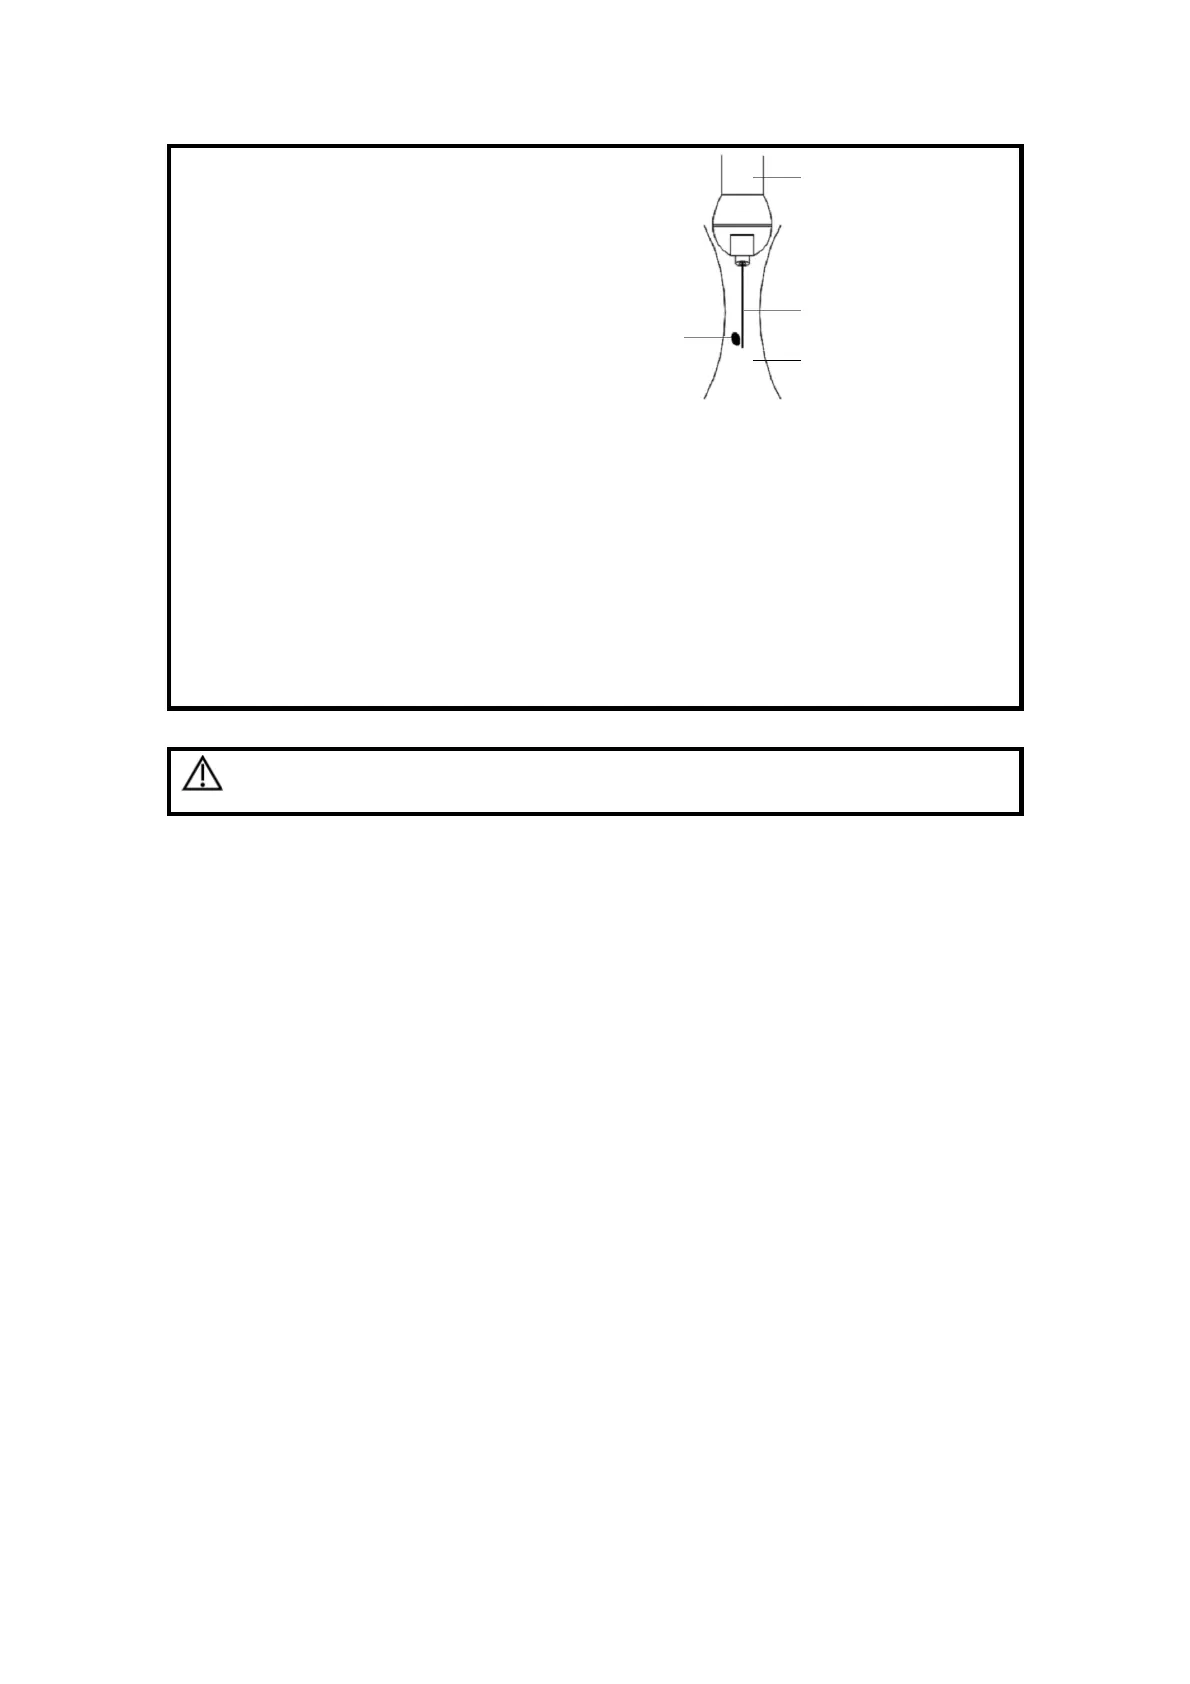
Dispersion of the ultrasound beam
The biopsy needle may not have actually entered the
target object even though it appears to have done so on
the image. To avoid this problem, note points below:
Do not rely only on the needle tip on the image. Pay
careful attention to that, when the biopsy needle comes
into the target object or contacts with it, the object
should shift slightly.
Before you perform the biopsy, please evaluate the size
of the object and confirm if the biopsy can be carried
out.
CAUTION:
When using the needle-guided bracket wear sterile gloves to
prevent infection.
13.2.1 Basic Procedures for Biopsy Guiding
1. Select the appropriate needle-guided bracket and needle, and install them properly.
For details, please refer to “13.2.4 Needle-guided Bracket Inspection and Installation”.
Before biopsy guiding, you can preset bracket model, biopsy display and guide line
dot type. For details, please refer to “13.2.3 Biopsy Preset”.
2. Verify the biopsy guide line.
3. Move the cursor onto the image menu; navigate the cursor to [Other] item and press
<Set> or the multifunctional knob. Click [Biopsy] to enter biopsy.
Tips:
If the current probe has no matched bracket; or, the image is frozen and the guide
line is hidden before image frozen, then you can’t enter Biopsy menu.
Before entering Biopsy menu, the system will prompt you “Please verify
guidelines before biopsy”.
4. Set [Display] as “On” to display the guide line, select the bracket and guide line
according to actual situation. For details, please refer to “13.2.5 Biopsy Menu”.
5. On the Biopsy menu, click [Verify] to enter the Verify menu to verify the guide line.
After the verification, click [Save] on the menu to save the parameter setting. And then
click [Exit] to return to Biopsy menu.
Tips:
If you switch the probe or needle-guided bracket during the biopsy, please verify
the guide line again.
Probe
Needle
Ultrasound beam
Target