4-2 Exam Preparation
Click [Basic] or [Detail] on the screen to show or hide the detailed patient information.
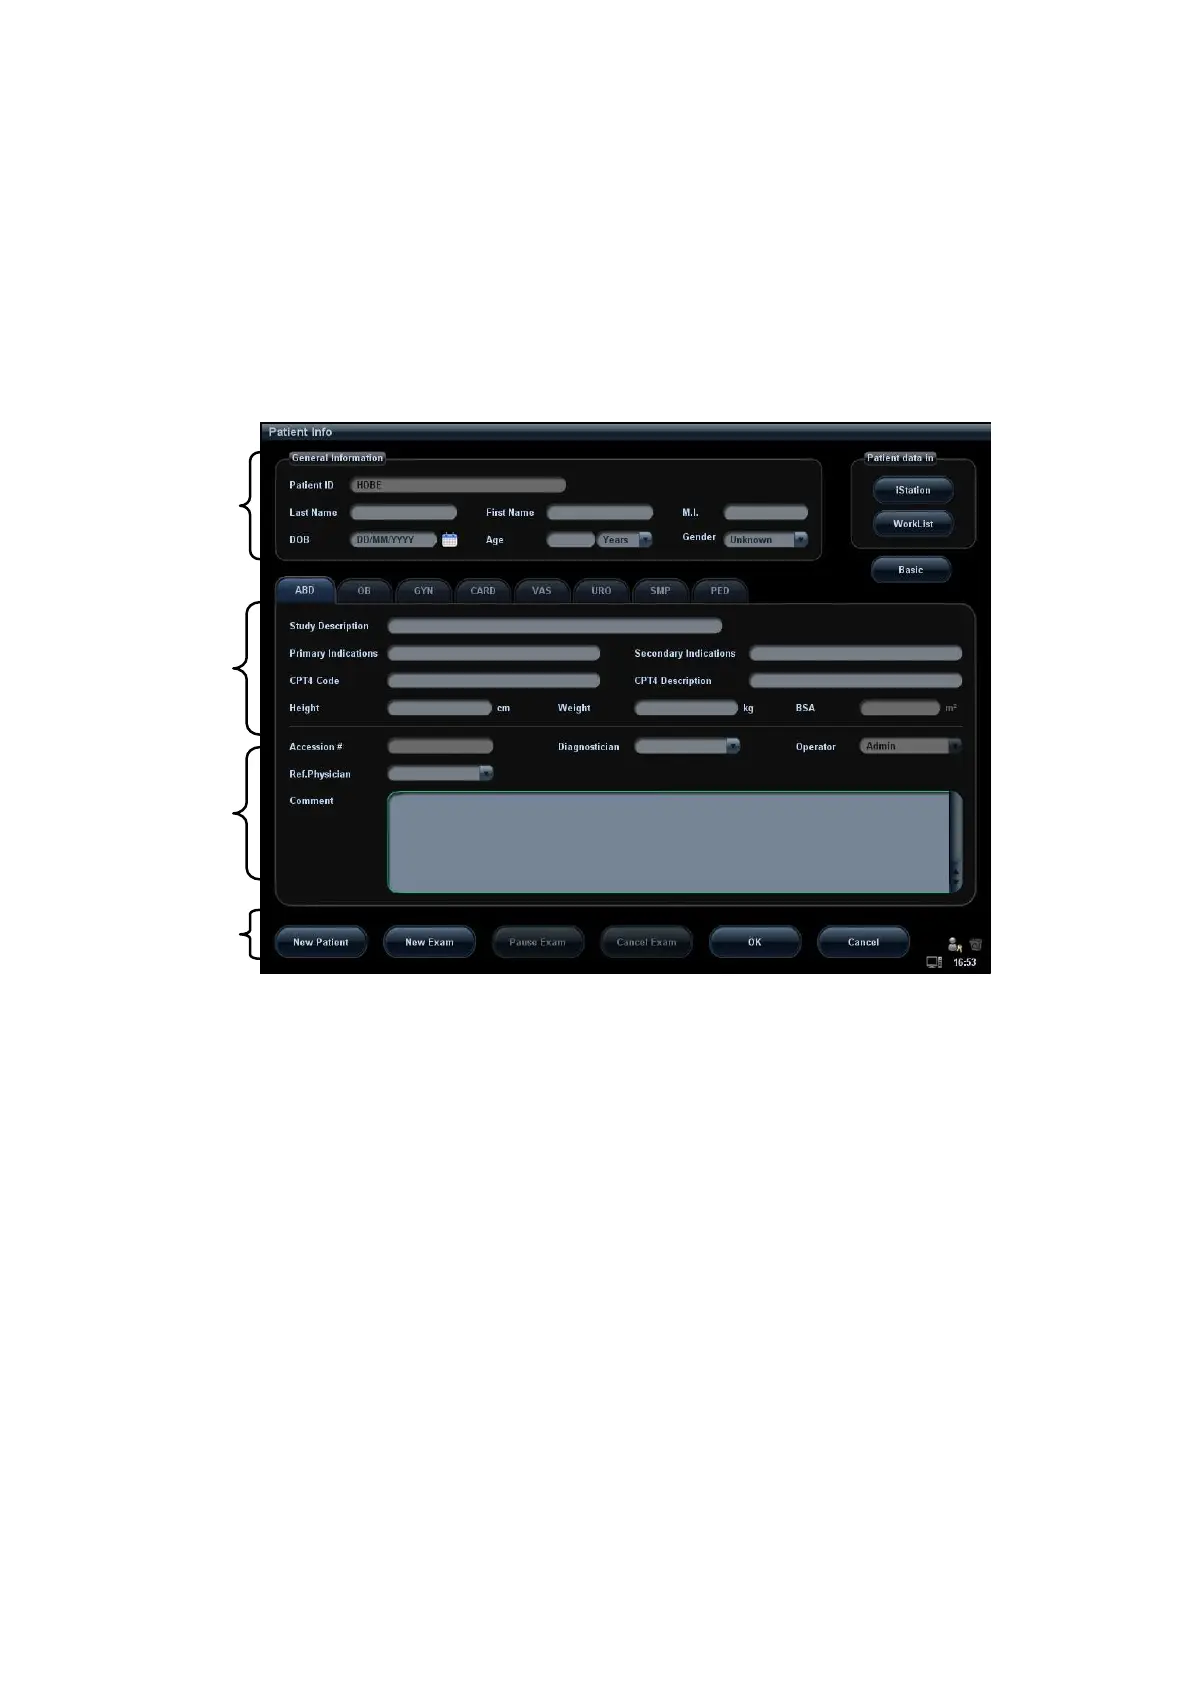
4.2.1 New Patient Information
The "Patient Info" screen is shown as follows (Take abdomen exam for example):
Place the cursor onto the targeted box. The field box is highlighted and a flashing cursor
appears. Information can be entered or selected from the options.
You can also change the cursor position by <Tab>, <Enter> or direction keys.
Detailed information is described as follows:
1. General information
Patient ID
Once you enter the ID and confirm it, you are not allowed to change it. There are 2
ways to generate the patient ID. “\” is not permitted.
Tips: Patient ID of an activated exam (within 24 hours) can be modified.
Auto generate ID
Select "Auto generated ID" through the path: [Setup] → [System Preset] → [General].
System will automatically populate the (patient) ID field with a unique time-stamp
identification code. The auto generated ID can be edited manually.
Enter the ID
If you deselect "Auto Generated ID", you need to enter an ID.
If an ID that is already existed in the system is entered, the system prompts "The ID
existed, load data", you can choose to import the data.
Name
Enter the patient name directly through the keyboard. Characters of A through Z and 0
through 9 and “.” are allowed.
“\”, “^”, “=” and “,” are not permitted.
1
2
3
4