3-8 System Preparation
Click [Printer Attribute] to see the printer attribute.
5. Click [OK] to finish the installation.
Add Network Printer
After the system is connected into a LAN, enter the "[Setup] → [Peripheral Preset] →
[Printer] → [Printer Driver]" screen.
1. Click [Add Printer] and select the types of adding network printer
Search Network Printer
Select "Search Network Printer" and click [Next] to search for the printer; select
the domain and server in the screen to find the printer.
Connecting to the specified printer
Select "Connect to this Printer" and enter the printer address in the field box.
2. When the network printer is successfully connected, you can see the printer in the list.
Tips: the network printer functions depending on the configured network environment in
the hospital, please consult the network configuration manager in case of failure.
NOTE:
When you install the printer’s driver, you must specify the specific path for
installation; otherwise, vague path may result in longer time for searching.
Report print
You can use a graph/ text printer to print report or images.
To set the default report printer and properties:
In "[Setup] → [Print Service]" screen, select the "Report Print" column in the
service list, set the items in the "Property" box.
To print a report:
Click [Print] in the report dialog box to print a report; or, use the user-defined key
to print, see "15.1.7 Key Config" for details.
Please refer to the accompanying manuals of the printers for more details.
3.8 Video Printer
The system support digital video printers, including B/W printers and color printers.
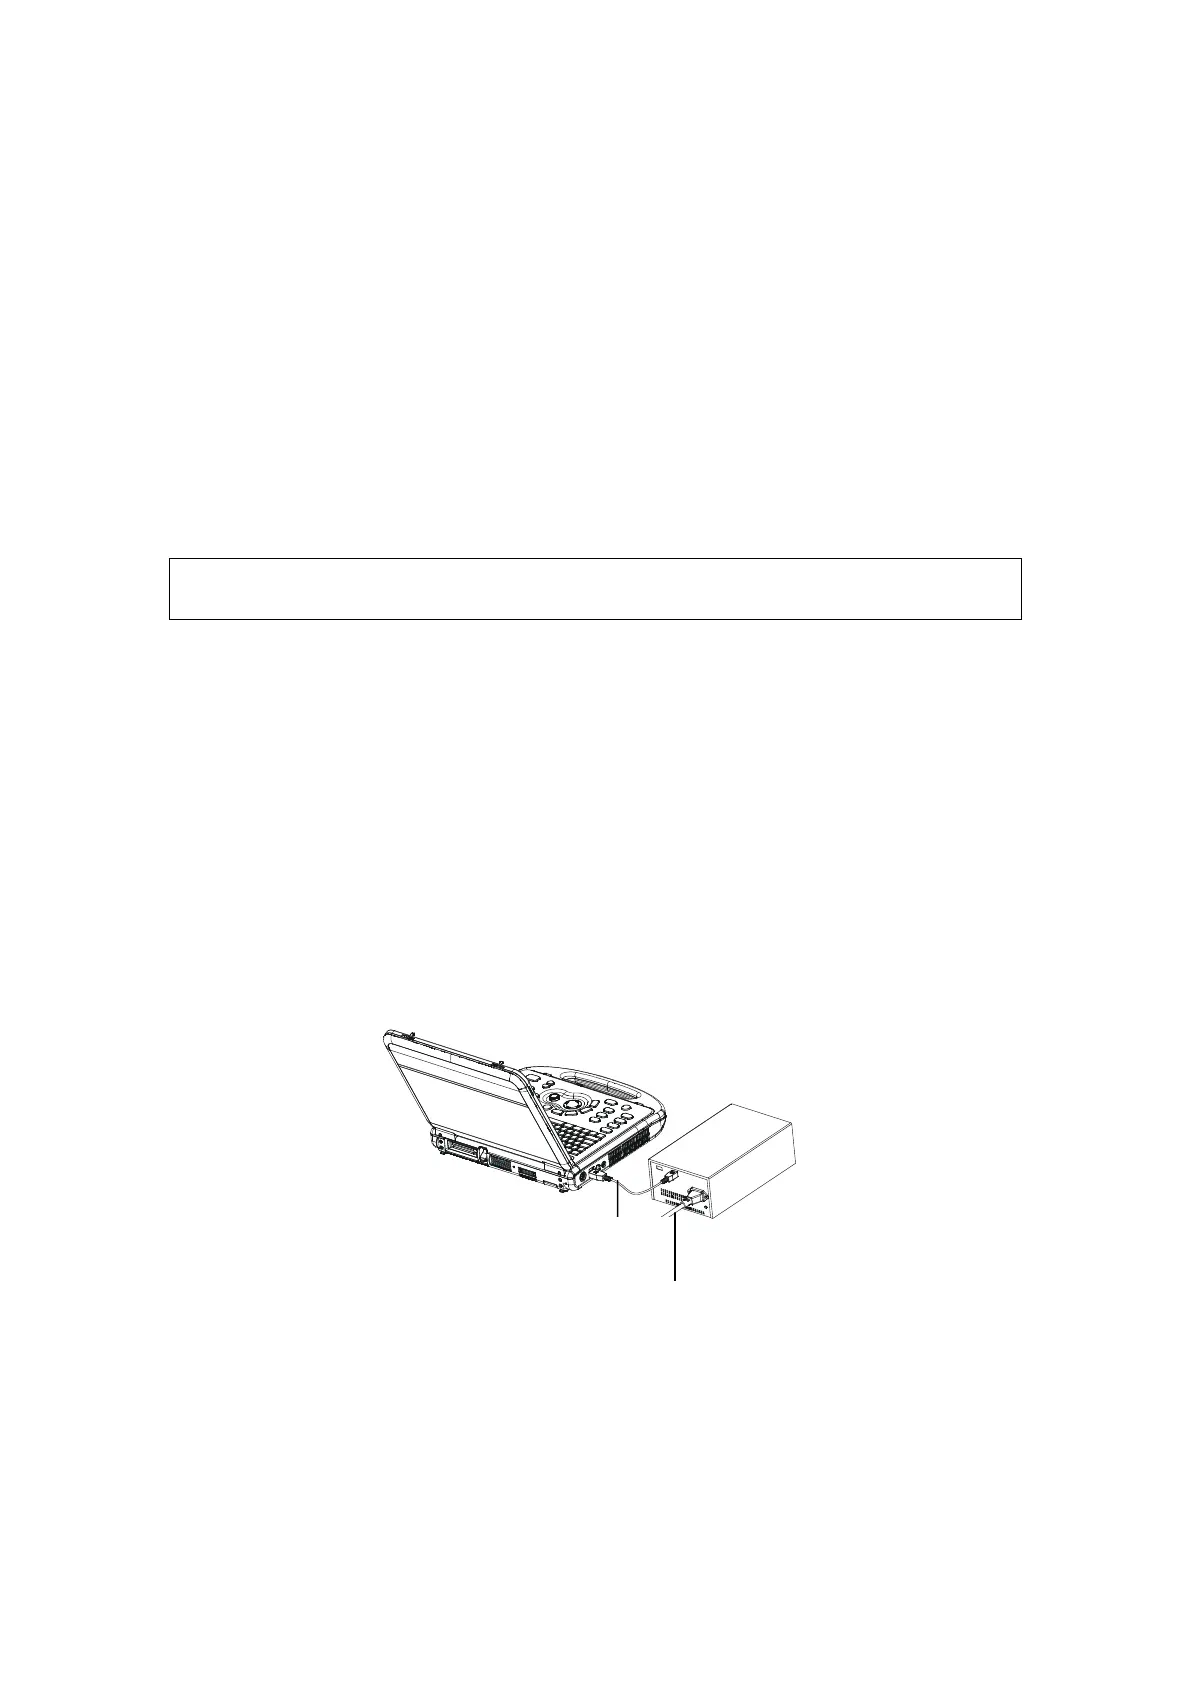
Connecting a local printer (MITSUBISHI P93D as an example)
1. Place the printer in the proper position.
2. Connect the power cord of the printer to a receptacle. Use a USB cable to connect the
USB port of the system with the USB port of the printer.
3. Load a paper roll, and turn on the system and printer.
USB cable
Power cord