System Preparation 3-9
4. Install the printer driver (steps are the same as of graph/text printers; please refer to
relevant chapters for details). Printers listed in "2.5.2.3 Peripherals Supported" have
drivers installed already.
5. Add a print service:
(1) Open "[Setup] → [Peripheral Preset] → [Print Service]" screen.
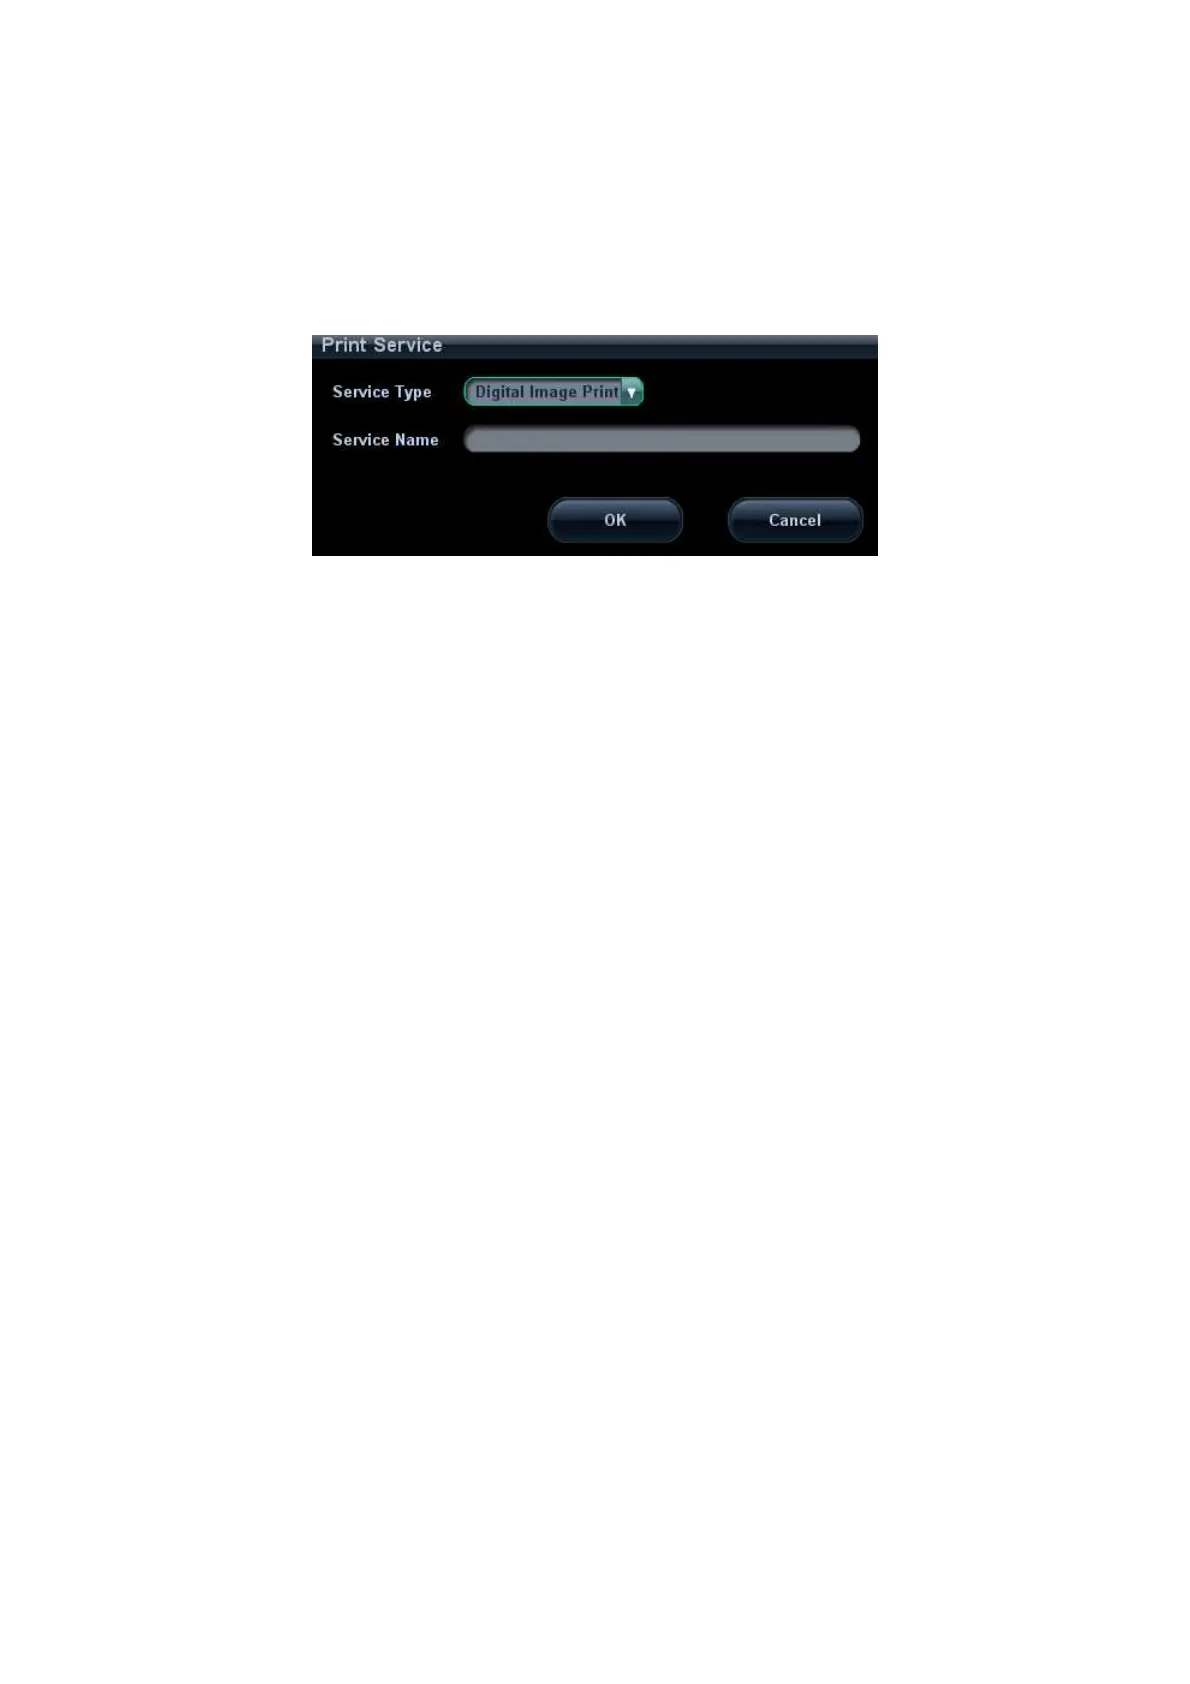
(2) Click [Add Service] to enter the following page.
(3) Select the service type as "Digital Image Print" and enter the service name
manually.
(4) Click [OK] to return to the Printer Service page.
(5) Set the items in the Property box and click [Save] to save the settings.
Image print
Video printers are mainly used for image print; refer to DICOM chapter for DICOM
image print.
Modify print service:
a) Select a printer service in the list.
b) Select the printer type in the Property box.
c) Set print properties: Paper size, Paper orientation, Rows*Columns, Vertical
Align, Page margin etc.
d) Click [Save] to confirm.
Video output settings:
Enter "[Setup] → [Peripheral Preset] → [Input & Display]"; set the output size.
Image print
Select the image to be printed on the iStation or Review screen, and click
[Send To] to select the printer to print.
To print by the user-defined key (<Print> key as an example):
a) Enter "[Setup] → [System Preset] → [Key Config]".
b) Select "Print" in the "Key Function" list, and select the desired print service in
the right "Print" list.
Please refer to the accompanying manuals of the printers for more details.