4-6 Exam Preparation
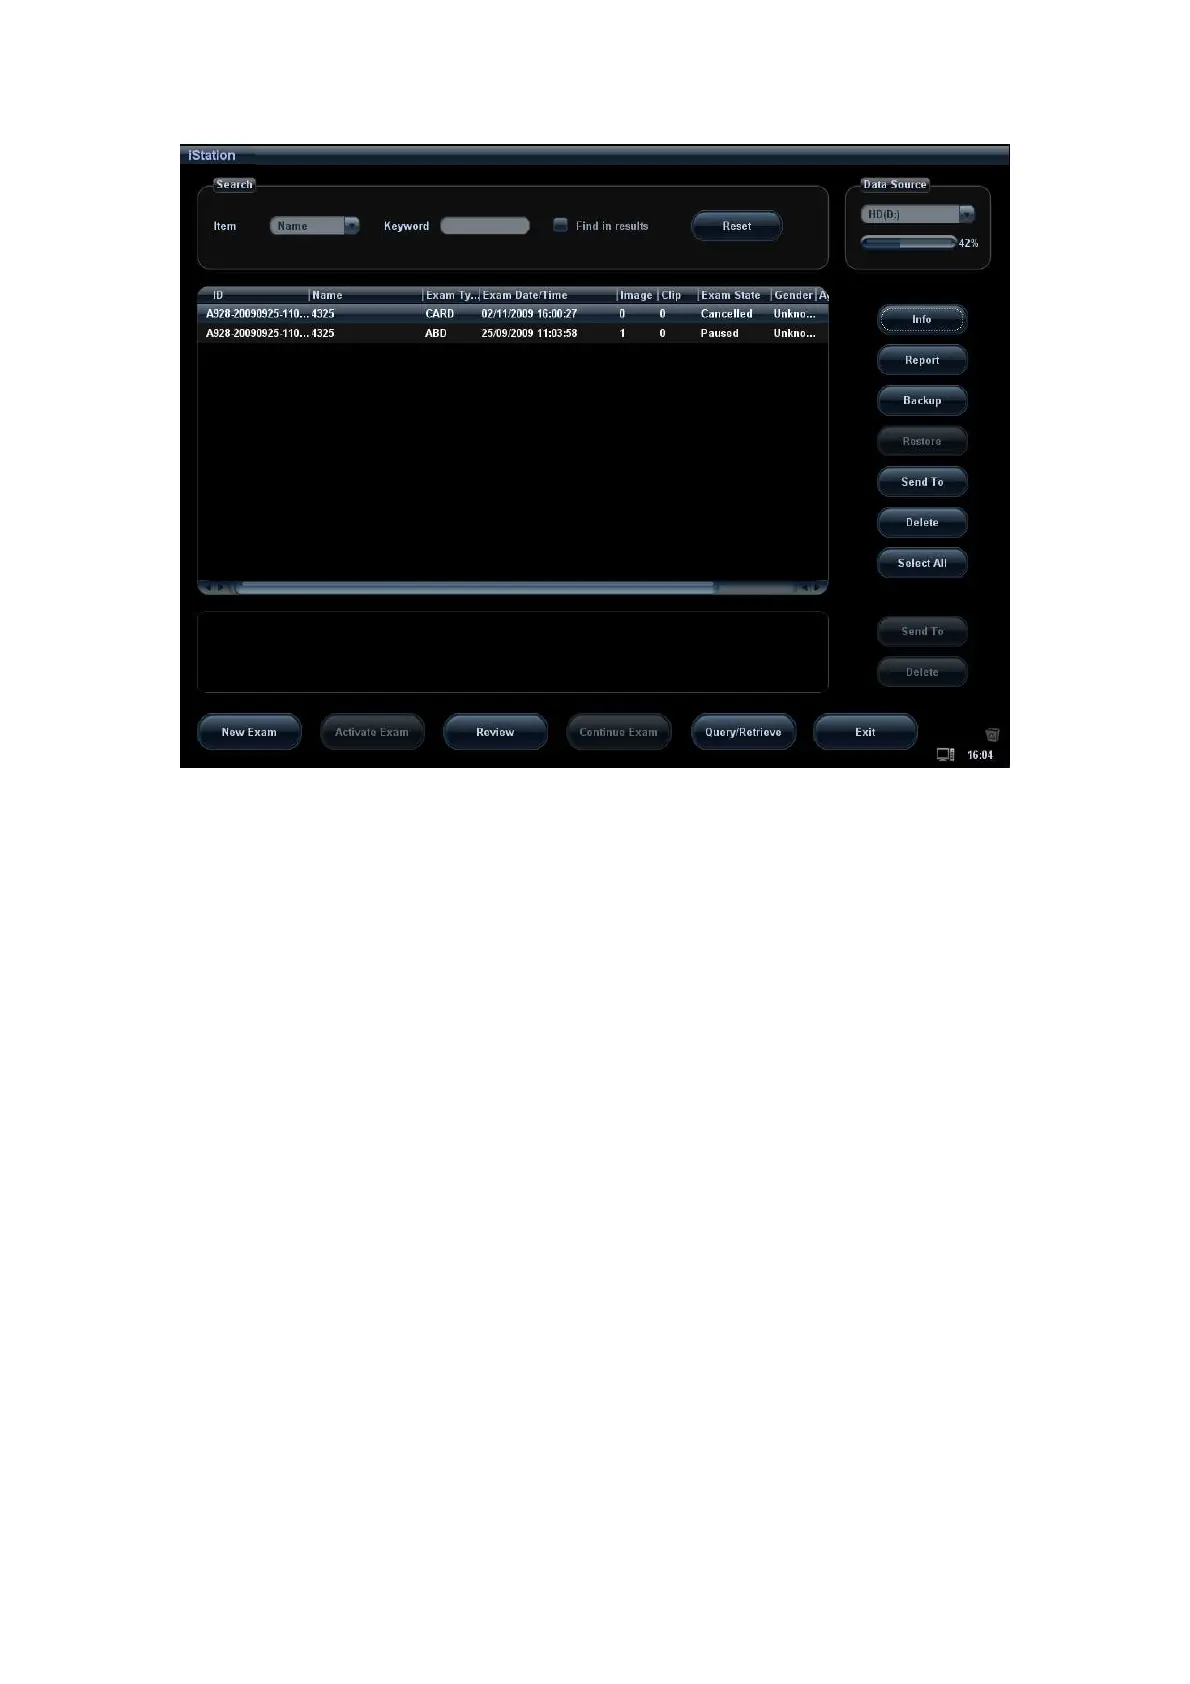
2. Select the data source:
Select the data source in the drop-down list of "Data Source". The occupying space
percentage of the selected data source will be displayed.
3. Set the searching condition
Define the searching item: Name, ID, DOB or Exam Date; and then enter the related
keyword.
Select “Find in results”, the system will search the keyword based on the existed
searched results.
Click [Reset], the system will clear the information you entered, and all the
recorded patient information of the system will be listed out.
4. Select the desired patient information from the list.
[New Exam]: click to enter “Patient Info” screen, meanwhile, the corresponding
patient information is also imported to the new exam. After you edit the patient
information in the [Patient Info] screen, select [OK] to start a new exam.
[Activate Exam]: click to continue an exam that is finished within 24 hours.
[Continue Exam]: click to continue an unfinished exam that is carried out within
24 hours.
[Review]: click to switch to the Review screen.
[Exit]: click to exit to iStation dialogue box.
4.2.2.2 DICOM Worklist
When the DICOM basic package is configured and the Worklist server has been set, click
[Worklist] in the "Patient Info" screen to query or import the patient data. (For the setting of
Worklist server, please refer to “12.1.4.3 DICOM Worklist Setting”.)
Procedure: