PTS 400.3 PLUS Operation Manual_R02 Page 48/306
Communication Setup
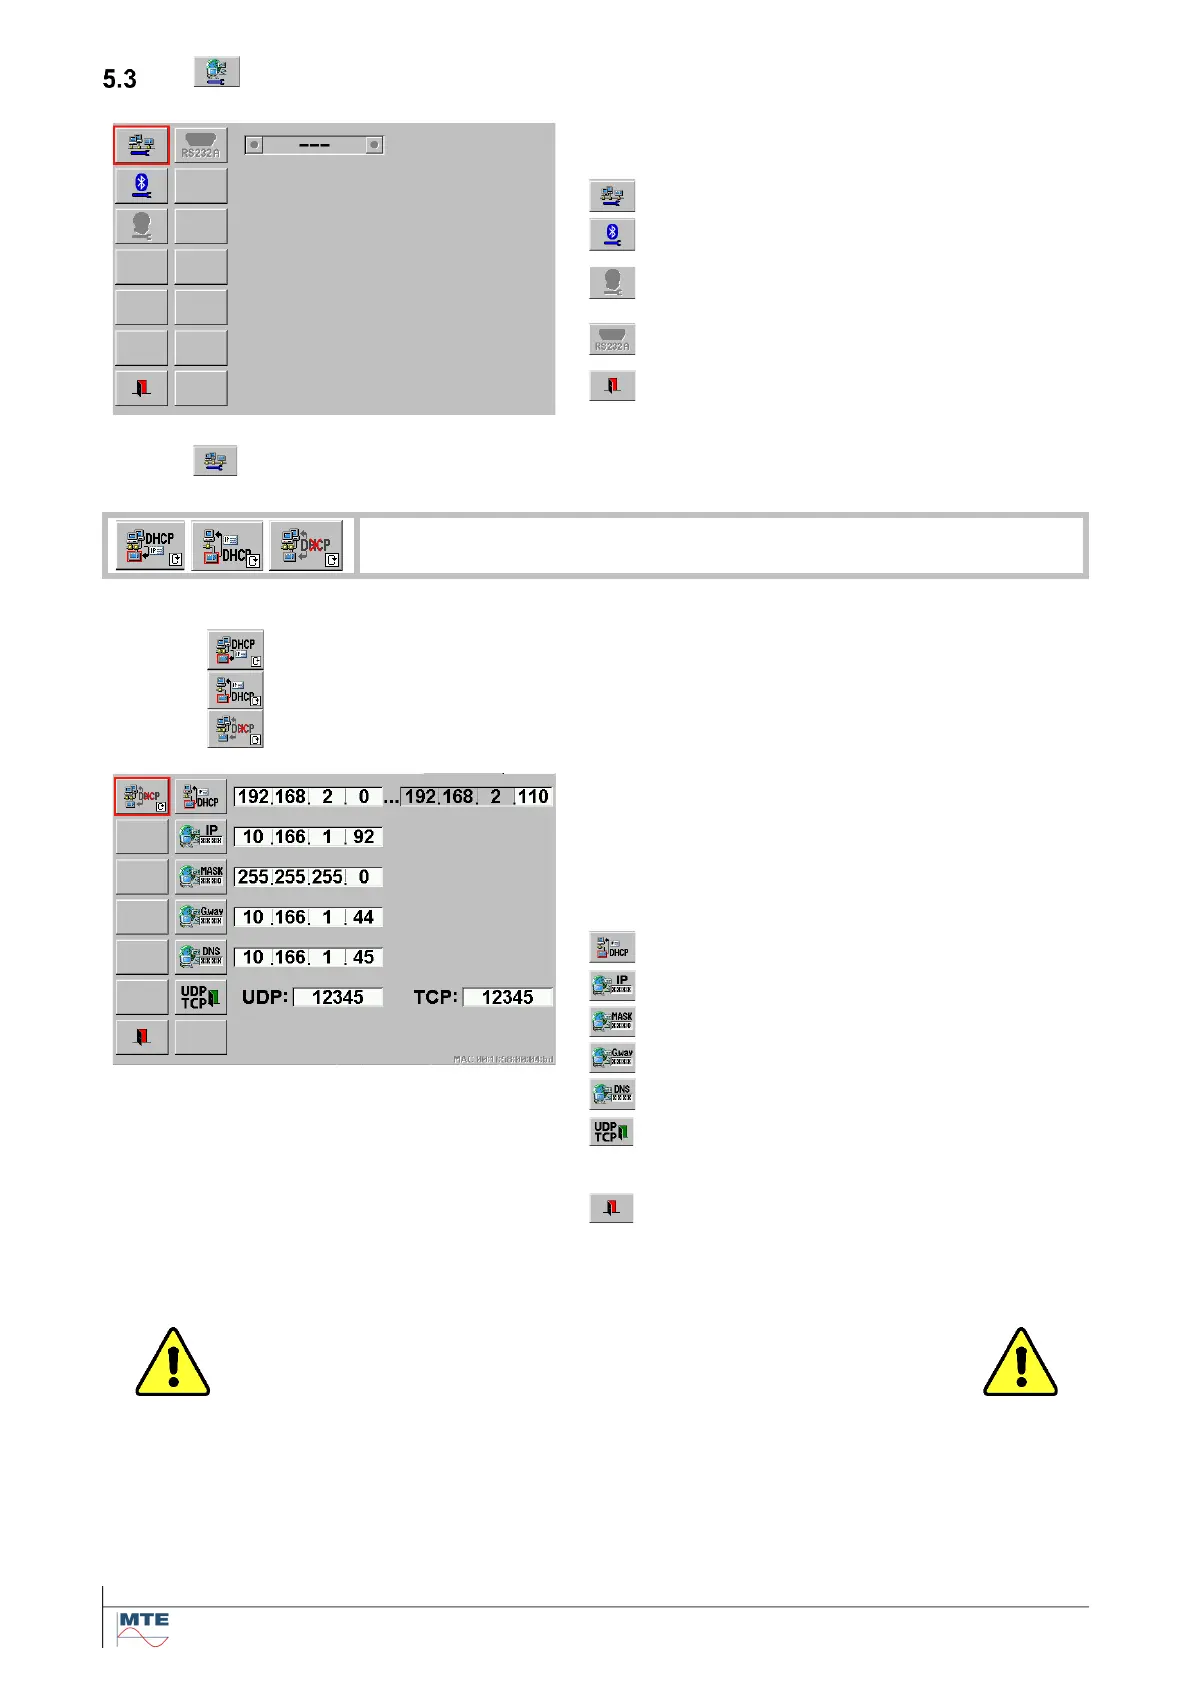
Communication setup menu
Content of the communication setup menu:
Modem setup (not available on PRS
600.3)
RS 232 setup (not available on PRS
600.3)
Exit, back to menu basic settings
DHCP activated - PRS 600.3 receives IP address
DHCP activated - PRS 600.3 provides IP address
DHCP not activated - Used to enter a fixed IP address
Ethernet network setup menu
Press on corresponding FB to activate the input of
the address part. Enter the required values with the
virtual keyboard. and press the enter key to termi-
nate the input.
Set the DHCP server address range
Internet Protocol (IP) address
Domain Name System (DNS) address
User Datagram Protocol (UDP) and
Transfer Control Protocol (TCP) Port
numbers
Exit, back to menu basic settings
The network communication with the PRS 600.3 happens via an Ethernet or USB connection. This
section describes the three different modes the unit can be configured for establishing a connection.
Caution! Please get in contact with your system administrator be-
fore connecting the PRS 600.3 to a computer network!
Choosing the wrong connection mode may cause network problems.
Basics
The PRS 600.3 needs an address. This address has to be entered later in Calegration. The address
consists of two parts:
• Internet-Protocol-Address (IP-Address)
• User-Datagram-Protocol-Port Number (UDP-Port Number)