- 204 -
5. Fax
Specifying a Destination Using One-touch Button
Specifying a Destination from Transmission History and Reception History
7
Press the (START) button to start scanning the first document.
8
When [Please set next document] is displayed, set the next document.
9
Press [Start Scan].
10
Repeat steps 8 and 9 for each fax transmission document if necessary.
11
When scanning all sets of the documents is complete, press [Scan Complete].
For continuous scanning, the settings related to the image settings, such as resolution, density, and scan size, cannot
be changed.
1
Press [Fax/Internet Fax] or the (FAX) button.
2
Set a document in the ADF.
3
Press [Fax].
4
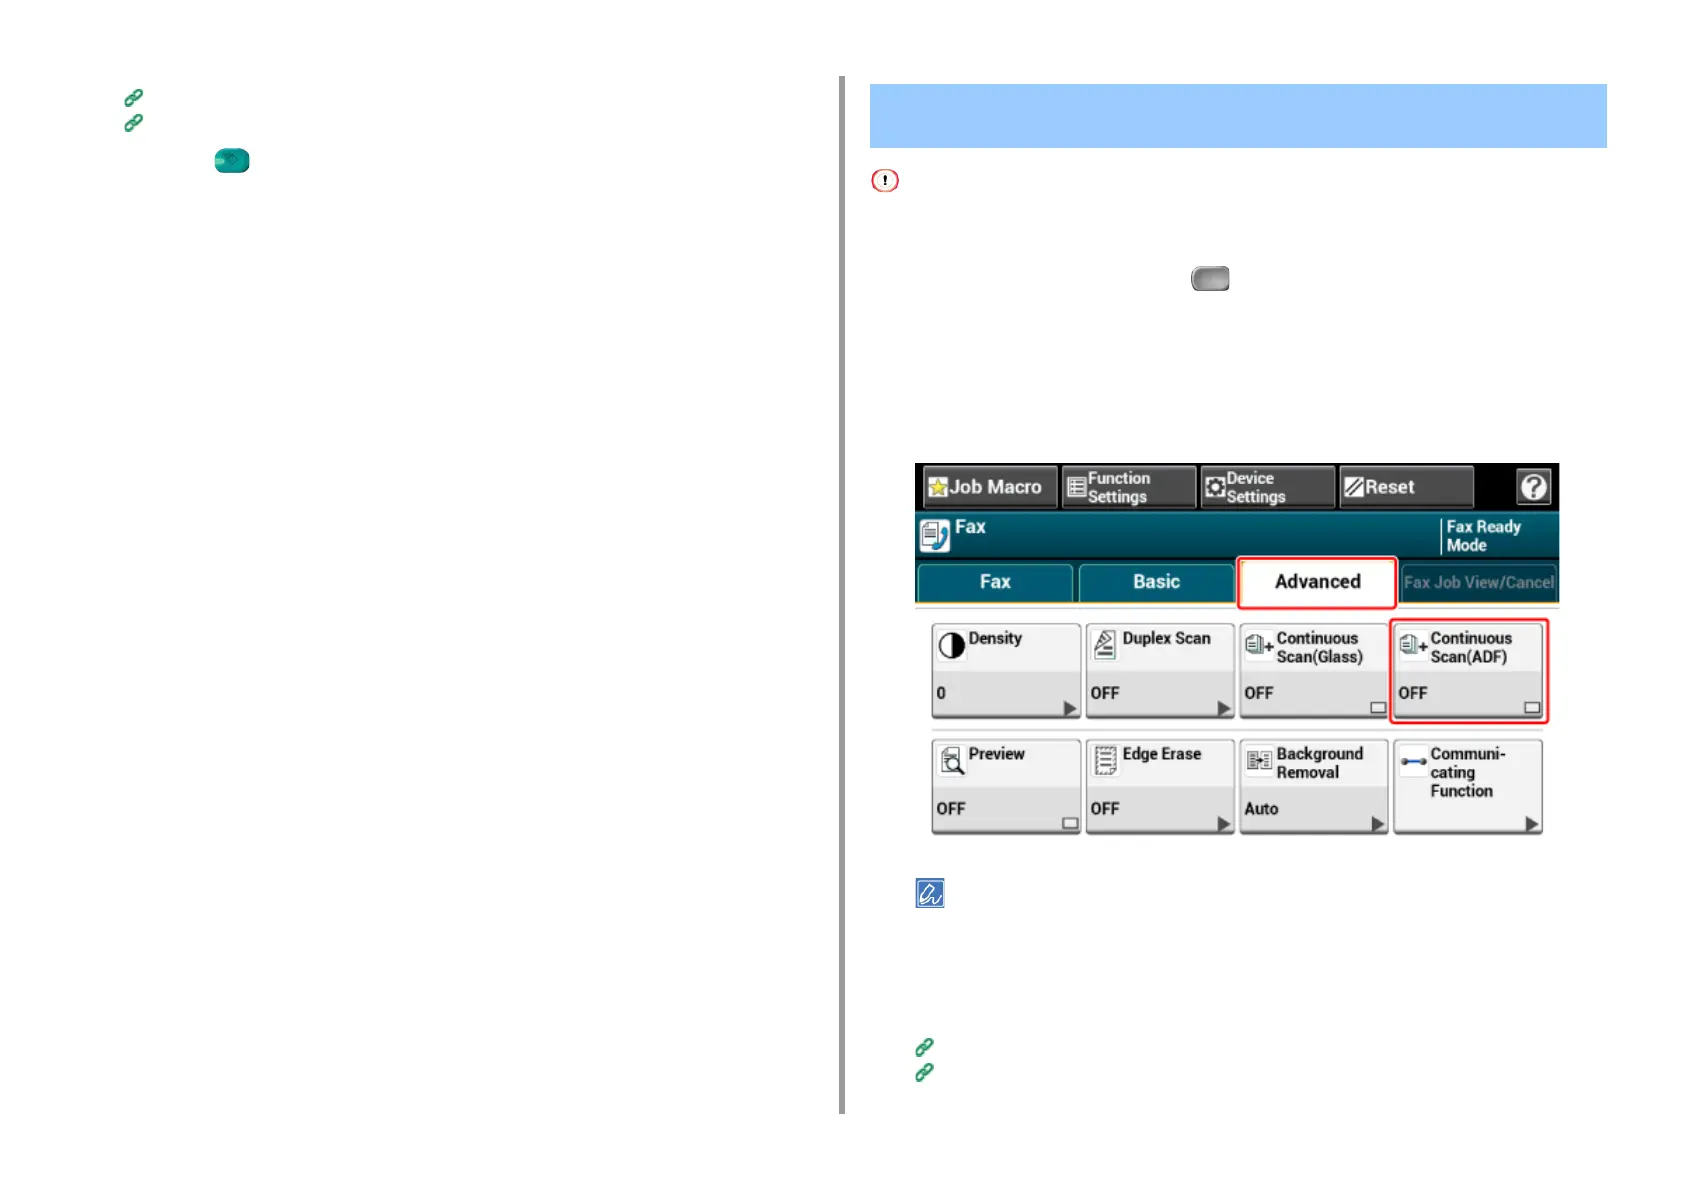
Press [Continuous Scan(ADF)] on the [Advanced] tab and set it to [ON].
Pressing [Continuous Scan(ADF)] switches between [ON] and [OFF].
5
Select the [Fax] tab.
6
Specify a destination.
Entering Fax Number to Send a Fax (User's Manual)
Specifying a Destination from Phone Book
Scanning Multiple Documents Continuously with the ADF
(Continuous Scan (ADF))