- 230 -
5. Fax
7
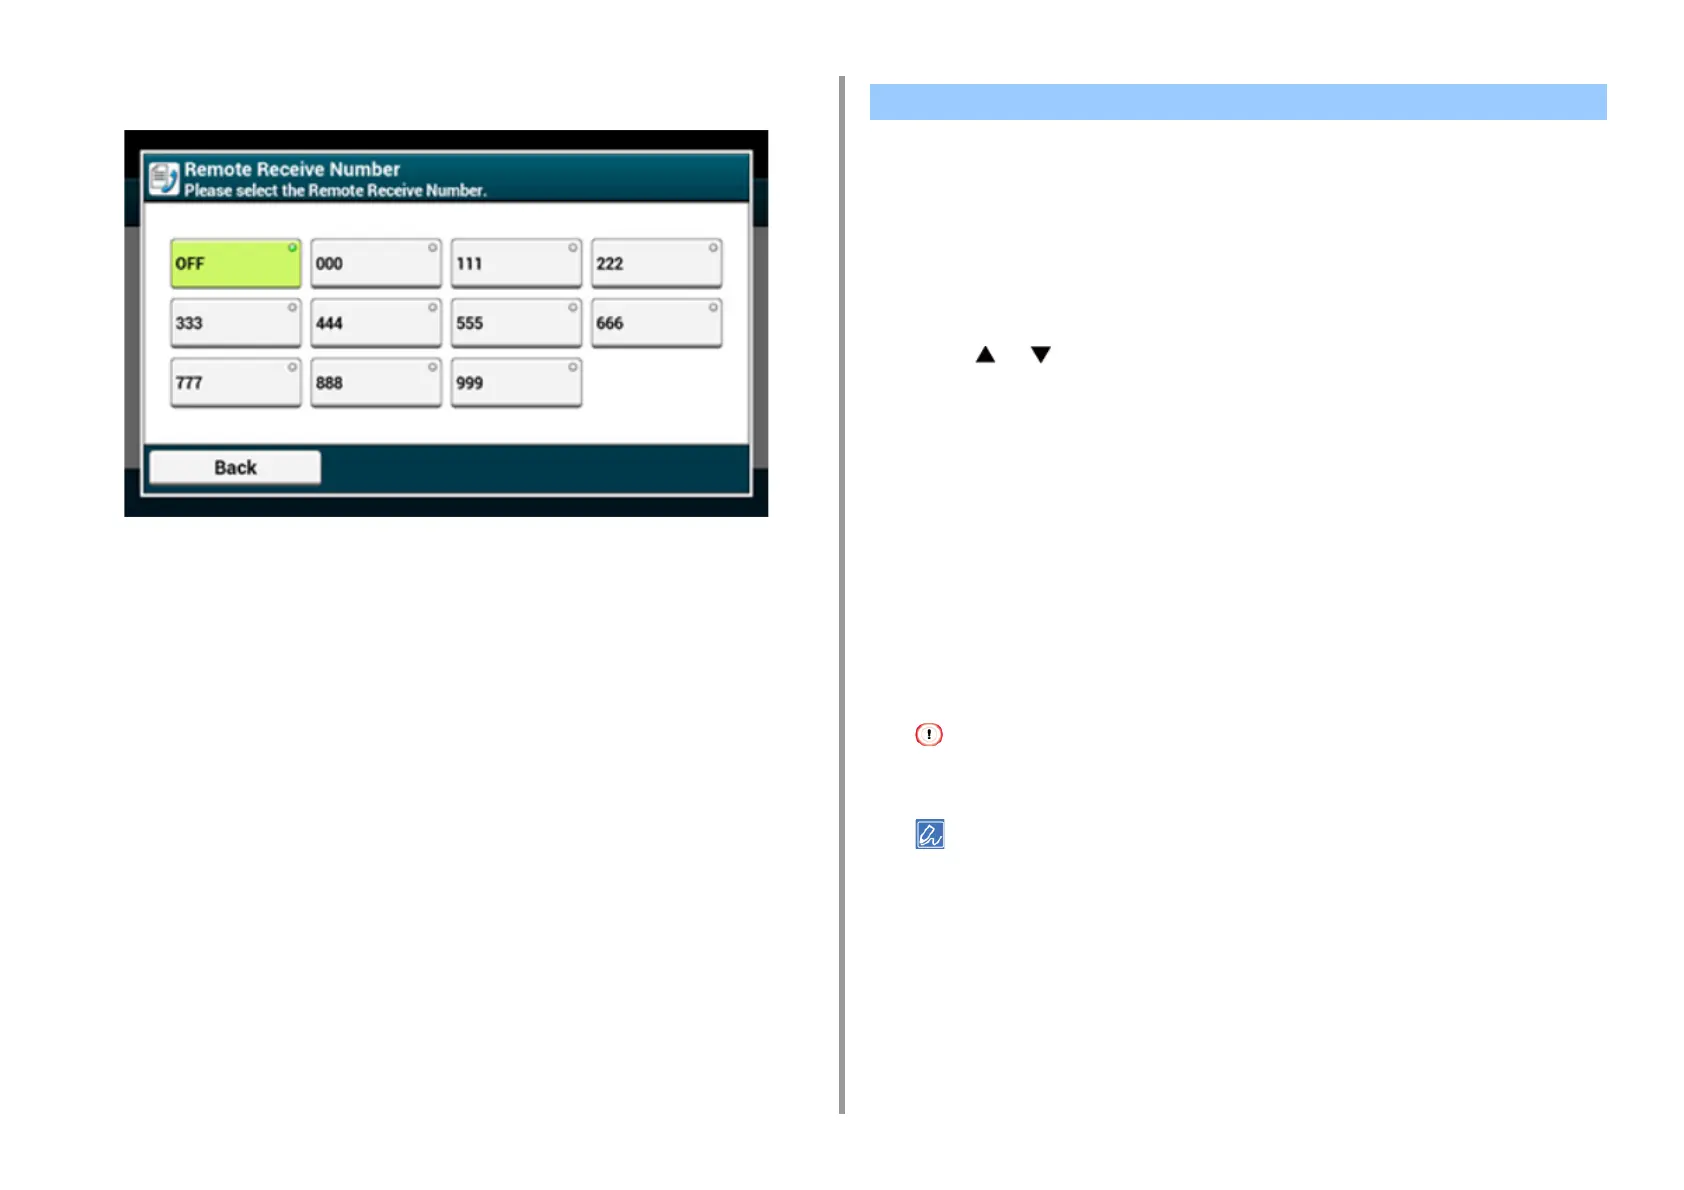
Select a number.
8
Press [Back] until the home screen is displayed.
• Setting Secure Reception
• Printing an Image Stored with Secure Reception
Setting Secure Reception
1
Press [Device Settings] on the touch panel.
2
Press or several times and press [Admin Setup].
3
Enter the administrator name and password and press [OK].
The factory default administrator name and password are "admin" and "999999"
respectively.
4
Press [Fax Setup].
5
Press [Security Function].
6
Press [Secure Receive].
7
Press [Setting].
8
Enter a 4-digit number by using the numeric keypad, and then press [OK].
When previewing or printing received faxes, you need to enter the password you set in this step. If you press [OK]
without entering a password, previewing and printing can be performed without entering a password.
To disable the secure reception, press [Setting], and then press [OFF] in step 7.
Printing an Image Stored with Secure Reception
Print an image that is received by fax and stored in memory.
Check that the [DATA IN MEMORY] lamp lights up.
If the lamp is off, there are no images that are received by fax and stored in memory.
Setting Secure Reception