- 73 -
3. Scan
5
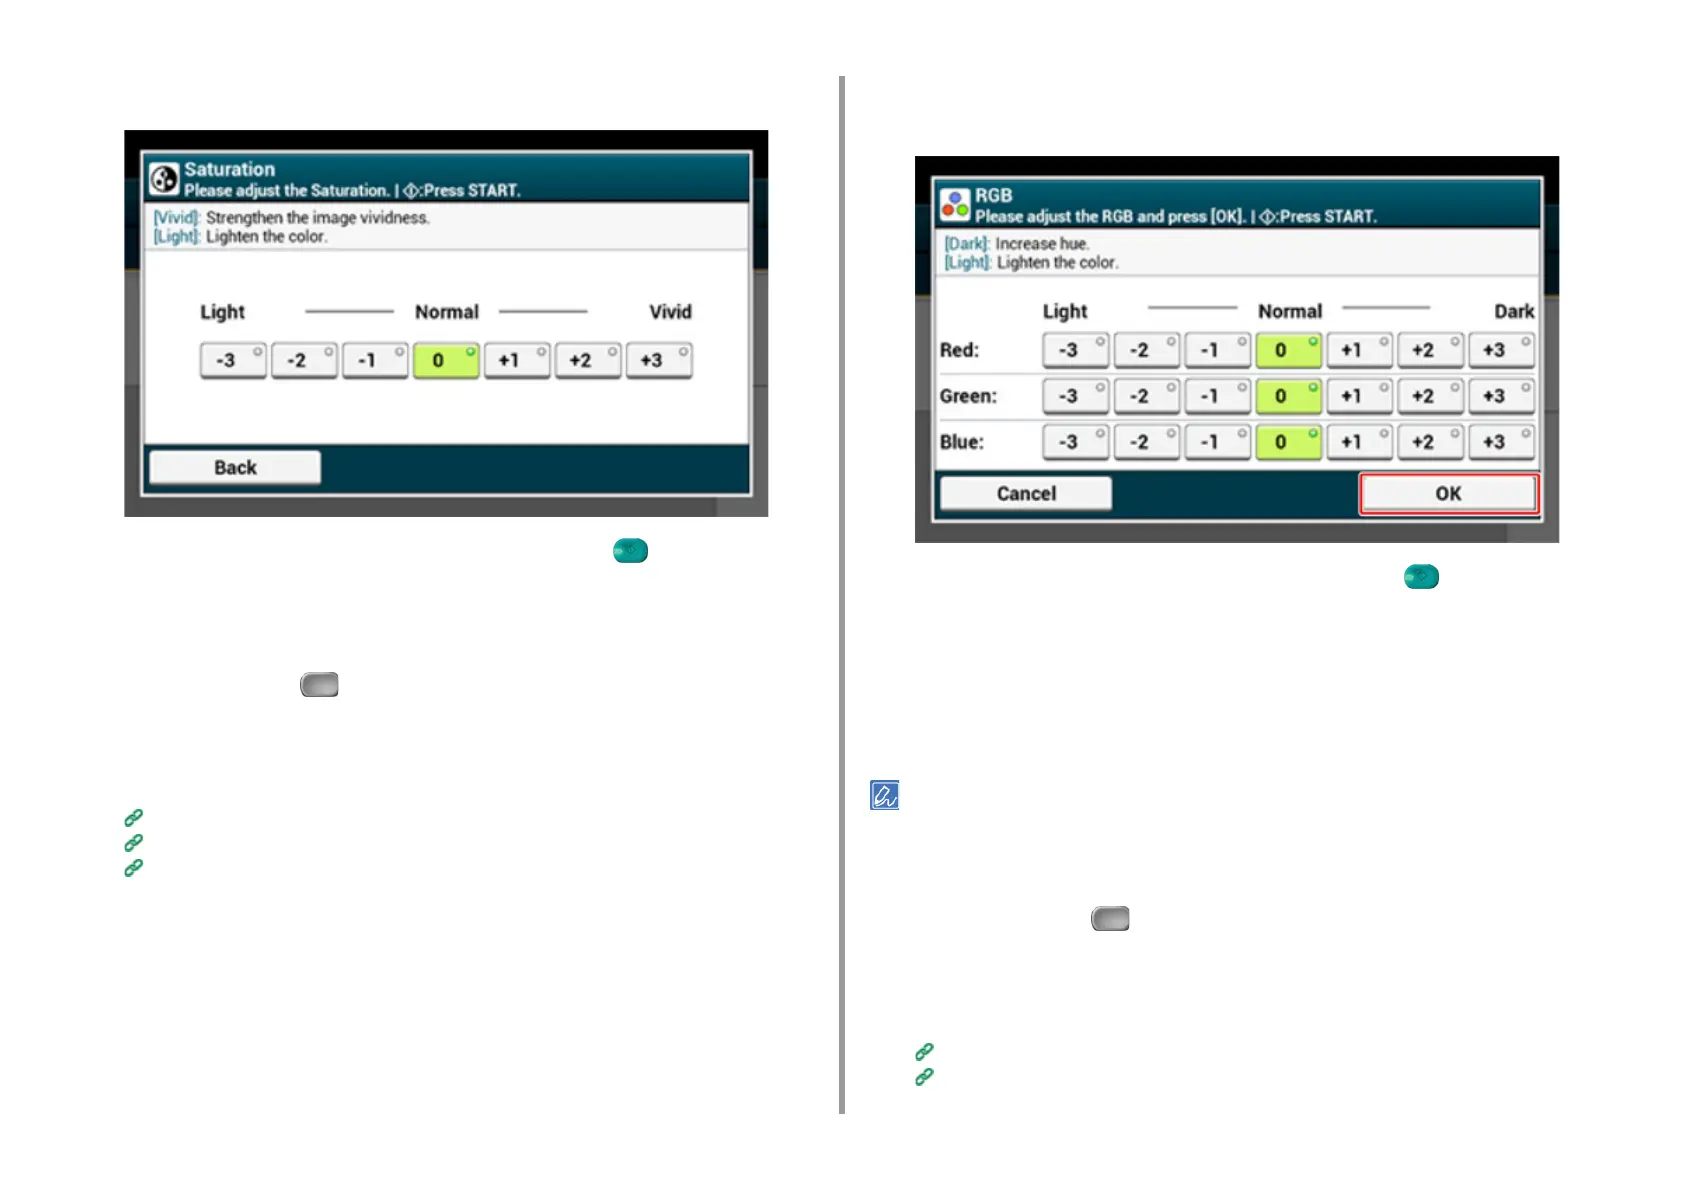
Press [Saturation] and press a value.
6
Change other settings if necessary, and then press the (START) button.
Adjusting RGB
1
Press [Scan] or the (SCAN) button.
2
Set a document in the ADF or on the document glass.
3
Select a scan function.
Sending Scanned Data as an E-mail Attachment
Saving Scanned Data in USB Memory
Saving Scanned Data in a Shared Folder
4
Press [Image Settings] on the [Image Settings] tab.
5
Press [RGB] and press a value for Red, Green, Blue respectively, and then
press [OK].
6
Change other settings if necessary, and then press the (START) button.
Erasing Edge Shadows (Edge Erase)
When you scan a document with the document glass cover opened or when you scan a
book, a black shadow may appear around the edges on the scanned image. The edge erase
function allows you to erase the black shadow.
[Edge Erase] is set to [ON], and [Width] to 5 mm by factory default.
The default value of the edge width to erase can be changed from [Admin Setup] > [Scanner Setup] > [Default
Settings] > [Edge Erase] > [ON] > [Width].
1
Press [Scan] or the (SCAN) button.
2
Set a document in the ADF or on the document glass.
3
Select a scan function.
Sending Scanned Data as an E-mail Attachment
Saving Scanned Data in USB Memory