Sending Scan File by Scan to Folder
146
6
Note
❒ You can select the title under
which each of the registered
destinations is assigned in
[Configuration] → [File Send
Settings] → [Send File Path] →
[Assign Title] on the Web Sta-
tus Monitor.
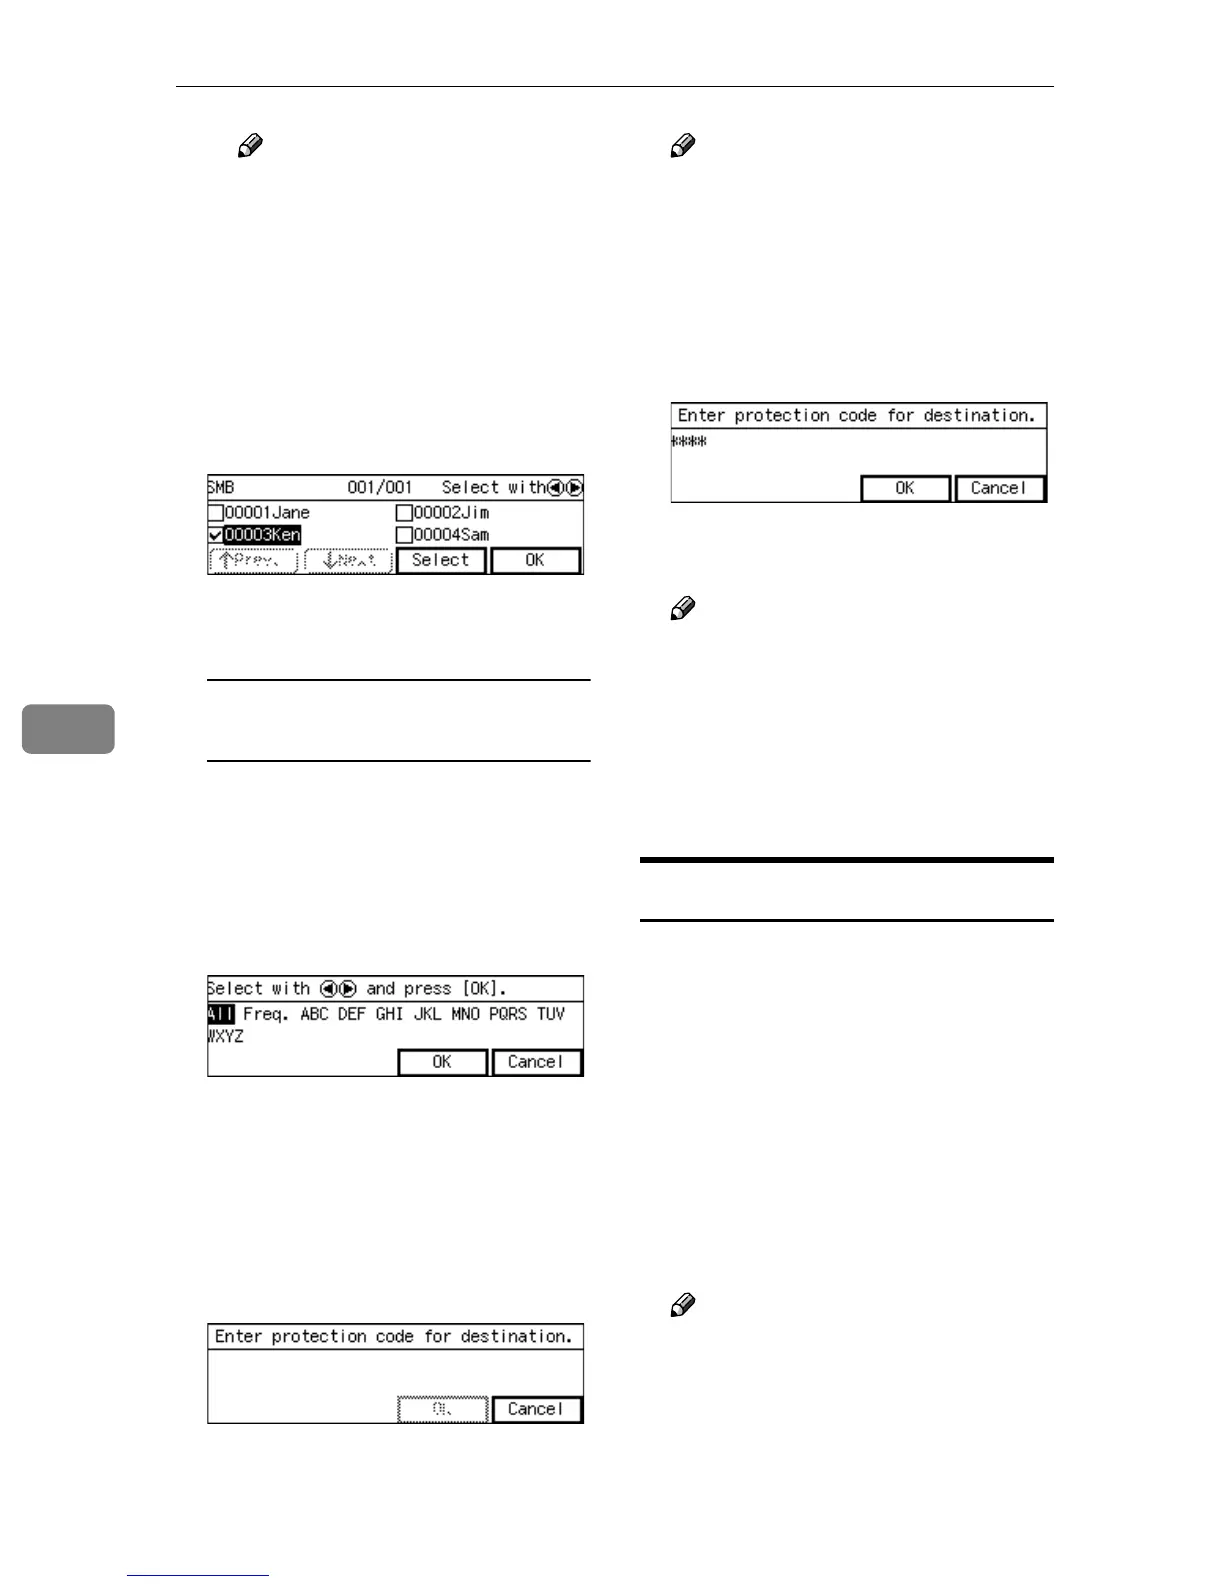
C Highlight the shared folder
name you want to select, and
then press [Select].
This selects the check box next
to the folder name.
To recall all available
destinations
A Press the {
{{
{./*}
}}
} (Title) key.
List of titles appears on the
screen.
B Use the {
{{
{1
11
1}
}}
} or {
{{
{0
00
0}
}}
} key to
highlight [All], and then press
[OK].
F
FF
F
Press [OK].
The message “
Enter protection
code for destination.
” ap-
pears.
G
GG
G
Enter the protection code using
the number keys.
Note
❒ Enter the four- through eight-
digit number that is specified in
[Configuration] → [File Send Set-
tings] → [Send File Path] → [Pro-
tected Password] on the Web
Status Monitor.
H
HH
H
Press [OK].
This returns to the screen that was
displayed in step
C
.
Note
❒ When you do not specify a file
name, press [OK] here. The E-
mail/Send File standby screen
is displayed, and the shared
folder name that you have se-
lected appears at the second line
of the screen.
Selecting a File Name
You can specify a file name (actually a
prefix string for a file name) for the
scanned file to be sent to the shared
folder. When you do not specify a file
name, the default file name “DOC” is
used automatically.
A
AA
A
While the E-mail/Send File stand-
by screen is displayed, press
[Dest.].
The screen for selecting destina-
tions appears.
Note
❒ If this screen is already dis-
played, you can skip this step.
❒ If you do not specify a file name,
you can skip this step.