SendScan Settings
69
3
❖
❖❖
❖ Registration
This item allows you to register the “Vertical” and/or “Horizontal” positions
of the original at values you have specified; among “1. Exposure Glass”, “2.
ADF Front Side” and “3. ADF Back Side”.
❖
❖❖
❖ Select Title (WSM)
This item lets you select the titles that are displayed when you press the {
{{
{./*}
}}
}
(Title) key. You can select between “Alphabet” and “Custom Title”.
Note
❒ This setting can only be configured using the Web Status Monitor.
❒ Before using “Custom Title”, it is necessary to register custom titles using
the Web Status Monitor, and restart this machine.
❖
❖❖
❖ Time Zone (WSM)
This item lets you specify your local time zone, by selecting the time offset
from GMT (Greenwich Mean Time).
Note
❒ This setting can only be configured using the Web Status Monitor.
Configuring
[
Send Scan
Settings
]
Follow the steps below to configure
Send Scan Settings using the control
panel of this machine.
Note
❒ You can also configure these set-
tings using the Web Status Moni-
tor.
Reference
See p.14 “Using Keys Displayed on
the Screen” for information about
how to select items displayed on
the screen.
If your machine has been config-
ured with User Authenticate, then
enter your user ID and password,
according to the instruction on
p.21 “Login and Logout screens”.
A
AA
A
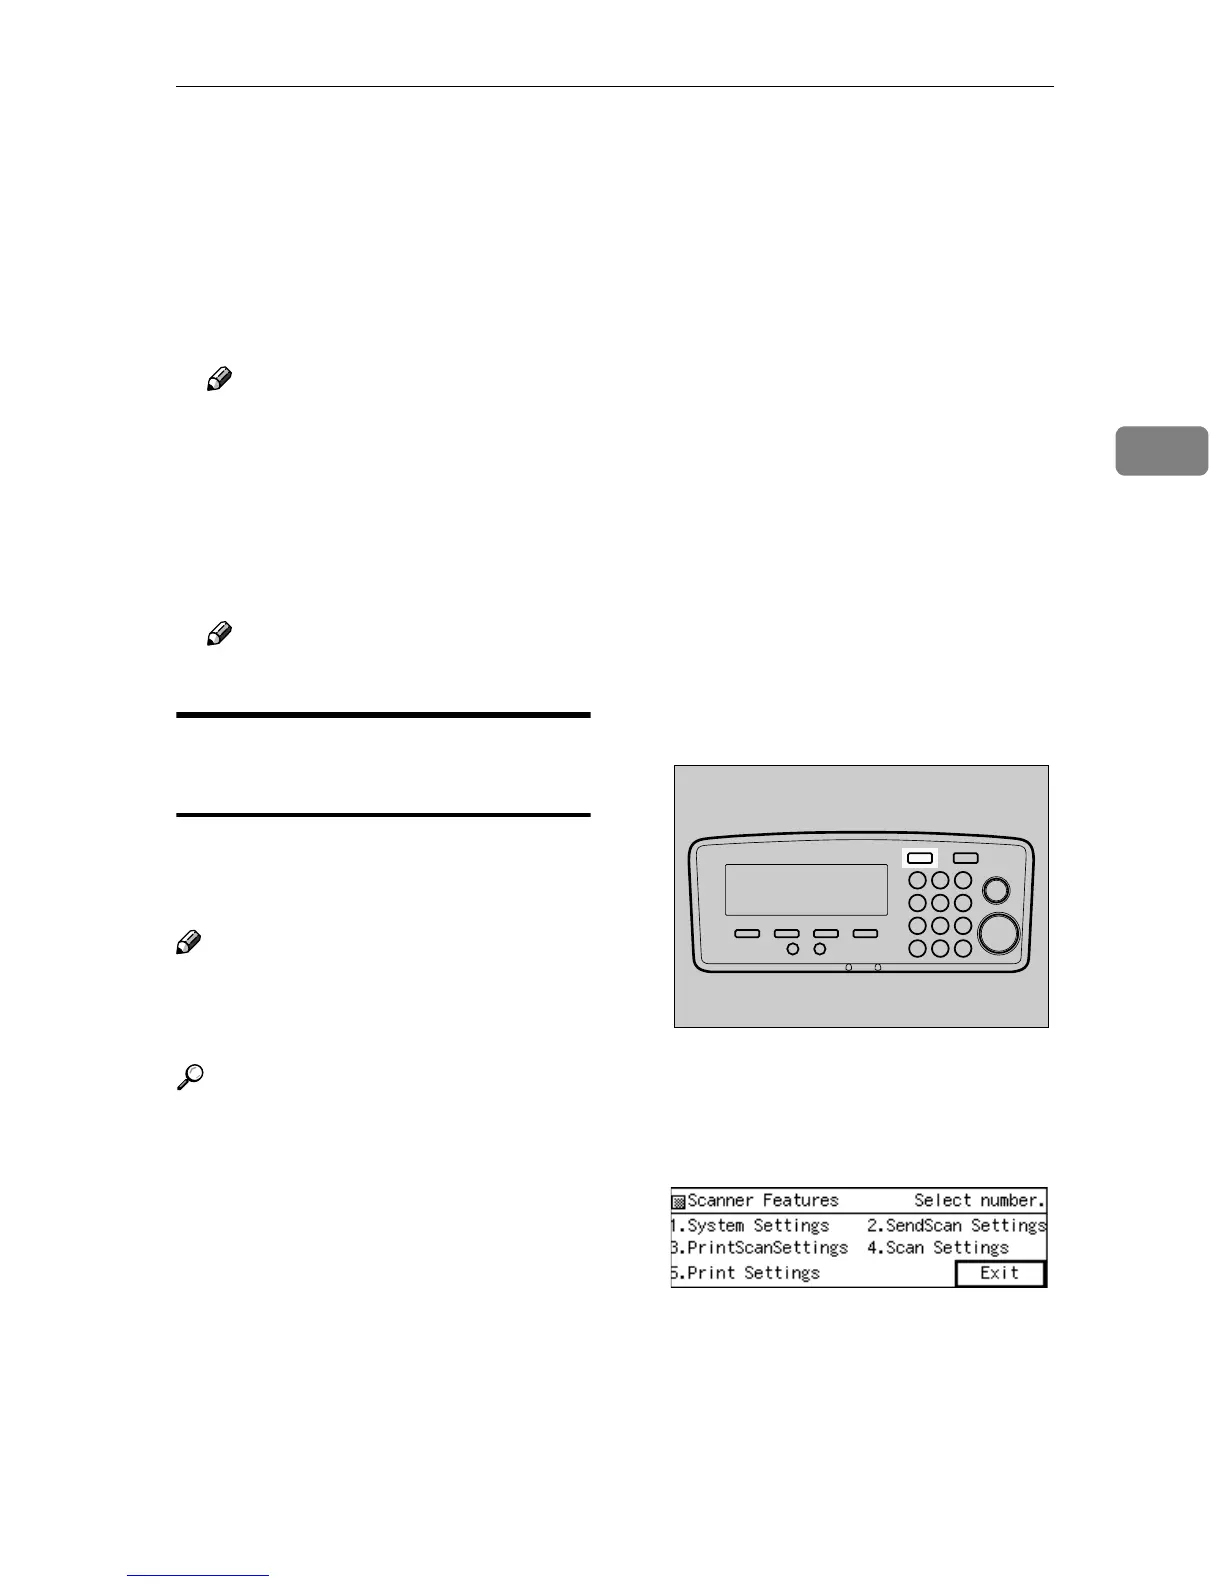
Press the {
{{
{User Tools}
}}
} key
The Scanner Features menu is dis-
played.
B
BB
B
Press the {
{{
{2}
}}
} key.
The Send Scan Settings menu is dis-
played, and “1. Send File/TWAIN
Priority” appears as the setup item
currently selected.
AFJ004S