4.Replacement and Adjustment
37
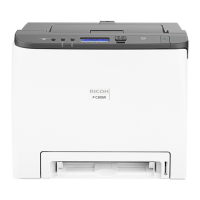
10. Close the top cover.
11. While pressing the lock button [A], slide the scanner unit [B] in the direction of the blue arrow, and
then remove it.
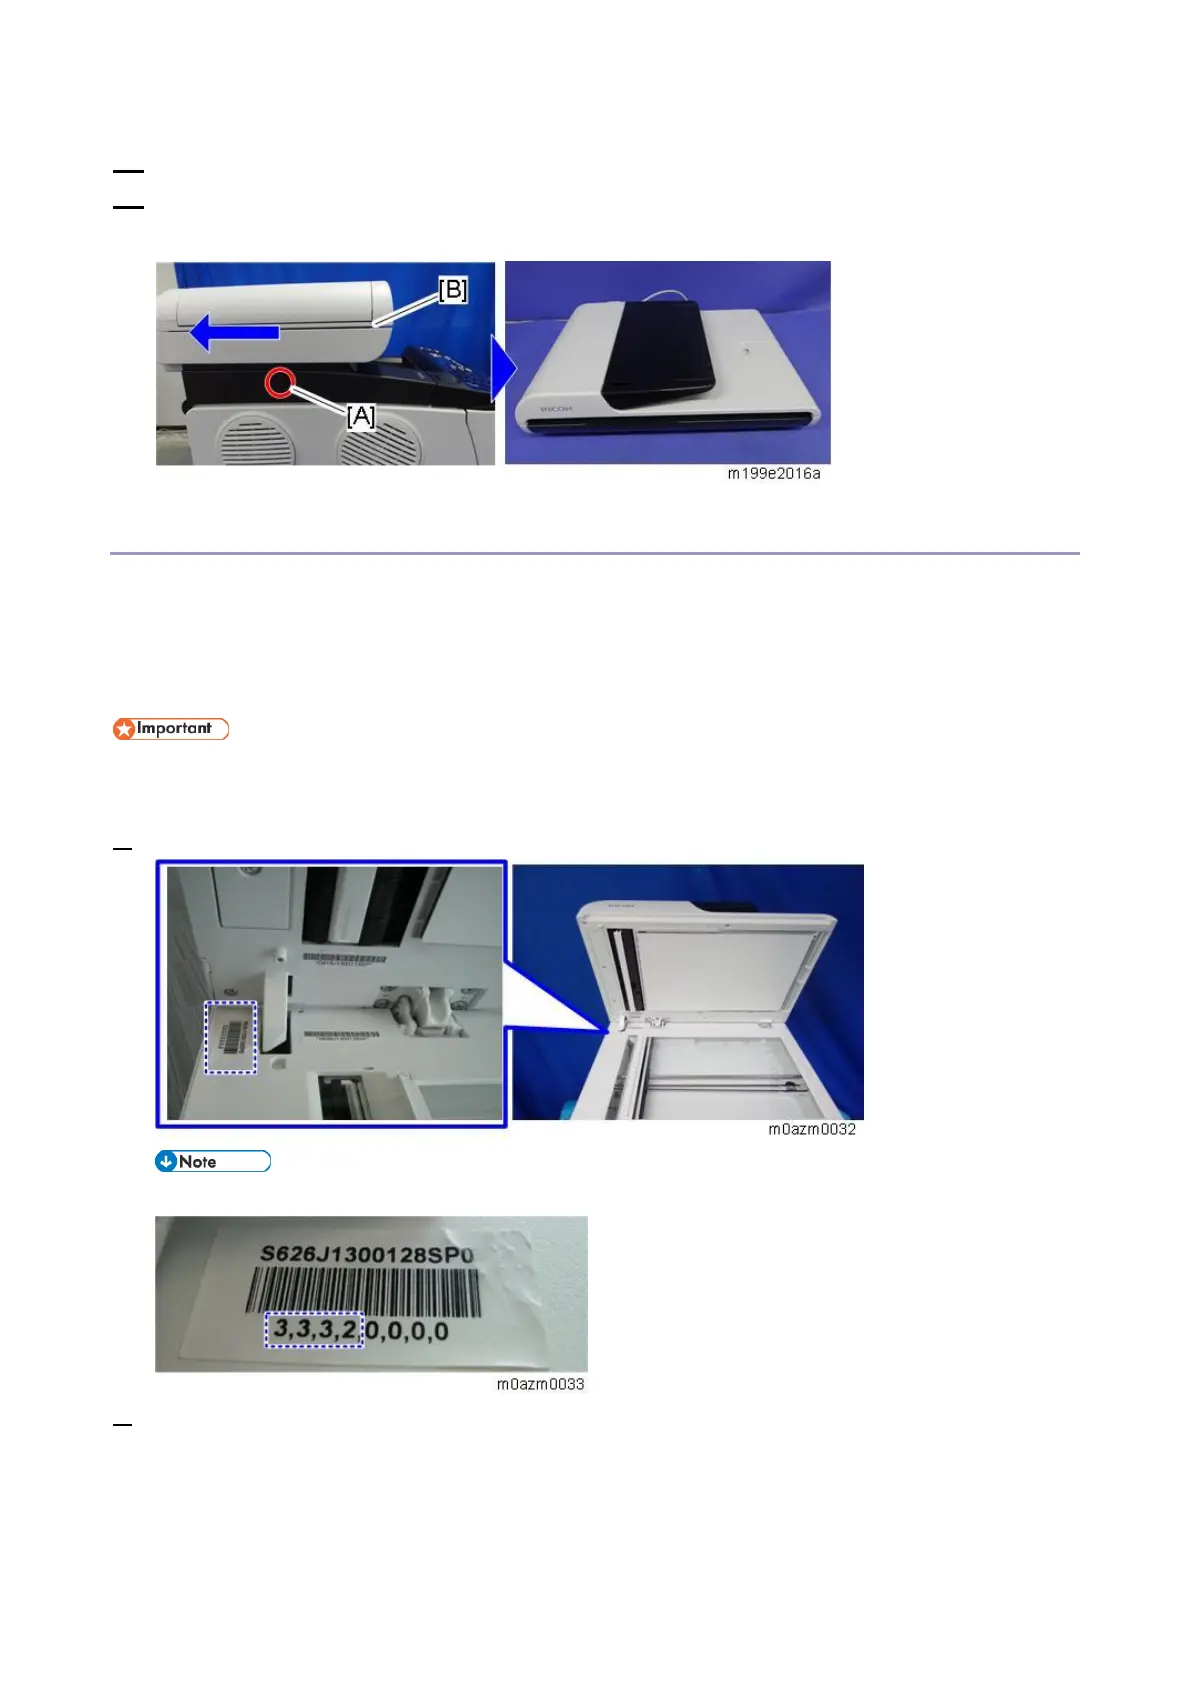
Adjustment after Replacing the ADF/Scanner Assembly
After replacing the ADF/scanner assembly, adjust the contact image sensor (CIS) for the front and back.
Because of differences in each individual ADF/scanner assembly, go into the SP mode, and enter the
values on the barcode on the assembly to adjust the difference in the color balance between front and
back.
Be sure to perform this adjustment each time you replace the ADF/scanner assembly.
1. Check the barcode.
The barcode values are, from the left, red (3), green (3), blue (3), gray (2), 0, 0, 0, 0.
2. Enter the SP mode.

 Loading...