2.Installation
14
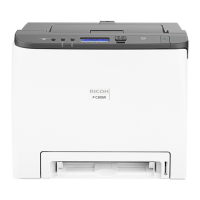
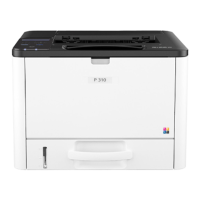
Printer model: SP menu > @Remote > Remote Service > Function Flag
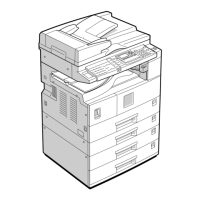
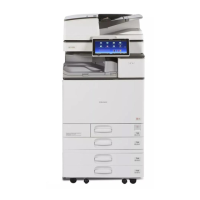
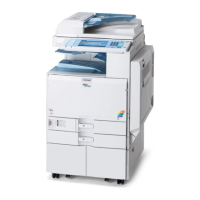
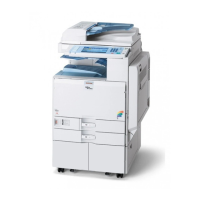
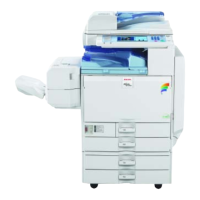
MF model: SP menu > @Remote > Remote Service > Function Flag
Execute the @Remote Settings
1. Enter the SP mode.
2. Check if the @Remote status is "0".
Printer model: SP menu > @Remote > Remote Service > Instl:Condition
MF model: SP menu > @Remote > Remote Service > Regist Status
If the @Remote status is not "0", ask the @Remote Center Administrator.
3. Check that the device ID2 has been programmed correctly.
Printer model: @Remote > Machine No. Setting > ID2 Code Display
MF model: @Remote > Machine No. Setting > ID2 Code Display
• 6 spaces must be put between the 3-digit prefix and the following 8-digit number (e.g.
xxx______xxxxxxxx).
• ID2 and the serial number must be the same (e.g. ID2: A01______23456789 = serial No.
A0123456789)
The procedure for checking the serial number is as follows;
Printer model: SP menu > Engine Maintenance > Serial No.
MF model: SP menu > Engine SN SP > Serial No.
4. Input the request number which you have obtained from the @Remote Center GUI, and then enter
OK.
Printer model: @Remote > Remote Service > Instl:ID #
MF model: @Remote > Remote Service > Letter Number
5. Confirm the Request Number.
Printer model: @Remote > Remote Service > Instl:Reference
MF model: @Remote > Remote Service > Confirm Execute
6. Check the confirmation result.
Printer model: @Remote > Remote Service > Instl:Reference
MF model: @Remote > Remote Service > Confirm Result
 Loading...
