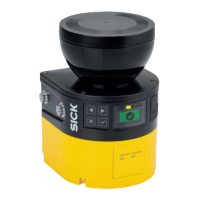
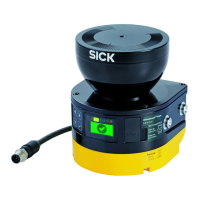
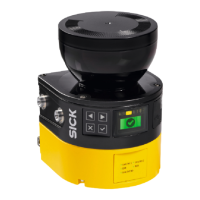
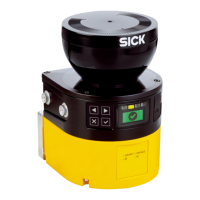
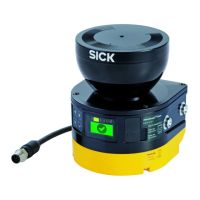
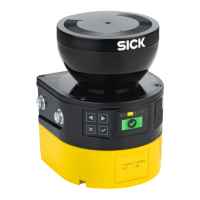
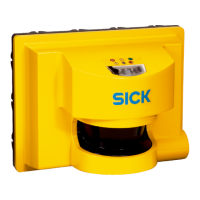
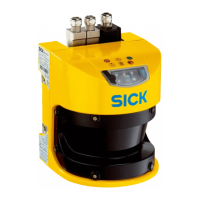
In certain cases (in the event of dust, high air humidity), it may make sense not
t
o initially disconnect the system plug and the safety laser scanner. In these cases,
proceed as follows:
1. Disconnect the connecting cables to the system plug.
2. Unscrew screws from the bracket and remove the defective safety laser scanner
from the bracket.
3. Move the safety laser scanner with the system plug to a clean location (e.g. office,
maintenance areas).
4. Unscrew screws in the system plug and remove the system plug from the defective
safety laser scanner.
5. See above for further steps.
Further topics
•
"Mana
ging passwords", page 130
•
"Version numbers and functional scope", page 161
10.4.2 Completely replacing the safety laser scanner
1. Disconnect the connecting cables the system plug.
2.
Unscrew the fixing screws and remove the defective safety laser scanner.
3. Mount the new safety laser scanner, see "Mounting", page 76.
4. Reconnect the connecting cables to the system plug.
5. Configure the safety laser scanner, see "Configuration", page 85.
6. Perform commissioning again, taking particular care to conduct all of the thorough
checks described, see "Commissioning", page 133.
10.5 Replacing the system plug
If the system plug is damaged or defective, you must replace it.
NOTICE
Enc
losure rating IP65 only applies if the safety laser scanner is closed and the system
plug is mounted.
b
Mount the system plug and the cover plate.
b
Close each M12, RJ45 and SCRJ plug connector on the safety laser scanner using
an IP65 rated male cable connector or a protective cap.
°
Tightening torque for M12 plug connector: 0.4 Nm … 0.6 Nm.
°
Tightening torque for M12 protective caps: 0.6 Nm … 0.7 Nm.
b
Mount the optics cover.
NOTICE
If the system plug is mounted with excessive force, the contacts can break or bend.
b
Plug in the system plug carefully.
b
Do not force it.
Tool required:
•
T
X20 Torx wrench
Approach
1. Make sure that the environment is clean and clear of fog, moisture, and dust.
2.
Disconnect the from connecting cables the system plug.
MAINTENANCE 10
8021219/1ELL/2022-01-21 | SICK O P E R A T I N G I N S T R U C T I O N S | microScan3 – PROFINET
147
Subject to change without notice
 Loading...
