3. If necessary: move the safety laser scanner to a clean location.
4.
Unscrew the screws in the defective system plug and remove the system plug from
the safety laser scanner.
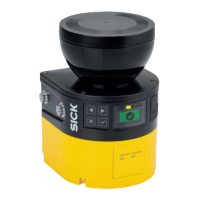
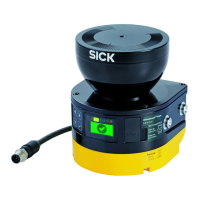
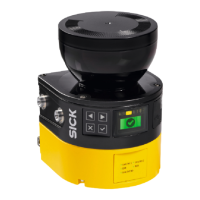
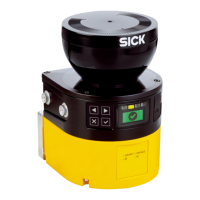
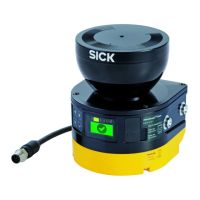
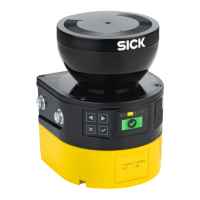
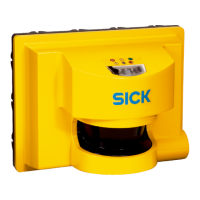
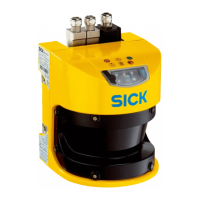
Figure 86: Replacing the system plug (left: microScan3 – PROFINET (RJ45 / SCRJ), right:
microScan3 – PROFINET (M12))
5. Carefully insert the new system plug into the safety laser scanner.
6. Screw in the system plug using the captive screws. Tightening torque: 2.25 Nm …
2.75 Nm.
7. Reconnect the connecting cables to the system plug.
8. Configure the safety laser scanner, see "Configuration", page 85.
9. Perform commissioning again, taking particular care to conduct all of the thorough
checks described, see "Commissioning", page 133.
Complementary information
If a s
ystem plug has already been used on a device that has a different interface for
integrating it into the controller, this system plug can no longer be used on a PROFINET
device.
10.6 Regular thorough check
The test is intended to ensure that the hazardous area is monitored by the protective
de
vice and any attempted access to the hazardous area is prevented.
b
Carry out the checks specified in the test plan of the manufacturer of the machine
and the operating entity.
10 M
AINTENANCE
148
O P E R A T I N G I N S T R U C T I O N S | microScan3 – PROFINET 8021219/1ELL/2022-01-21 | SICK
Subject to change without notice
 Loading...
