Installation
3-19
ET 200X Distributed I/O Device
EWA 4NEB 780601602-06
Example: PROFIBUS address 92
2
2
+ 2
3
+ 2
4
+ 2
6
= 4 + 8 + 16 + 64 = 92
ON ON
1723456
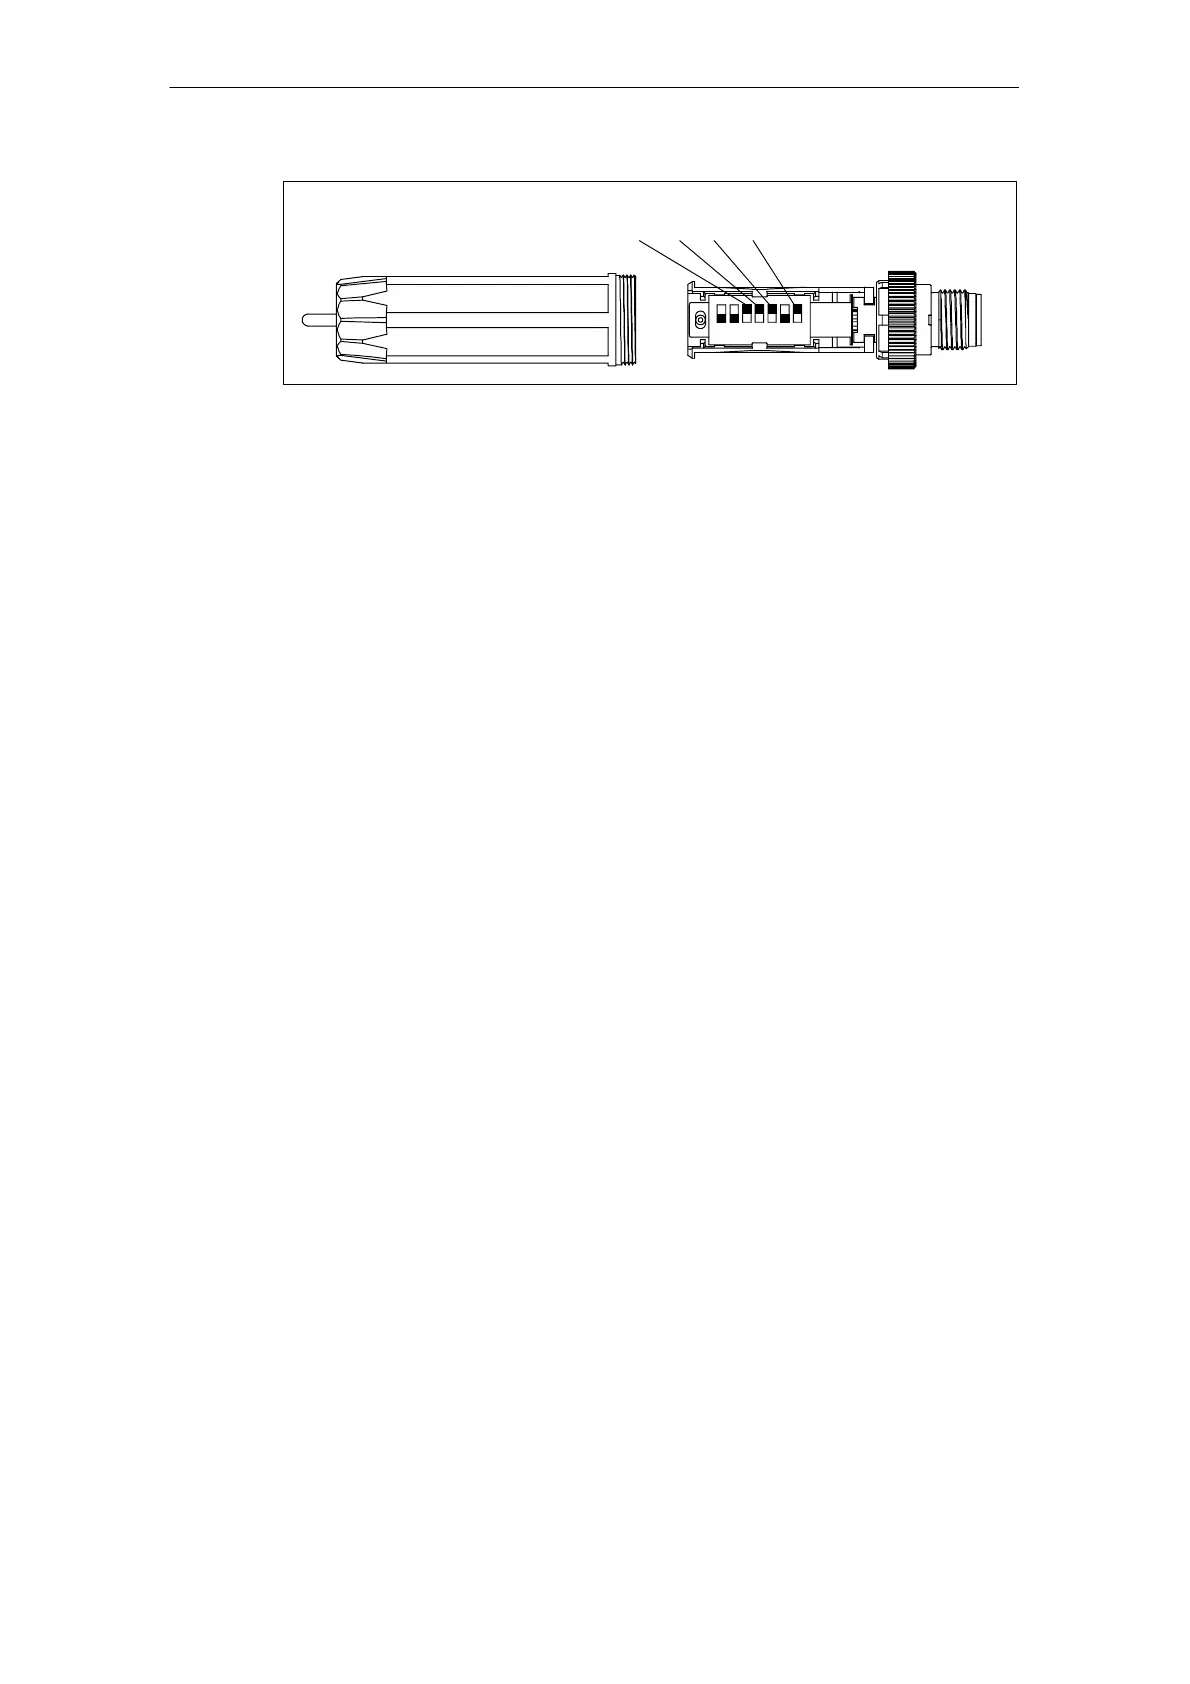
Figure 3-13 Setting the PROFIBUS address at the configuration connector
Note: The PROFIBUS address in the basic module must always correspond to the
PROFIBUS address specified in the configuration software for this
ET 200X-DESINA/ET 200X-ECOFAST.
4. Reinstall the cover and plug the configuration connector back into the basic
module. Secure the configuration connector to the basic module.
Modifying the PROFIBUS address
You can modify the PROFIBUS address in exactly the same way as you set it. Any
change made to the PROFIBUS address takes effect when the supply voltage is
turned on the ET 200X.